


Large Recorder article
Large Recorder for Beginners: A Complete Guide
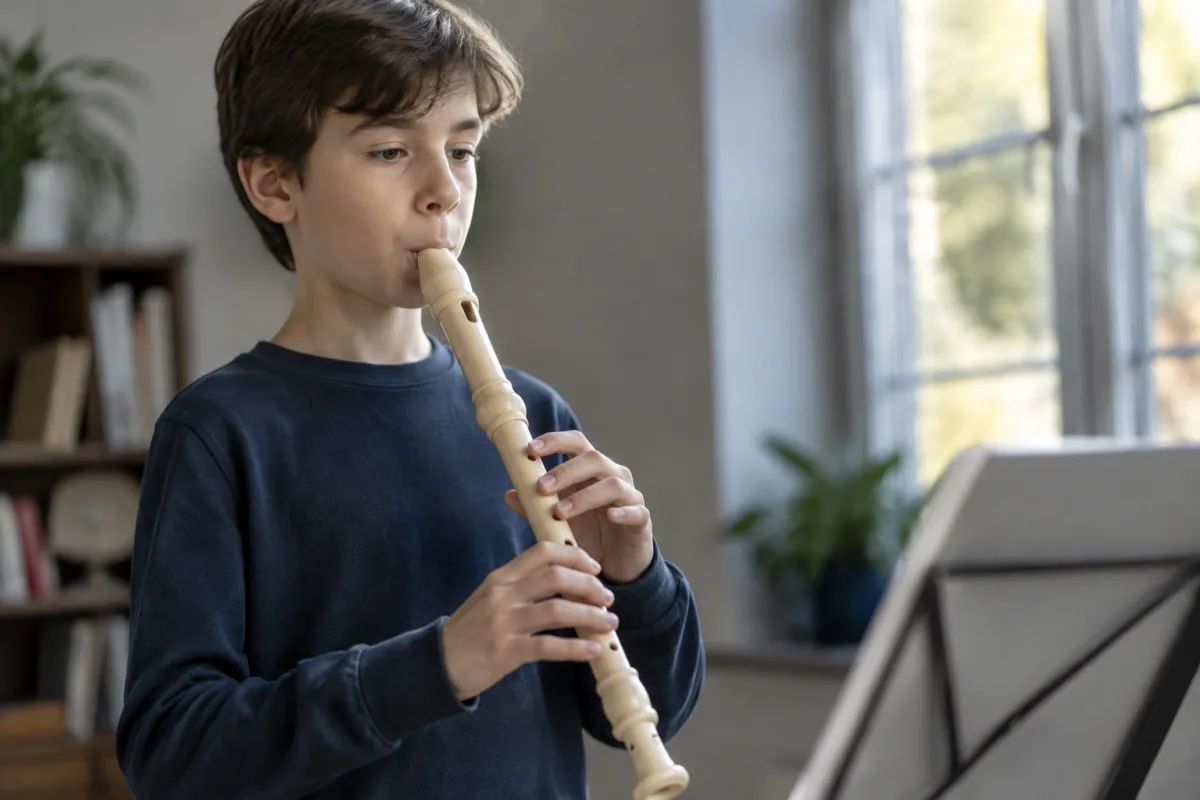
The thought of learning a large recorder might feel daunting if you've only encountered the small plastic soprano recorder in school, but stepping up to a larger instrument opens rich, expressive possibilities that appeal to nervous first-timers eager to explore wind instruments. This guide walks you through the essentials of large recorders without intimidation, helping you find your footing as a beginning player and understand why a deeper instrument might be just right for you.
Why Start with a Large Recorder?
Before diving into learning, understand why a large recorder deserves consideration. The most common school recorder is the soprano—tiny, high-pitched, and frankly, difficult for beginners because its narrow sound and quick response demand precision. Larger recorders (tenor and alto) sit lower, produce warmer tones, and forgive some beginner imprecision, making them friendlier stepping stones into wind playing.
Many nervous beginners assume smaller instruments are easier; the opposite is often true. A tenor recorder's generous tone and slower response teach proper breath control and embouchure (mouth technique) more intuitively than squeaky sopranos. If you've struggled with a soprano, a larger recorder might transform your relationship with wind instruments entirely.
Understanding Large Recorder Types and Sizes
Recorders come in distinct sizes, each with a different voice and range. For beginners, two categories matter most:
- Alto recorder: Mid-sized (roughly 20 inches long), moderate expense, warm and full-bodied tone. The first choice for most adult beginners. Sits between soprano (child-like squeak) and tenor (bulky and expensive).
- Tenor recorder: Larger (about 26 inches), deeper voice, mellower and richer. Demands more air volume and feels substantial in the hands. Popular with serious amateur players and professionals.
Bass and great bass recorders exist but suit advanced players only. Start with alto; progress to tenor once you're confident with fundamentals. This two-step path builds skills logically.
Choosing Your First Large Recorder
The quality of your first instrument dramatically affects your learning curve. Many beginners sabotage themselves with cheap instruments that resist playing:
- Budget student models (£30–£80): Basic construction, often plastic, inconsistent tuning, sluggish response. These frustrate quickly and discourage continued learning. Avoid unless money is impossibly tight.
- Quality student instruments (£80–£150): Wood or quality plastic, consistent tuning, responsive design. Expected choice for adult learners. Worth the investment; these teach proper technique rather than fighting you.
- Semi-professional (£150–£300): Superior wood, hand-tuned, expressive response. Justify the cost if you're committed to developing skill, not just dabbling.
Your first instrument is your teacher. A responsive, properly-tuned recorder teaches faster and feels rewarding; a poor one teaches frustration. Spend £100–£150 on a quality student alto, not £30 on junk you'll abandon.
The Importance of Fingering Charts and Learning Materials
Recorders use a fingering system where covering different tone holes produces different notes. This feels mysterious initially but becomes intuitive quickly:
- Fingering charts: Visual guides showing which holes to cover for each note. Every recorder comes with one; beginners rely on it for months. Keep it visible whilst practising.
- Method books: Step-by-step instruction taking you from reading simple notes to short songs. Popular beginner books include "Essential Elements" and "Recorder Time." A good method book costs £12–£20 and guides your first 6 months.
- YouTube tutorials: Free videos demonstrating proper embouchure (mouth position), breath support, and common beginner mistakes. Use these alongside formal learning, not instead of it.
Don't attempt to "figure out" a recorder alone. Invest £15–£20 in a proper method book. The guided approach teaches faster and prevents developing bad habits.
Physical Comfort and Hand Size Considerations
Large recorders weigh more and demand a secure grip. Before committing to a specific model, test the feel:
- Hand span: Your fingers must comfortably reach all tone holes. Test the recorder in a shop if possible; measure hole spacing before ordering online.
- Weight and balance: A heavy recorder tires your hands; poor balance strains your neck and shoulders. Quality instruments balance intuitively.
- Thumb rest position: Recorders have a dedicated thumb hole for the lower thumb. This should sit comfortably without cramping or stretching.
- Lip size and embouchure opening: The mouthpiece opening must suit your lip shape. Test multiple instruments if possible; some feel natural, others awkward.
Physical comfort isn't luxury; it's essential for practice sustainability. Discomfort discourages practice, limiting improvement. Don't overlook these practical considerations.
Learning to Make Sound Without Squeaking
Beginner frustration often stems from uncontrolled squeaking. Understanding why squeaks happen demystifies the problem:
- Embouchure (mouth shape) matters enormously: Too tight creates squeaks; too loose produces airy, weak sound. The sweet spot feels almost natural once discovered.
- Air pressure and speed vary by note: Higher notes require slightly faster air; lower notes require slower, deeper air. This relationship is counterintuitive initially.
- Tongue position affects tone quality: Your tongue guides air through the recorder's internal chambers. Position matters as much as finger technique.
- Relaxation is paramount: Tension in your face, neck, and shoulders stifles sound. Breathe deeply, relax your jaw, and let the recorder work.
Squeaking is normal for beginners; it's not failure. Every player squeaks initially. Systematic practice addressing embouchure, air support, and relaxation solves squeaking faster than frustrated repetition.
Essential Accessories and Maintenance
Your recorder needs basic care to remain playable:
- Cleaning rod and cloth: After each session, run the cloth through your recorder to remove moisture. This takes 30 seconds and prevents internal mould growth.
- Recorder stand or bag: Protect your instrument when not playing. A £10–£20 fabric bag prevents dents and cracks.
- Thumb rest cushion (optional): If the thumbhole becomes uncomfortable, adhesive cushions (£5–£10) provide relief without damaging the instrument.
- Humidifier (for wood recorders): Wood instruments need consistent humidity to prevent cracking. A simple room humidifier (£20–£50) addresses this if you live in a dry climate.
Maintenance costs little but extends your instrument's lifespan dramatically. Don't neglect basic care.
Setting Realistic Expectations for Progress
Learning a large recorder is achievable for nervous beginners, but progress follows a natural timeline:
- Week 1–2: Learning embouchure, producing consistent sound, struggling with squeaks. This feels awkward; persistence pays off.
- Week 3–8: Squeaks decrease, simple melodies become recognisable, reading fingering charts feels intuitive. This phase is satisfying.
- Month 2–3: Playing recognisable songs, experimenting with dynamics, understanding breath support. You're genuinely playing now.
- Month 4+: Developing control, attempting more complex pieces, considering ensemble playing. Real musicianship emerges.
Daily practice (even 15–20 minutes) accelerates progress. Sporadic practice frustrates because you forget techniques between sessions. Consistency matters far more than duration.
Finding Community and Continuing Support
Learning alone feels isolating. Seek community and support:
- Local recorder groups and ensembles: Many communities host amateur recorder groups welcoming beginners. These provide motivation, social connection, and shared learning.
- Online communities: Recorder forums and Facebook groups connect players worldwide. Share struggles, ask questions, celebrate progress.
- Private lessons (optional): A qualified teacher (£20–£40 per 30-minute lesson) accelerates learning and prevents ingrained bad habits. Even a few lessons (5–10) establish proper technique.
- Recorder festivals and workshops: Annual gatherings celebrate the instrument and offer skill-building workshops. These inspire long-term commitment.
Wind instrument playing, including large recorders, is fundamentally social. Community connection makes the journey enjoyable and sustainable.
Taking Your First Confident Steps
Start here: invest £100–£150 in a quality student alto recorder, purchase a method book (£15–£20), and commit to 15–20 minutes of daily practice. Expect awkwardness and squeaking initially—this is universal, not personal failure. Within 4–6 weeks, you'll play recognisable melodies and understand why large recorders appeal to serious players.
A large recorder is an approachable entry point into wind playing that many nervous first-timers discover transforms their musical confidence. For comprehensive exploration of recorder types, advanced playing techniques, and how to develop from beginner to accomplished player, see the complete guide to large recorders, which covers the full range of instruments and performance possibilities.



Comments