


Steinberg Audio Interface article
Steinberg Audio Interface for Beginners: A Complete Guide
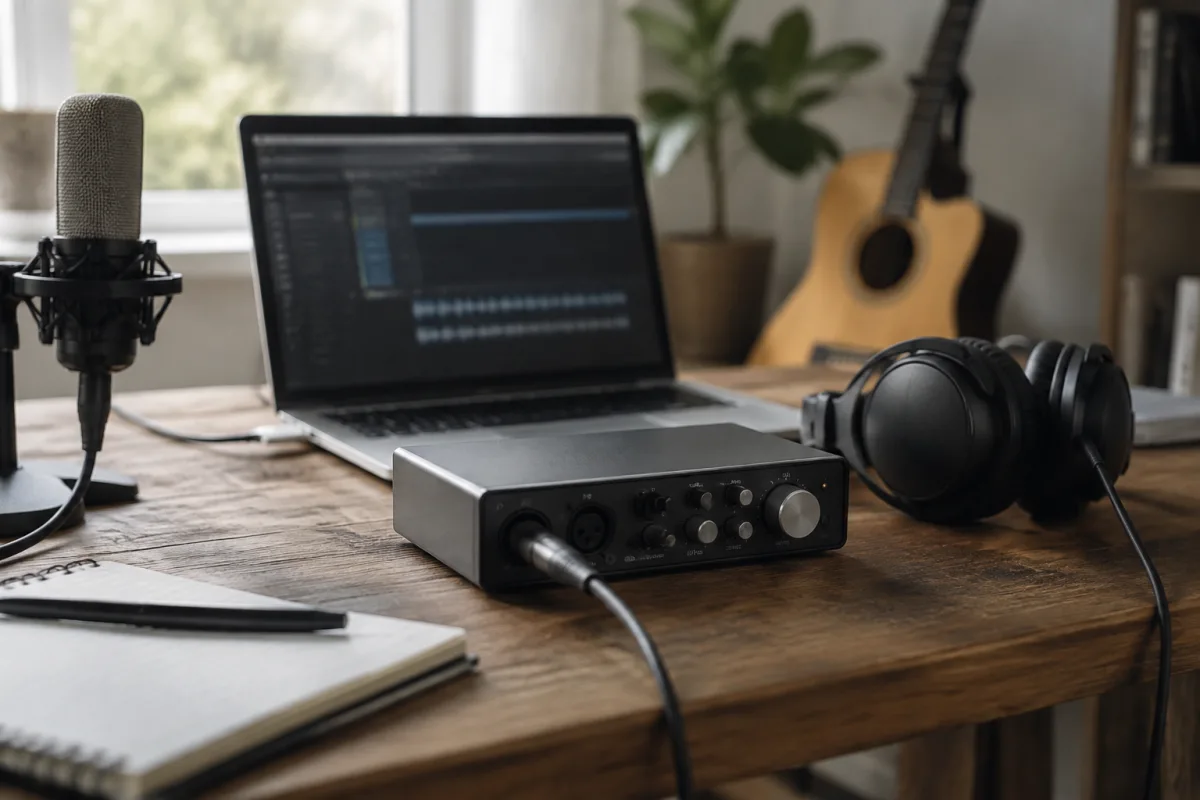
Starting your first home recording setup can feel daunting, but choosing a Steinberg audio interface removes much of the confusion. Whether you're recording vocals, acoustic instruments, or creating beats, a Steinberg audio interface offers a straightforward path into professional-quality recording without overwhelming complexity. This guide walks you through everything you need to know to confidently set up and use your first Steinberg interface, demystifying the process and helping you avoid common pitfalls along the way.
Why Choose a Steinberg Audio Interface?
Before diving into the practical steps, it's worth understanding why a Steinberg audio interface is such a popular choice for beginners. Steinberg, as a German company with decades of music production experience, has built interfaces specifically designed with musicians in mind. Their products integrate seamlessly with their flagship DAW, Cubase, and support other major platforms. For your first interface, this means excellent driver stability, clear documentation, and a supportive user community whenever you hit a question.
If you want a deeper dive into the full spectrum of features and how Steinberg audio interfaces compare to other brands, check out our comprehensive guide to Steinberg audio interfaces, which covers everything you need to know about these devices in more depth.
Choosing Your First Steinberg Audio Interface
The key to a successful start is choosing the right model for your actual needs—not an interface packed with features you'll never use. For beginners, simpler truly is better. Here's what to consider when selecting a Steinberg audio interface:
| Feature to Check | What Matters for Beginners |
|---|---|
| Number of Inputs | Start with 2 inputs minimum; this lets you record stereo guitar or two vocals simultaneously. |
| Audio Quality (Bit/Sample Rate) | All modern Steinberg models support 24-bit/96kHz. That's more than enough; don't overthink this. |
| Connectivity | USB-C is now standard and faster. Older USB 2.0 models are fine if they're cheaper and suit your budget. |
| Built-in DSP Effects | A bonus if present, but not essential. You can add effects within your DAW software. |
| Size and Portability | If you plan to travel or record in different rooms, choose a compact Steinberg audio interface. |
Setting Up Your Steinberg Audio Interface
Once you've chosen your interface, the setup process is genuinely straightforward. Most people worry this will be technical and complicated—it really isn't. Here's the simple workflow:
- Install drivers first. Visit Steinberg's official website, download the latest drivers for your specific model, and install them before connecting the interface. This ensures everything communicates properly from the start.
- Connect via USB. Plug your Steinberg audio interface into your computer using the included USB cable. Many interfaces also need external power; check your manual for this step.
- Select it as your audio device. In your computer's sound settings (or within your DAW), select your Steinberg audio interface as the default audio output and input device.
- Test the connection. Open your DAW and create a simple audio track. Record a few seconds of sound (clap, knock on wood, or hum) to verify everything works.
- Adjust input levels. Use the physical gain knobs on your Steinberg audio interface to set input levels so your recording doesn't distort but remains audible. Aim for the signal to peak around -6dB on the metres.
Your First Recording Session: What to Expect
Congratulations—you're now ready to actually record. This is where it becomes real, and it's also where many beginners feel their confidence slip. That's completely normal. Here's what your first session might look like:
Plug in your microphone or instrument to an input on your Steinberg audio interface. Create an audio track in your DAW and arm it for recording (the red record button). Hit play and start singing or playing. You'll hear yourself through your headphones plugged into the interface. If the sound is too loud or too quiet, adjust the gain knob on the interface—don't just turn up your software volume. Once you're happy, record a few takes. Listen back. You'll likely think "that's not very good," and that's every single beginner. Your ears are evolving already. Try again tomorrow; you'll be surprised at the improvement.
Common Beginner Mistakes to Avoid
Learning from others' mistakes saves you frustration. Here are the most common issues beginners encounter with a Steinberg audio interface:
- Forgetting to select the interface as your audio device. Your Steinberg audio interface sits there doing nothing if your computer is still using built-in speakers.
- Setting input levels too high. Distortion is permanent once recorded. Start conservatively; you can always turn it up.
- Using cheap cables. Poor-quality USB or audio cables introduce noise and dropouts. Invest in decent cables; they're not expensive.
- Not monitoring through the interface. Headphones plugged into your computer will have latency (delay) that throws off your performance. Always monitor through your Steinberg audio interface's headphone output.
- Skipping the driver update. Outdated drivers are the cause of most connection problems. Check Steinberg's website regularly for updates.
- Expecting perfection immediately. Your first recordings will sound rough. That's part of learning. Focus on the technical skills—levels, timing, microphone placement—and sound quality improves naturally.
Making Your Steinberg Audio Interface Work for You
Beyond the basics, a few practical habits will transform your experience with your Steinberg audio interface. Always leave the interface powered on and connected during your recording sessions. Take breaks to let your ears rest; fresh ears hear problems better. Keep your gain settings consistent so recordings are similar in level. Experiment with microphone placement—moving it slightly changes the sound dramatically. And save different versions of your projects so you can compare takes and decisions over time.
Moving Forward with Confidence
Using a Steinberg audio interface for the first time is genuinely manageable if you take it step by step. You don't need to understand everything immediately. Focus on getting sound into your computer reliably, and everything else follows naturally. Within a week, setting up your Steinberg audio interface will feel routine. Within a month, you'll barely think about it—your attention will shift to the music itself, which is exactly as it should be.
Remember that every professional recording engineer started exactly where you are now: slightly nervous, armed with a new interface, and absolutely ready to learn. Your Steinberg audio interface is a genuine tool that will serve you for years. Be patient with the learning curve, celebrate small improvements, and enjoy the process. Good luck with your first recordings.


Comments