


Roland Audio Interface article
Roland Audio Interface for Beginners: A Complete Guide
If you're thinking about getting into home recording for the first time, a Roland audio interface is one of the friendliest ways to start—and you'll be recording within an afternoon.
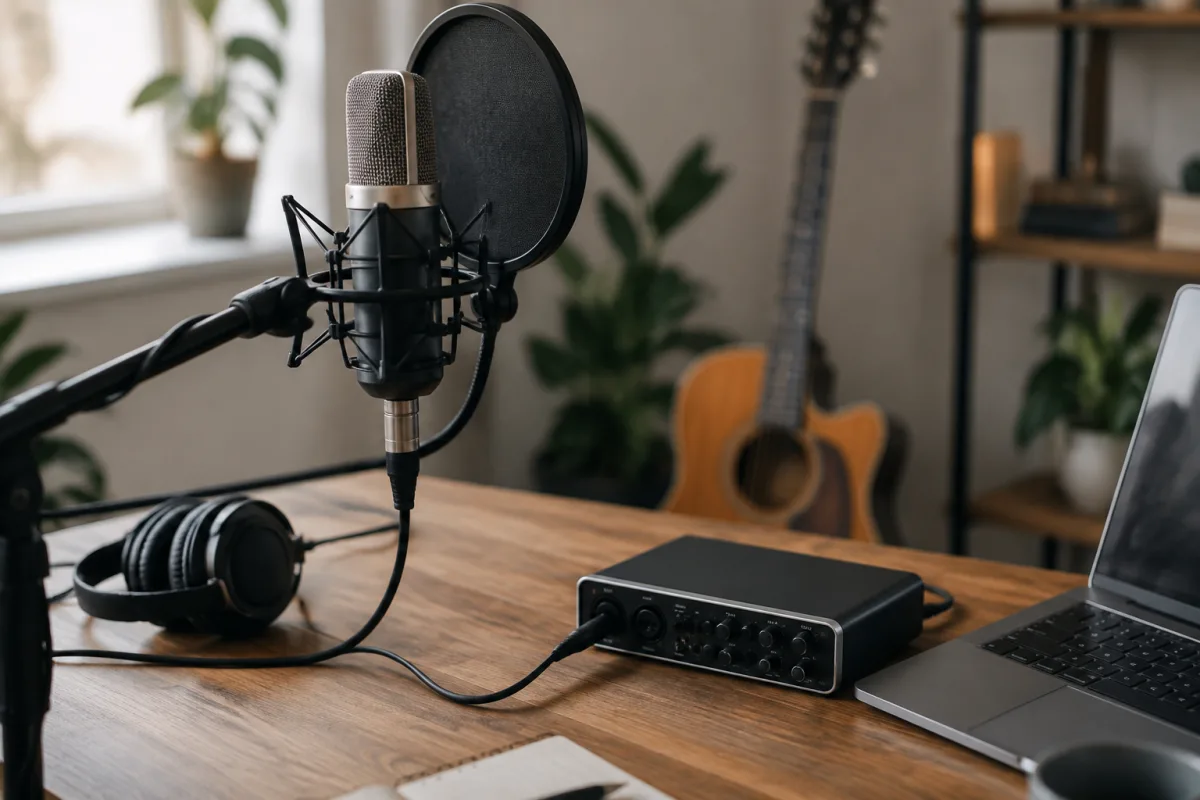
If you're thinking about getting into home recording or music production for the first time, a Roland audio interface might feel like a daunting piece of kit. But here's the truth: a Roland audio interface is actually one of the most beginner-friendly ways to record music, and you'll be making professional-sounding recordings within an afternoon. This guide strips away the jargon and shows you exactly what you need to do to get started—no experience required.
Why Choose a Roland Audio Interface as a Beginner?
Roland has spent decades building music gear, and their audio interfaces are built specifically with beginners in mind. Unlike some brands that assume you already know what a preamp is or why latency matters, Roland interfaces come with straightforward software, clear labelling, and support resources designed for people taking their first steps into recording. The company publishes tutorials, the drivers are usually rock-solid, and the build quality is genuinely reliable. That matters when you're nervous about your purchase—you're buying a product with a reputation to maintain, not a mystery box from an unknown manufacturer.
Roland interfaces also tend to sit in the sweet spot between "cheap and cheerful" and "professional studio gear"—they're affordable enough that you're not breaking the bank on your first recording setup, but capable enough that you won't outgrow them in three months.
Your First Steps: Set-Up in Five Minutes
Setting up a Roland audio interface is not a technical ordeal. Follow these steps in order:
- Unbox and connect to your computer. Plug the interface into your computer via USB (or Thunderbolt, depending on your model). Your computer will automatically detect it as a new audio device.
- Install the driver from Roland's website. Download the driver for your specific interface model and version of Windows or macOS. This takes two minutes and is genuinely important—it lets your computer and the interface communicate properly. Restart your computer once it's installed.
- Download the Roland software (optional but recommended). Some Roland interfaces come with free software for managing settings and monitoring. Install it if you'd like, but you don't strictly need it to record.
- Set the interface as your default audio device. In your computer's sound settings (or your recording software), choose your Roland interface as the input and output device. Your recording software should automatically detect it.
- Test the input. Plug in a microphone or an instrument, open your recording software, arm a track for recording, and check that the input level meter shows a signal. You should see a green or blue peak whenever you play or speak. You're ready to record.
That really is it. There's no black magic, no mysterious settings you need to tweak. If you've ever plugged a microphone into anything before, this will feel familiar. If you haven't, the process is still straightforward.
Understanding the Basics: Inputs, Outputs, and Levels
A Roland audio interface has two main jobs: it gets sound into your computer (that's the input), and it sends sound from your computer back out to your headphones or speakers (that's the output). Most beginner Roland interfaces have one or two microphone inputs, possibly one instrument input (for guitars or keyboards), and stereo outputs for your monitoring speakers or headphones.
When you plug in a microphone or guitar, you'll see an input level control—usually a knob or fader on the hardware. Set this to about halfway, record a few seconds of your voice or instrument, and look at the input meter on your screen. You want the signal to sit in the green zone (usually the top third of the meter) without hitting red. If it's too quiet, turn the knob up; if it's clipping (turning red), turn it down. This is called "setting your levels," and it's the one technical skill every beginner needs to learn. Take two minutes to get comfortable with it, and you'll avoid the most common beginner problem: recordings that are either inaudible or distorted.
Common Beginner Mistakes to Avoid
You'll save yourself real frustration by knowing these stumbling blocks in advance:
- Forgetting to switch audio input in your software. You've plugged in the Roland interface, but your recording software is still trying to record from your computer's built-in microphone. That won't work. Always check that your recording software (Audacity, GarageBand, Ableton, whatever you're using) is set to receive audio from the Roland interface, not your computer's default input.
- Setting the input level too high or too low. A level that's too quiet will sound hissy and thin; a level that's too hot will distort and clip. Spend 30 seconds finding the sweet spot before you record anything you care about. If in doubt, aim for the middle—you can always amplify later in your software if you need to.
- Not muting or monitoring carefully. If your microphone is live and you're hearing yourself through your headphones with a delay, that's latency, and it's disconcerting. Most Roland interfaces let you adjust monitoring settings in their control software—turn off monitoring from the input if it's distracting, or enable it if you want to hear yourself. Experiment until it feels natural.
- Plugging in the wrong cable type. A Roland audio interface with XLR microphone inputs needs an XLR cable, not a 3.5mm jack. A guitar or keyboard input usually wants a 1/4" cable (or a 3.5mm adapter). You don't need expensive cables, but you do need the right type. Spend five minutes reading the manual for your specific model before you buy cables.
- Expecting professional results immediately. You won't. Recording and mixing are skills that take practice. Your first recordings will sound amateur—that's normal. Focus on getting the levels right and the microphone positioned decently, and accept that the rest is a learning curve. Every professional started here.
Choosing Your First Setup: What Else You'll Need
A Roland audio interface is just one piece of the puzzle. You'll also need:
- A microphone. For vocals or acoustic instruments, a budget USB condenser microphone (£30–80) will do fine to start. If you're recording an electric guitar or keyboard, you might not need a microphone at all—plug the instrument directly into the interface.
- Headphones or studio monitors. You need to hear what you're recording and mixing. Affordable studio headphones (£40–100) are perfectly adequate for learning. Avoid gaming headsets—they colour the sound too much.
- A microphone stand and pop filter (if recording vocals). These cost £20–40 combined and save you a lot of frustration. You don't want to be holding a microphone steady whilst trying to play guitar or sing.
- Recording software. If you're on a Mac, GarageBand is free and genuinely capable for beginners. On Windows, Audacity (free) or Reaper (£60, but with a generous trial) are popular choices. Many Roland interfaces also come bundled with lite versions of professional DAWs. Don't overthink this—start with free or bundled software and upgrade once you know what you need.
- A USB cable. Most Roland interfaces include this, but double-check before you buy.
The Learning Curve Is Smaller Than You Think
Recording your first song with a Roland audio interface is genuinely not complicated. Yes, there are advanced techniques and professional workflows you'll eventually learn—and for a comprehensive guide to Roland audio interfaces, check out our complete overview. But as a beginner, you really only need to understand: plug in, set levels, record, listen back. That's 95% of what you'll do in your first month.
The frustration most beginners feel comes from unclear instructions or assumptions that you already know how audio recording works. A Roland audio interface strips that away. It's designed for people like you—people who are curious, a bit nervous, and just want to make something. You'll surprise yourself with how quickly things start making sense.
Your Next Steps
Once you've made your first recording, spend a week getting comfortable with your interface. Record vocals, experiment with levels, try different microphone placements. Don't worry about perfection—just get familiar with the tools. Then, when you're ready, you can explore recording techniques, mixing, effects, and all the deeper stuff. But honestly? You don't need any of that to start creating. You need curiosity, a Roland audio interface, and permission to be a beginner.
FAQ
Do I need any special software to use a Roland audio interface? No. Your computer will recognise it as an audio device with just the driver installed. Recording software is optional—some interfaces come bundled with it, and many free options exist (Audacity, GarageBand). But the interface itself works without any extra software.
What if the driver installation fails? Uninstall any previous version of the driver, restart your computer, download the driver for your exact model and OS version from Roland's website, and try again. If it still fails, check Roland's support page or contact their help desk. Driver issues are usually fixable, and Roland's support is fairly responsive for hardware problems.
How do I know if my input level is set correctly? Record 10 seconds of your voice or instrument at comfortable playing volume. Look at the input meter—you want the peak to sit in the upper third of the green zone, never touching red. If you're consistently in the red, turn the input knob down. If you're in the bottom third, turn it up. This is the single most important setting you'll get right.
Can I record multiple instruments at once with a beginner Roland interface? Depending on your model—most entry-level Roland interfaces have one or two inputs, so you can't record a full band live. But you can record instruments one at a time, layer them, and build a song that way. This is actually how most professional music is made.
Should I buy XLR cables or USB cables? For microphones, you need XLR cables (probably a 10–15 metre one from your mic to the interface). For the interface itself, it connects to your computer via USB (included with most interfaces). Don't confuse the two—they're different connectors.
What if I have questions later, once I've started recording? Roland's website has manuals, video tutorials, and FAQs for each interface model. The music production community on Reddit (r/makinghiphop, r/audioengineering) is also genuinely helpful to beginners. You won't be the first person to ask your question, and you won't be alone in finding the answer.


Comments