


Presonus Studio Monitors article
Presonus Studio Monitors for Beginners: A Complete Guide
Setting up your first pair of studio monitors can feel intimidating. This guide walks you through choosing, setting up, and trusting PreSonus studio monitors for accurate mixing.
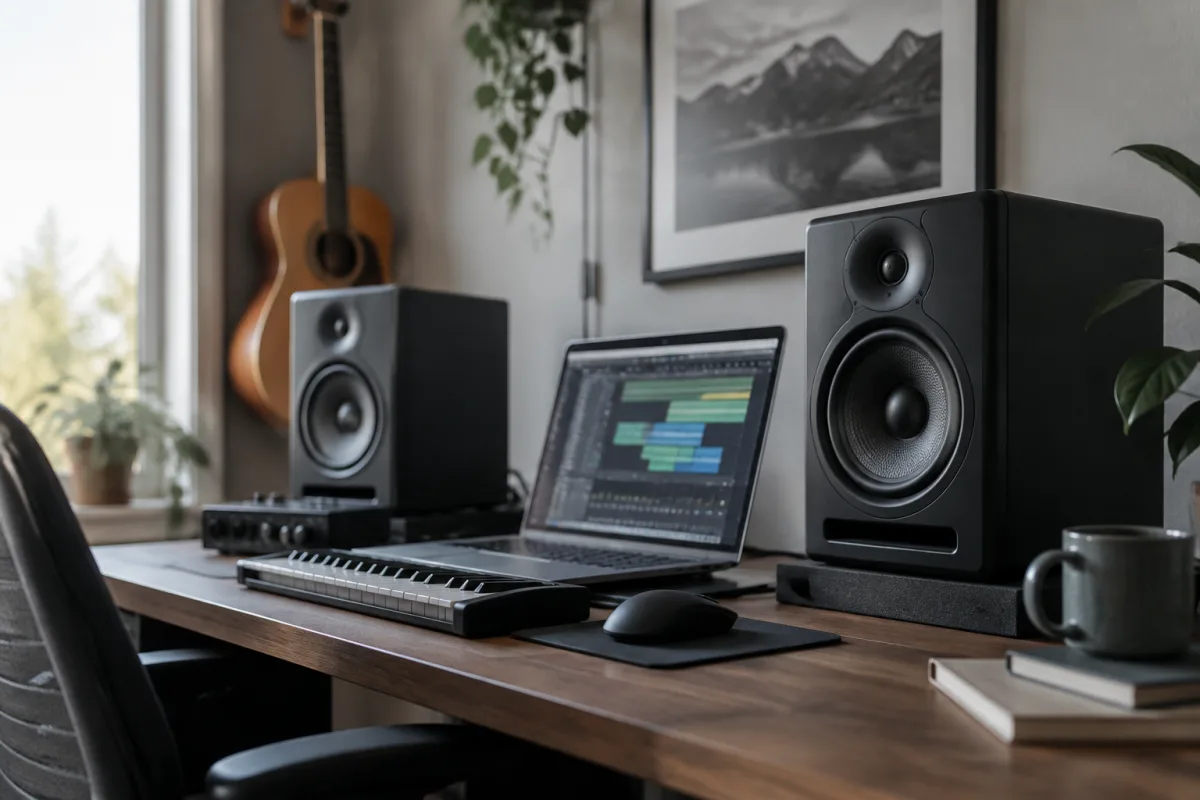
Setting up your first pair of studio monitors can feel like stepping into an unfamiliar world. You've probably heard that accurate monitoring is essential for mixing, but terms like "near-field," "frequency response," and "acoustic treatment" can sound intimidating. If you're considering PreSonus studio monitors for your first serious listening setup, you're on the right track. PreSonus studio monitors are engineered for home recordists and producers who want honesty from their speakers without spending a fortune. This beginner's guide walks you through choosing your first pair, setting them up properly, and starting to mix with confidence.
Why PreSonus Studio Monitors Make Sense for Beginners
PreSonus studio monitors have built a reputation for affordability paired with genuine monitoring accuracy. They're not boutique luxury items; they're practical tools designed by engineers who understand the realities of bedroom studios and tight budgets. A pair of PreSonus studio monitors delivers the flat, honest frequency response you need to make mixing decisions that translate to other playback systems—the core purpose of studio monitoring.
For beginners, this matters because it removes one variable. You won't spend weeks wondering if your PreSonus studio monitors are lying to you. Instead, you can focus on learning mixing fundamentals without equipment doubts clouding your progress.
Choosing Your First Pair: PreSonus Studio Monitor Sizes
PreSonus offers several studio monitor ranges, typically organized by woofer size. Understanding size helps you pick the right pair for your space:
- 5-inch PreSonus studio monitors: Ideal for bedroom and small home studios. They don't require much desk space, sound good close up (near-field monitoring), and are more affordable. The trade-off: bass reproduction is limited, so mixes might sound thin when played on larger systems.
- 6.5-inch or 8-inch PreSonus studio monitors: Better bass extension and more accurate low-frequency reproduction. They're suited for slightly larger rooms and positions further from your ears. If you're mixing music with significant bass content (hip-hop, electronic, pop), these are worth the extra investment.
- Larger systems: 10-inch and beyond are for dedicated control rooms. Beginners rarely need this size unless your room is genuinely large.
For your first pair, start with 5-inch PreSonus studio monitors if your desk is small or your room is tiny. Choose 6.5-inch or 8-inch if you have the space. Better monitors reveal mix problems earlier, which accelerates your learning.
Setting Up Your PreSonus Studio Monitors Correctly
Incorrect setup ruins even excellent PreSonus studio monitors. Here's how to do it right:
- Position monitors at ear level when you're seated. Your ears should be equidistant from both speakers, forming an equilateral triangle. This symmetry is non-negotiable for accurate stereo imaging.
- Place PreSonus studio monitors on stands, not directly on your desk. Desk resonance muddles bass and colors the sound. Isolation pads under the monitors decouple them from vibration.
- Angle the monitors slightly inward, so the tweeters (high-frequency drivers) aim directly at your ears. This improves clarity and stereo imaging.
- Set initial volume at a moderate, comfortable level (around 85dB if you have a meter, but honest ears work too). Beginners often work too loud, which tires ears and creates mixes that sound thin when played quietly elsewhere.
- Let PreSonus studio monitors warm up for 15–20 minutes before critical listening. Cold electronics sound different from warm ones.
This setup takes 30 minutes but transforms your monitoring experience. Don't skip it.
Room Acoustics: The Invisible Partner to Your PreSonus Studio Monitors
PreSonus studio monitors can only be as accurate as your room allows. Untreated rooms have peaks and dips in bass response, fluttering echoes, and reflections that distort the sound. Many beginners blame their monitors for poor mixes when the real culprit is the room.
You don't need expensive acoustic panels everywhere. Start with simple, practical treatment:
- Bass traps in corners: Bass frequencies accumulate in room corners. Soft materials (blankets, foam, curtains) absorb bass and flatten response.
- Absorption behind and beside monitors: Hard walls reflect sound. Hanging blankets or foam behind your PreSonus studio monitors reduces reflections and improves direct sound from the speakers.
- Soft furniture: Your room's curtains, rugs, and couches matter more than you think. They absorb sound and reduce flutter echo. A bare room with only PreSonus studio monitors sounds worse than the same room with soft furnishings.
Acoustic treatment takes time and isn't glamorous, but it's the single biggest improvement you can make. Before upgrading your PreSonus studio monitors, treat your room first.
Learning to Trust Your PreSonus Studio Monitors
When you first use PreSonus studio monitors after listening to consumer headphones or cheap speakers, the difference is shocking. Everything sounds flat, thin, and lifeless. This is exactly what you want. Consumer speakers lie by boosting bass and treble; PreSonus studio monitors tell the truth.
Build trust through comparison. Mix a track on your PreSonus studio monitors, then check it on multiple playback systems—car speakers, earbuds, phone speakers, other home systems. When your PreSonus studio monitors mix translates well everywhere, you've made the right decisions. When it doesn't, the monitors are telling you to fix something.
Use reference tracks—professionally mixed songs in your genre—to calibrate your ears. Knowing how a great mix sounds on your PreSonus studio monitors gives you a target to chase. Over weeks, your ears develop intuition.
Common Beginner Mistakes with PreSonus Studio Monitors
- Mixing too loud: Loud playback fatigues ears and skews perception of bass and treble. Work at moderate levels (75–85dB). You'll make better mixing decisions and protect your hearing.
- Skipping room treatment: A pair of PreSonus studio monitors in an untreated room is like a telescope in a dust storm. Acoustically treating your room is not optional; it's foundational.
- Positioning monitors wrong: Asymmetrical placement, monitors not at ear level, or poor speaker stands ruin stereo imaging. Get positioning right before assuming the monitors are inaccurate.
- Relying only on PreSonus studio monitors: Mix on your monitors, but always check mixes on multiple systems. Monitors reveal detail; other systems reveal reality. Use both.
- Buying monitors that are too large for your space: Oversized PreSonus studio monitors in a tiny room produce boomy, uncontrolled bass. Match monitor size to your room's size.
Moving Forward with Your PreSonus Studio Monitors
Your first pair of PreSonus studio monitors is an investment in your ability to mix well. They're not a shortcut—good mixing still requires years of practice, training your ears, and making mistakes. But accurate monitors accelerate that learning tremendously. Every mix you make on honest PreSonus studio monitors teaches you something.
As your skills deepen, you might explore more advanced techniques and additional gear. For comprehensive technical information on monitor acoustics and advanced mixing practices, see the ultimate guide to PreSonus studio monitors.
Start Simple, Grow Methodically
Your PreSonus studio monitors are ready to serve you the moment they're positioned correctly and your room is treated. Don't overthink it. Set them up, treat your room, and start mixing. The confidence you'll build from making mixes that actually translate is worth every moment spent getting this right. PreSonus studio monitors won't make you a great mixer, but they'll ensure your monitors aren't holding you back.


Comments