


Nearfield Monitors Buying guide
Nearfield Monitors: A Complete Buyer's Guide
Purchasing nearfield studio monitors requires understanding specifications, room acoustics, and sonic character. This comprehensive buying guide helps you select monitors that will deliver professional results in your actual studio space.
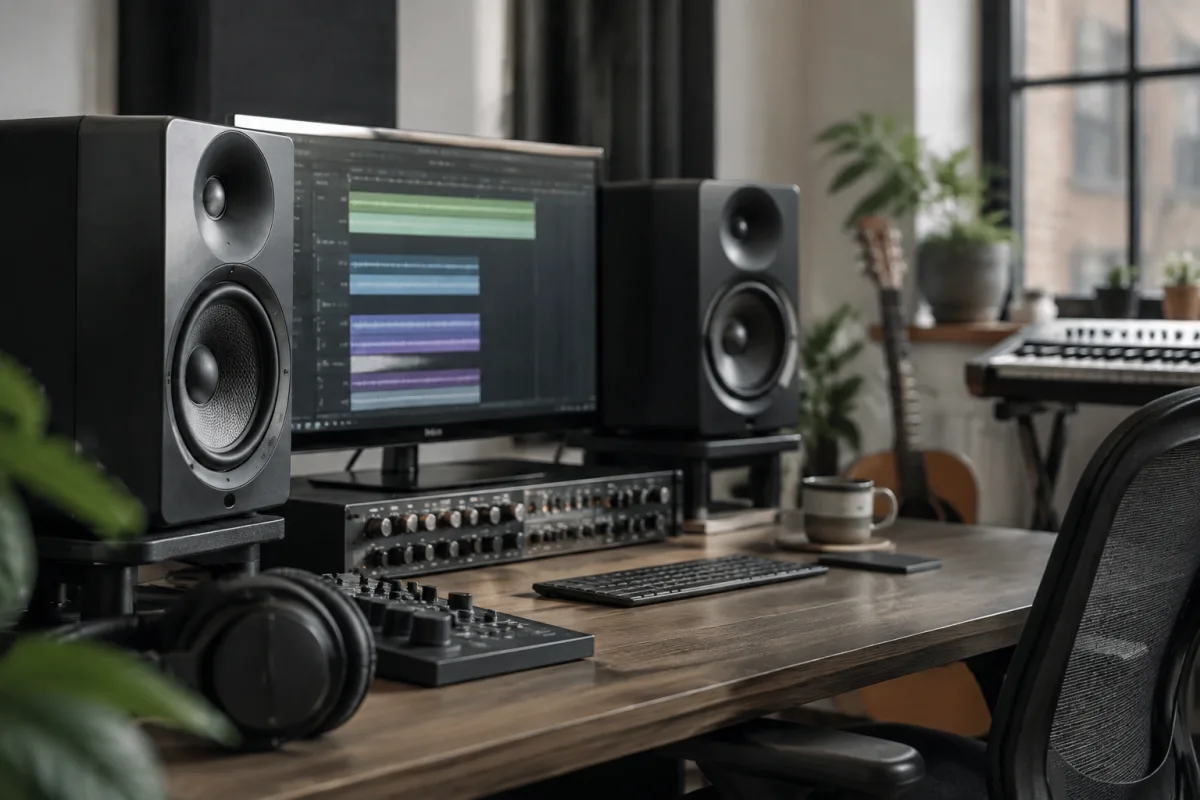
Buying your first pair of nearfield studio monitors is one of the most important investments in your recording setup. Unlike headphones, monitors affect not just your mixing but also your room acoustics and overall studio treatment strategy. Navigating the market requires understanding critical specifications, evaluating sonic character, and recognising which features actually matter for your use case. This buying guide walks you through the essentials, helping you avoid costly mistakes and find monitors that will serve your studio for years to come.
Critical Specifications for Choosing Nearfield Monitors
When comparing nearfield studio monitors, several technical parameters will determine how well they perform in your specific space and application. Understanding these specs prevents you from overpaying for features you don't need or underpaying and discovering critical limitations later.
- Frequency Response: Look for monitors specified as 40Hz-20kHz or lower. Monitors that only extend to 60Hz or higher will miss critical bass information. However, be aware that published frequency response doesn't reveal whether the response is actually flat—some monitors have exaggerated bumps in specific ranges.
- Driver Configuration: Most nearfield monitors use 4-8 inch woofers paired with 1-1.5 inch tweeters. Larger woofers (8 inch) excel at bass reproduction but may be overkill for small rooms. Smaller woofers (4-5 inch) work better in intimate spaces.
- Amplification and Wattage: Nearfield monitors are powered (they contain amplifiers), typically offering 50-300 watts of combined power. Don't confuse wattage with loudness—efficiency and room size matter far more. Most small studios benefit from 50-150 watts per monitor.
- Room Modes and Boundary Placement: Monitors positioned near walls reinforce certain frequencies. Look for monitors that offer rear-panel controls for boundary compensation, allowing you to place them closer to walls without excessive bass buildup.
- Noise Floor: Cheap monitors may have noisy amplifiers that introduce hum or hiss. Check specifications—look for noise floors of -20dBu or quieter. A noisy monitor becomes maddening during quiet mixing sessions.
- Input Options: Verify the monitor accepts your interface outputs. XLR (balanced) is standard and best; some budget models include only RCA (unbalanced) inputs, which is acceptable but susceptible to interference.
Understanding Room Acoustics and Monitor Placement
Buyers often overlook that monitor quality alone doesn't guarantee good mixing. Your room's acoustic properties dramatically affect how the monitors sound. Before selecting monitors, honestly assess your space.
Room Size Matching: Small nearfield monitors (4-5 inch) work brilliantly in bedrooms and small apartments. Larger monitors (8 inch) genuinely need larger rooms to perform optimally. Putting massive monitors in a tiny space defeats their purpose and creates acoustic chaos. Measure your mixing position to speaker distance—ideal positioning is roughly two metres with at least a one-metre distance from the rear wall.
Acoustic Treatment Expectations: The truth beginners hate: even premium monitors won't sound good in an untreated room. Bass frequencies build up in room corners, reflections cause phase problems, and standing waves muddy your mix decisions. Budget at least as much for basic acoustic treatment (bass traps, absorption panels, diffusion) as you do for the monitors themselves.
Isolation and Decoupling: Monitors sitting directly on desks transmit vibration into your furniture, which then radiates back into the room. Invest in proper monitor stands or isolation platforms (£30-100 per pair). This single addition often improves perceived clarity and bass response more dramatically than upgrading monitor models.
Common Pitfalls When Buying Nearfield Monitors
Assuming bigger always means better. A pair of 8-inch monitors in a small bedroom won't sound better than properly selected 5-inch monitors—they'll sound worse. The lowest frequency your room can reproduce is determined by its dimensions, not your monitor size. Match the monitor to the space, not to ego.
Buying based on online specs without listening. Frequency response published by manufacturers often uses generous measurement tolerances. Two monitors might both claim 40Hz-20kHz but sound dramatically different. Audition monitors on sources you know well—professional mixes, your own recordings, reference tracks you've heard on multiple systems.
Treating the monitors as your entire acoustic strategy. Monitors are just part of your room. Many buyers spend £500 on monitors, £0 on treatment, and then complain their mixes don't translate. This is completely predictable. Budget your studio investment across monitors, treatment, stands, and cables—not exclusively into monitor speakers.
Ignoring amplifier thermal management. Some budget monitors have weak amplifiers that thermal-limit (reduce volume) during extended sessions. Check reviews for any mention of thermal issues. Professional studios need monitors that maintain consistent output all day without throttling.
Overlooking input sensitivity adjustment. Your monitor's volume control should offer a wide range of adjustment. Some models have a fixed input sensitivity that forces you to either run your interface dangerously hot or the monitors at barely-audible levels. This limitation makes consistent gain staging impossible.
Nearfield Monitor Price Tiers and What to Expect
| Price Range (GBP per Pair) | Typical Quality and Features | Best For |
|---|---|---|
| £200-400 | Basic driver configuration, limited frequency extension, acceptable preamps, single input option | Bedrooms, casual recording, budget-conscious beginners, demo production |
| £400-800 | Better driver design, improved frequency response, higher-grade amplification, multiple inputs, boundary control | Small professional studios, serious hobbyists, dedicated mix rooms |
| £800-1,500 | Premium components, extended bass response, Class D or tube amplification options, sophisticated controls, exceptional consistency | Professional recording studios, mixing/mastering suites, critical listening applications |
| £1,500+ | Hand-calibrated components, advanced DSP controls, heritage design reputation, reference-quality accuracy | Professional mastering studios, flagship control room setups, high-end installations |
Evaluating Sonic Character and Consistency
The most important evaluation happens during direct listening to monitors you're considering. Frequency response specs tell only part of the story—sonic character and how consistently the monitors behave across different volume levels matter enormously.
Request demo units and listen at the volume levels you actually work at—not at concert volume, but at the 75-85dB levels where most professional mixing happens. Pay attention to:
- How clearly the monitors separate instruments across the stereo field
- Whether bass is tight and defined or bloomy and vague
- How mid-range presence affects vocal clarity (neither too forward nor too recessed)
- Whether high-frequency detail is clear without sounding harsh or fatiguing
- How the monitors behave at low volume—do they still sound balanced?
Testing Before Commitment
Many quality dealers allow extended listening trials. Use this opportunity ruthlessly. Set up the monitors in your actual mixing space, not in a showroom. Spend at least a week with them, mixing your own tracks and A/B'ing them against reference material you know well.
Listen to your existing mixes through the new monitors. Do they sound dramatically different from your headphones? That's expected. Do they reveal problems in your mixes that headphones missed? Excellent—that's the monitors doing their job. Only after a week of real-world use can you make an informed decision.
Complementary Equipment and Budget Planning
The monitor price is just part of your investment. Factor in these additional costs to get a functioning, professional-sounding setup:
- Monitor stands or isolation platforms: £30-150 per pair
- XLR cables (quality, not cheap): £15-30 per cable
- Acoustic treatment basics: £100-300 minimum for any room
- Monitor controller/interface: £50-200 (optional but valuable for consistent gain staging)
Total realistic investment for a quality small-studio setup: £500-1,500 including monitors and essentials. Cheaper than that often means compromises in treatment and support equipment.
Your Final Decision Process
Start by measuring your room and identifying its acoustic limitations—standing wave modes, early reflections, existing treatment. This determines your ideal monitor size and placement strategy. Next, shortlist monitors known to excel in your room size and application. Request demos and listen critically. Finally, only commit after a real-world trial in your actual space.
For more detailed technical explorations and comprehensive model comparisons, see the ultimate guide to nearfield studio monitors.


Comments