


Iloud Studio Monitors article
Iloud Studio Monitors for Beginners: A Complete Guide
iLoud studio monitors deliver impressive accuracy in a compact package, perfect for beginners in tight spaces. This guide covers features, setup, and whether iLoud is right for you.
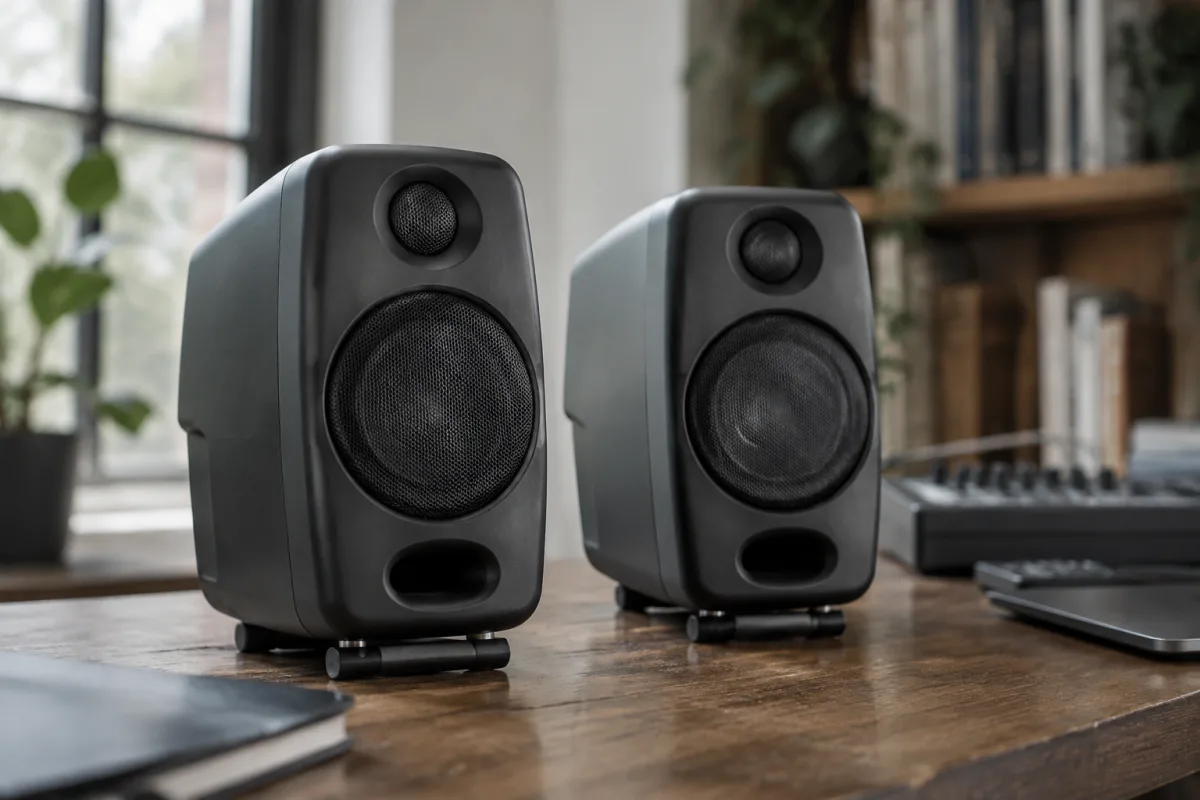
If you're setting up a home studio for the first time and space or budget is tight, iLoud studio monitors offer a smart, beginner-friendly option. These compact, Italian-designed speakers deliver impressive accuracy in a small package, making them ideal for anyone just starting out with mixing and recording. But are they the right choice for you? This beginner's guide explains what iLoud studio monitors do, how they differ from traditional monitors, and whether they're worth your investment.
What iLoud Studio Monitors Are
iLoud studio monitors are compact, powered speakers designed by Italian manufacturer iConnectivity. They're engineered for small spaces and mobile setups—bedrooms, small studios, even portable rigs. Despite their diminutive size (many models are no larger than a coffee maker), iLoud studio monitors deliver surprising accuracy and bass response, which is why they appeal to beginners who want real studio monitoring without a huge footprint.
The philosophy behind iLoud is that good monitoring shouldn't demand space or a fortune. A pair of iLoud studio monitors costs less than many conventional nearfield monitors, yet delivers solid performance for learning and casual mixing.
iLoud Studio Monitors vs. Traditional Nearfield Monitors
Understanding the trade-offs helps you decide if iLoud is right for you:
- Size and portability: iLoud studio monitors are genuinely compact. Traditional nearfield monitors are larger. If space is precious, iLoud wins.
- Bass response: iLoud studio monitors pack surprisingly deep bass for their size (some models reach 50 Hz or lower). Traditional monitors typically offer more extended bass, but the difference matters less in small rooms.
- Accuracy: Both iLoud and traditional monitors can be accurate. iLoud has a reputation for musicality; some traditional monitors are flatter. For beginners, both are adequate.
- Price: iLoud studio monitors are often cheaper than equivalent-quality traditional monitors. This appeals to budget-conscious beginners.
- Connectivity: iLoud studio monitors often include creative connectivity (Bluetooth, USB, optical inputs), while traditional monitors stick to XLR/RCA. The extra options are nice but not essential.
The bottom line: iLoud studio monitors are a solid alternative to traditional nearfield monitors, especially in cramped spaces or for learners prioritising affordability.
Key Features of iLoud Studio Monitors
Here's what makes iLoud stand out:
- Compact design: Many models are cube-shaped or cylindrical, fitting easily on shelves or desks without dominating the space.
- Multi-input connectivity: Most iLoud studio monitors accept XLR, RCA, USB, Bluetooth, and sometimes optical inputs. This flexibility is handy if you're switching between devices.
- DSP room controls: Built-in controls let you adjust bass and presence for your specific room. Useful in untreated spaces.
- Bass extension: Despite their size, many iLoud models extend to 50 Hz or lower, adequate for most home studio mixing.
- Low power consumption: iLoud studio monitors draw minimal power, making them eco-friendly and ideal for always-on setups.
iLoud Studio Monitor Models for Beginners
iConnectivity offers several models; here's what beginners encounter:
- iLoud Micro Monitor: Ultra-compact, designed for laptop producers and small desks. Tiny but surprisingly capable. Best for ultra-tight spaces; acceptable for beginners but limited bass.
- iLoud MTM (Mastering Through Monitoring): The flagship model. Larger than the Micro, offers excellent frequency response and musicality. Many pros use these for mixing and mastering. Excellent choice for beginners who want professional-grade sound.
- iLoud Compact Studio Monitor: A sweet spot between size and performance. Good bass extension, easy to position, affordable. Ideal for learners with moderate space.
For beginners, the iLoud MTM or a compact model offers the best balance of accuracy, price, and usability.
Common Beginner Questions About iLoud Studio Monitors
Here's what new users often wonder:
- Will iLoud studio monitors handle bass-heavy music? Mostly yes. Most models reach 50 Hz, adequate for most genres. If you exclusively mix sub-bass-heavy electronic music, a subwoofer would help, but for general mixing, iLoud is solid.
- Are iLoud studio monitors suitable for serious mixing? Yes. Professionals use iLoud for mixing and mastering. However, beginners often conflate "compact" with "toy," which is a mistake. iLoud is genuinely accurate.
- Do I need acoustic treatment with iLoud studio monitors? Yes. Even excellent monitors benefit from basic room treatment. A rug and a couple of absorptive panels improve accuracy noticeably.
- Can I use Bluetooth input for mixing? Technically yes, but it's not ideal. Wireless introduces latency and compression. Use wired connections (XLR or USB) for mixing; reserve Bluetooth for casual listening.
- Should I buy the smallest model to save space? Only if space is genuinely constrained. A slightly larger iLoud model delivers better bass and is more accurate. Don't sacrifice performance just to save a few centimetres.
First Steps: Setting Up iLoud Studio Monitors
Getting started is refreshingly simple:
- Unbox and inspect: Verify all components and connections are intact.
- Position at ear level: Place iLoud studio monitors on stands or shelves at ear height, roughly 60 cm apart, angled slightly inward toward your head.
- Choose your connection: Use XLR or USB for mixing (wired audio is cleaner). Reserve Bluetooth for casual reference listening.
- Adjust DSP controls: If your room is untreated or boomy, use the bass and presence controls to compensate. Start neutral and adjust only if needed.
- Set levels appropriately: Volume should be comfortable—typically around 85 dB SPL at your listening position. A smartphone decibel meter app can help if you're curious.
- Test and listen critically: Play material you know well and listen for accuracy. Do vocals sound natural? Is bass balanced? Adjust positioning or DSP if needed.
Common Beginner Mistakes
Avoid these pitfalls:
- Assuming compact = inaccurate: Many beginners dismiss iLoud studio monitors because they're small. This is a mistake. They're genuinely well-engineered and accurate.
- Neglecting room treatment: Even the best iLoud studio monitors sound better in an acoustically treated space. Don't skip basic panels or a rug.
- Using Bluetooth for serious mixing: Wireless introduces latency and compression. Use wired connections when you're mixing critically.
- Placing monitors incorrectly: Position at ear level, equidistant from your head, angled inward. Poor placement undermines even excellent monitors.
- Ignoring DSP controls: If your iLoud studio monitors have room correction controls, experiment with them. Small adjustments can dramatically improve accuracy in your space.
- Buying only one monitor: You need a stereo pair. A single iLoud monitor is useless for mixing. Always buy a pair.
- Expecting bass without a subwoofer: iLoud studio monitors extend respectably low, but if you mix heavy bass music, a subwoofer would add confidence and detail. Not essential but useful for some genres.
Budget Considerations
iLoud studio monitors are generally affordable:
- Entry-level (Micro Monitor): Around £200–400 per pair. Compact but limited bass. Good for ultra-tight spaces or learning on a shoestring budget.
- Mid-range (compact models): £400–800 per pair. Solid all-rounders. Best value for most beginners.
- Premium (MTM): £800–1,200+ per pair. Professional-grade. Worth it if you plan to mix seriously long-term.
For a beginner, targeting £400–700 per pair delivers dependable performance without overspending.
When to Upgrade Beyond iLoud
iLoud studio monitors serve beginners and enthusiasts well. But as your skills grow, you might want larger traditional nearfield monitors for more bass extension, or a second pair for reference. That's normal—iLoud studio monitors are an excellent foundation, not necessarily your final setup.
For more detailed technical information about iLoud studio monitor design, comparisons with competitors, and advanced setup techniques, explore our comprehensive iLoud studio monitor guide.
The Bottom Line
iLoud studio monitors are genuinely capable, compact, and beginner-friendly. They deliver accurate sound in small spaces at an affordable price. Position them correctly, treat your room acoustically, and use wired connections for mixing. Within days, you'll trust their sound and feel confident in your mixing decisions. For space-conscious beginners, iLoud studio monitors are an excellent choice.


Comments