


Desktop Studio Monitors article
Desktop Studio Monitors for Beginners: A Complete Guide
Desktop studio monitors are practical, affordable mixing tools for bedroom studios. This guide covers selection, placement, and how to get accurate sound from a small space.
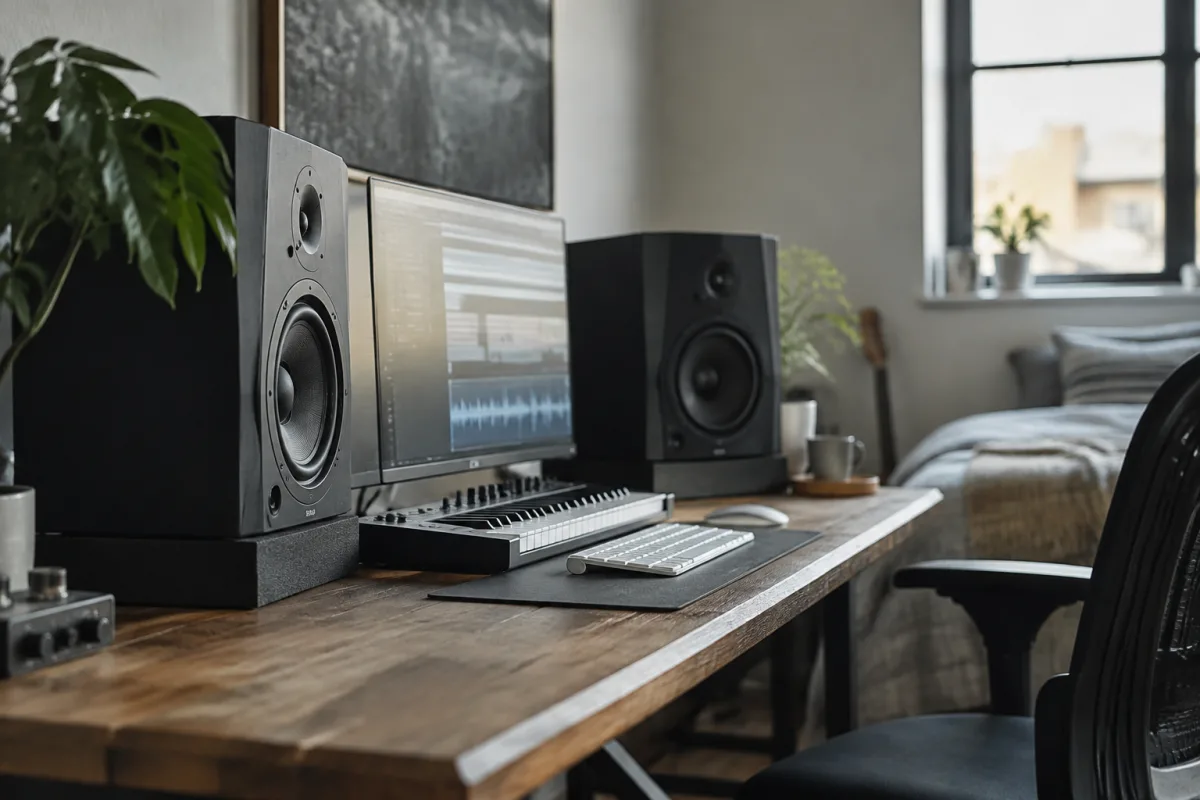
Starting out with desktop studio monitors can feel overwhelming. You're looking at options with mysterious specifications, brand names you've never heard of, and prices ranging from "wait, seriously?" to "that's actually reasonable." This guide is written for someone who genuinely doesn't know whether they want powered or passive monitors, what size is appropriate, or whether "desktop" actually means something different from "studio monitors." If you're setting up a bedroom or small office space and need accurate monitoring without committing to a large-format control room, desktop studio monitors are exactly right for your situation. Here's what you need to know before you buy.
What "Desktop" Actually Means
Desktop studio monitors aren't a different category of monitor; they're studio monitors designed to sit on a desk rather than on speaker stands in the middle of a large room. That's it. The term describes placement, not performance. The implications, though, matter: desktop monitors are typically smaller (4–7 inch woofers rather than 8+ inches), which means less low-end extension and less volume capability. But they also mean your monitors sit closer to your ears (typical desk distance is 1–1.5 metres), which actually works in your favour acoustically.
Think of desktop monitors as the practical choice for anyone without a dedicated mixing room. They're not compromise gear; they're specifically designed for the acoustic environment a desk actually provides.
Powered Versus Passive: Why It's Actually Simple
Powered monitors have amplification built in. You plug them into mains power and connect audio directly from your interface. Passive monitors need external amplifiers. For a beginner setting up a desktop space, powered is the obvious choice—simpler, fewer cables, no amplifier to buy and troubleshoot. Nearly every desktop monitor is powered, so this decision essentially makes itself.
Passive monitors only make sense if you're building a larger professional setup where a dedicated amplifier lets you upgrade speakers without replacing amplification. That's professional-level territory. Start with powered; you can explore passive later if you actually need to.
Size Matters: Finding Your Sweet Spot
Desktop studio monitors typically come in three sizes:
- 4–5 inch woofer: Smallest option. Suits tiny desks and very close monitoring distance (1 metre or less). Bass response is limited; you're mostly listening to mids and highs. Genuinely useful for vocal-focused work, spoken-word, or podcasting. Not ideal for mixing bass-heavy music.
- 5–6 inch woofer: The middle ground and most common. Works on any desk, offers reasonable bass response, and accommodates a variety of source material. If you're unsure, this size is your answer.
- 6–8 inch woofer: Larger end of the desktop spectrum. Requires a proper desk with space and a solid mounting solution. Better bass response and more demanding of room acoustics. Only choose this if your desk is genuinely spacious and you mix low-end-heavy music regularly.
For most bedroom studios, 5–6 inch monitors are the genuine starting point. They're large enough to do serious mixing work, small enough to fit any desk, and appropriately priced (typically £200–400 per pair).
Key Specifications to Actually Understand
Rather than chasing specifications, understand what they mean in practice:
- Frequency response (e.g., 50 Hz – 20 kHz): This tells you the range the monitors cover. Lower number = deeper bass. For desktop work, 50 Hz is adequate; anything below that typically requires acoustic treatment anyway. Don't obsess over frequency response; focus on flatness (is the response genuinely neutral across that range?).
- Power (e.g., 50W per speaker): This only matters if you're in a very large room or like monitoring extremely loudly. For desktop work at normal conversational volumes, 30–50W per side is completely sufficient.
- Signal-to-noise ratio (SNR, measured in dB): This tells you how much hiss and noise the monitor introduces. Higher is better. Anything above 100 dB SNR is good; look for "quiet" monitors that don't introduce obvious background noise.
- Maximum SPL (Sound Pressure Level, in dB): This tells you how loud the monitor can get. Most desktop monitors manage 85–95 dB SPL, which is more than enough. You're mixing at conversation volume, not concert volume.
Rather than reading specs, listen to the monitor in person if possible. Specs are marketing; your ears tell the truth.
Connectivity and Setup: The Practical Bit
Desktop studio monitors connect via balanced XLR cables or quarter-inch cables (depending on what your interface provides). Some monitors include both input options; some don't. Check before you buy. Use proper audio cables rated for this purpose, not generic cables—audio-specific cables have shielding that reduces noise pickup.
Position monitors roughly 2–3 feet apart, ideally at ear level when you're seated (adjust the monitor angle, not the position, to match ear height). Use isolation pads under the monitors to reduce vibration transfer to your desk. Small foam isolation pads cost £15–30 per set and genuinely reduce desk rumble, making your monitoring clearer.
Keep cables away from your microphone cable if you record vocals. Audio cables and microphone cables run closely together pick up buzz and noise. This isn't complicated, just thoughtful arrangement.
Common Beginner Mistakes
- Putting monitors in corners: Bass builds up massively in corners. Keep monitors away from walls if possible; at minimum, keep them 30+ cm away from rear walls. This single change improves bass accuracy dramatically.
- Trusting monitors without acoustic treatment: Even at normal levels, a reflective desktop environment colours what you hear. A few basic absorption panels (£50–100 total) behind the monitors improve accuracy noticeably.
- Monitoring too loudly: Ear fatigue ruins judgment. Mix at conversation volume. If you're unsure whether something sounds right, reduce the volume and reassess. Loud mixing sounds impressive but destroys your mixing decisions.
- Skipping isolation pads: Cheap pads under the monitors significantly improve clarity. They're one of the cheapest upgrades and one of the most effective.
- Using the wrong cables: Generic cables introduce noise and hum. Use proper balanced audio cables. The difference is genuinely audible.
- Ignoring your nearfield environment: What's immediately around your monitors matters hugely. A desk full of clutter absorbs and reflects sound unpredictably. Clear the desk in front of the monitors. Keep shelving and equipment away from the monitor axis if you can.
Popular Desktop Monitor Options for Beginners
Rather than recommend specific models (which change yearly and vary by region), look for these characteristics in any desktop monitor you consider:
- Established brands with positive reviews from actual recording engineers (not casual consumers)
- Described as "flat" or "neutral," never "warm" or "punchy"
- 5–6 inch woofer for most bedroom setups
- Balanced XLR connectivity
- Isolation pads or mounting points included or readily available
- User manual and frequency response graph available online
- Reasonable price (£200–400 per pair; anything significantly cheaper compromises accuracy, anything significantly more expensive offers features that don't improve desktop mixing)
Listen to options in person if you can. Read reviews from professional audio sources, not general tech sites. Make a choice based on what you hear, not what sounds impressive in a specification list.
Your Nearfield Acoustic Environment
Desktop monitors sit close to you—"nearfield" monitoring in audio terminology. This is actually an advantage for home studios because the direct sound from the monitors reaches your ears strongly, whilst reflected room sound is quieter by comparison. But it also means treated acoustics matter more than in larger spaces.
Invest minimally in acoustic treatment: two or three absorption panels behind the monitors (£40–60 each) and bass traps in the rear corners if your room is particularly reflective. This investment changes monitoring accuracy more than upgrading from a £300 monitor to a £500 monitor would. Treat your room first, then trust your monitors.
Growing Beyond Your First Setup
Many engineers start with smaller desktop monitors, gain confidence and experience, then upgrade to larger models or add a subwoofer for extended bass. This is a sensible progression. Your first monitors teach you how monitors work and how your environment affects them. After a few months, you'll know whether you need more bass extension, larger size, or a second pair for surround mixing.
Focal, Adam, Genelec, JBL, Presonus, and KRK all make excellent desktop monitors. Your first choice matters far less than your commitment to learning how to use them properly and treating your room thoughtfully.
For a comprehensive overview of desktop studio monitors, including detailed comparisons and setup techniques, see our complete guide to desktop studio monitors.
The Path Forward
Your desktop studio monitors are one component of a functioning home recording space. Paired with basic acoustic treatment, a decent audio interface, and a quality microphone, they enable you to record and mix genuinely professional-sounding material. The learning curve is real—your first month will feel uncertain, and you'll wonder whether you're hearing problems or monitor limitations. This is normal and universal among engineers starting with desktop monitors.
Trust the process. Reference your mixes on other systems (speakers, earbuds, car stereo, phone), and gradually you'll develop genuine confidence in your monitors. They'll become transparent to you, and you'll stop thinking about the monitors and start thinking about the mix.


Comments