


Large Diaphragm Condenser Mic Buying guide
Large Diaphragm Condenser Mic: A Complete Buyer's Guide
Buying a large diaphragm condenser microphone requires understanding specifications, phantom power requirements, price tiers, and matching the microphone to your actual recording needs.
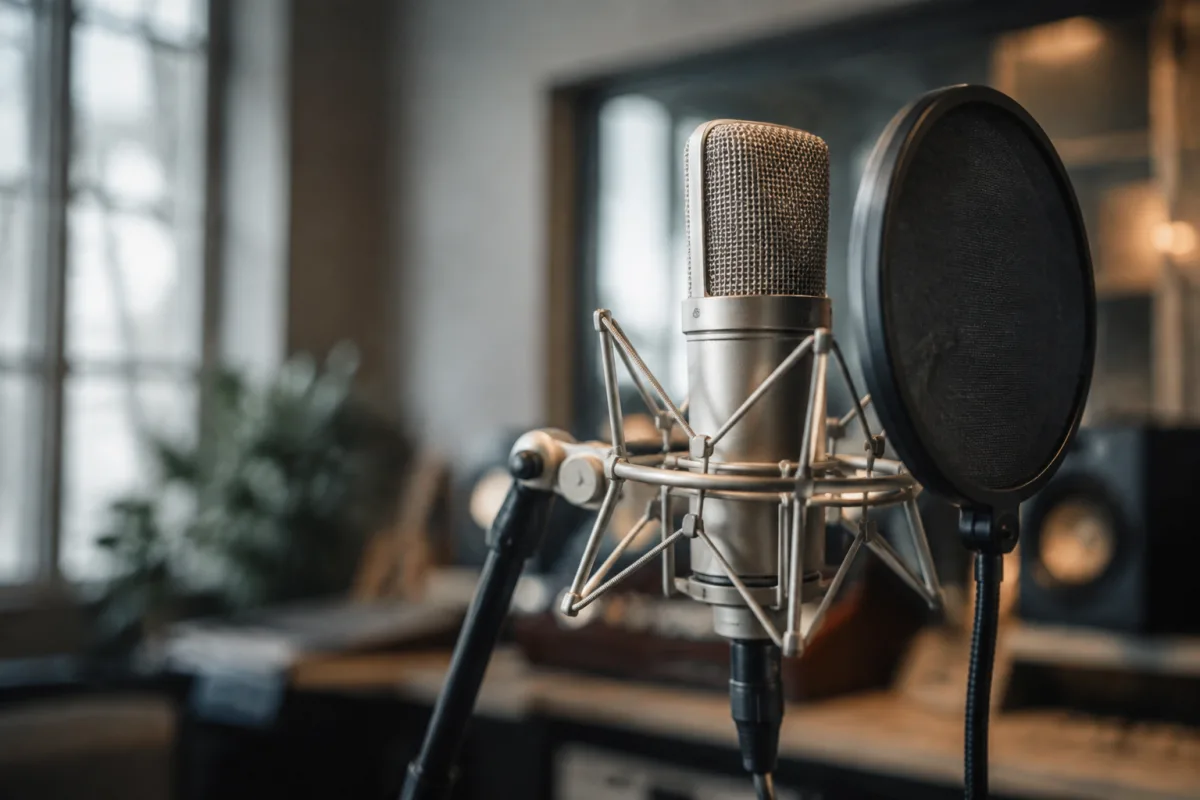
Buying a large diaphragm condenser microphone is a significant investment that requires understanding both technical specifications and practical considerations. Whether you're setting up a home recording studio, upgrading professional equipment, or choosing your first quality vocal mic, knowing what matters will help you spend money wisely. This guide covers the essential factors to evaluate before making your purchase.
Understanding What Makes a Large Diaphragm Condenser Microphone Different
Large diaphragm condenser microphones—generally 1 inch (25mm) or larger—have become the industry standard for vocal recording, acoustic instruments, and studio applications requiring smooth frequency response. The larger diaphragm provides sensitivity and presence that smaller microphones can't match. However, this sensitivity comes with specific requirements: phantom power, shock mounting, pop filtering, and careful positioning. If you've only used dynamic microphones, switching to condensers requires adjusting your technique and setup. Understanding these practical requirements before purchasing saves frustration and disappointment.
Critical Specifications to Compare When Buying
| Specification | What It Means | What Matters for Buying |
|---|---|---|
| Frequency Response | 20Hz–20kHz or stated range | Look for presence peak (around 4-7kHz) for vocal clarity; avoid excessive harshness above 10kHz |
| Sensitivity (Self-Noise) | Measured in dB-A; lower is better | Under 15dB-A is good; under 12dB-A is excellent. Higher self-noise means more hiss in quiet recordings |
| Maximum SPL | Sound pressure level the mic handles without distortion | 130dB SPL is fine for vocals; 140dB+ needed for drums and loud instruments |
| Polar Pattern | Cardioid, omnidirectional, figure-8 options | Cardioid is standard for vocals; switchable patterns offer flexibility for different sources |
| Presence Peak/Dip | Frequency response curve in presence region | Presence peak adds clarity and air; excessive peak causes harshness. Dip smooths aggressive sources |
Budget Considerations and Price Tiers
Budget tier (£100–£300): Entry-level condensers deliver usable results but with higher self-noise, less refined frequency response, and plastic construction. Acceptable for beginners and home recording where noise floor isn't critical. Examples include budget Behringer and Audio-Technica models.
Mid-range tier (£300–£800): Professional-grade quality at accessible prices. Lower self-noise, smoother frequency response, metal construction, and designs that work well in real studios. This range offers excellent value; most home studios benefit from investing here rather than at budget or premium tiers. Brands like Shure, Audio-Technica, and Rode offer quality mid-range options.
Premium tier (£800–£3000+): Professional studio standard equipment with exceptional sound, minimal self-noise, robust construction, and longevity. Justifiable if you're recording commercially or have specific sonic requirements. Brands like Neumann, AKG, and Telefunken command premium prices for measurable sonic advantages.
Phantom Power and Power Supply Requirements
All large diaphragm condenser microphones require 48V phantom power to operate. Before buying, confirm your audio interface or mixer provides clean phantom power. Poor phantom power delivery causes noise and strange artifacts. Budget microphones sometimes tolerate sketchy phantom power; professional models require proper implementation. If your current setup can't provide stable phantom power, budget for a quality interface or mixer when calculating total cost.
Capsule Type and Sound Character
Large diaphragm condensers use either side-address (where you sing into the side) or end-address (where you sing into the top) capsule designs. Side-address capsules are industry standard and offer the classic large-diaphragm condenser sound—smooth, warm, and flattering for vocals. End-address designs are rarer but offer different sonic characteristics. For beginners, stick with proven side-address designs that work in predictable ways.
Diaphragm material and construction varies: gold-sputtered mylar, polyester, and specialty materials each impart different sonic signatures. This is where personal preference matters as much as specifications. Reading direct comparisons and hearing audio examples becomes essential rather than relying purely on specs.
Deciding Between Fixed and Switchable Polar Patterns
Most affordable condensers offer fixed cardioid patterns, which is appropriate for vocal recording and typical studio work. Switchable polar patterns (cardioid, omnidirectional, and figure-8 options) add flexibility but increase cost. You only need pattern switching if you're recording multiple sources with different directional requirements. For primarily vocal recording, a fixed cardioid design is sufficient.
Common Buying Mistakes to Avoid
First mistake: buying based purely on specifications without hearing audio examples. Two microphones with similar specs can sound dramatically different. Watch blind audio comparisons and listen to recordings made with potential purchases before deciding.
Second: ignoring your actual recording environment. A £2000 microphone in an untreated room with poor electronics sounds worse than a £400 microphone with proper isolation and good preamps. Invest in your recording environment first.
Third: assuming more expensive equals better for your needs. A budget model might be perfect for podcasting where warmth and character matter less than avoiding noise. A professional-grade microphone becomes overkill for your actual requirements.
Fourth mistake: neglecting the entire signal chain. The microphone is only one part. Budget for quality microphone preamp (£200–500), pop filter (£30–100), shock mount (£30–80), and boom arm (£40–100). A £500 microphone through a poor preamp sounds worse than proper implementation of a £250 microphone through excellent signal chain.
Microphone Orientation and Room Treatment Considerations
Before buying, understand how room acoustics affect microphone selection. Hard, reflective rooms favor microphones with presence dips that control harshness. Treated, controlled environments let you use more neutral or presence-peaked microphones. If you're buying before treating your room, choose microphones known for forgiving characteristics rather than extended presence peaks.
Making Your Purchase Decision
Start by identifying your primary recording source: vocals, acoustic guitar, overheads, etc. Research microphones specifically praised for that application rather than buying generic "professional" condensers. Read user reviews focusing on actual recording examples, not just enthusiasm. If possible, rent or borrow potential candidates before purchasing to confirm they work in your specific room and vocal style.
Buy the best quality you can afford in the mid-range tier unless you have specific professional requirements. Invest the remaining budget in your recording environment, preamp, and signal chain. For comprehensive information on large diaphragm condenser microphones, their characteristics, and applications, consult our complete guide to large diaphragm condenser microphones.
Final Thoughts on Your Purchase
A quality large diaphragm condenser microphone is a long-term investment that improves every vocal and acoustic recording you make. Choosing wisely means balancing specifications against real-world performance, considering your actual recording needs rather than hypothetical future requirements, and building a complete signal chain rather than isolating the microphone. Take time to research, listen to examples, and make an informed decision. Your recordings will benefit from the thoughtful approach.



Comments