


Focusrite Audio Interface article
Focusrite Audio Interface for Beginners: A Complete Guide
Focusrite Audio Interface for Beginners: A Complete Guide
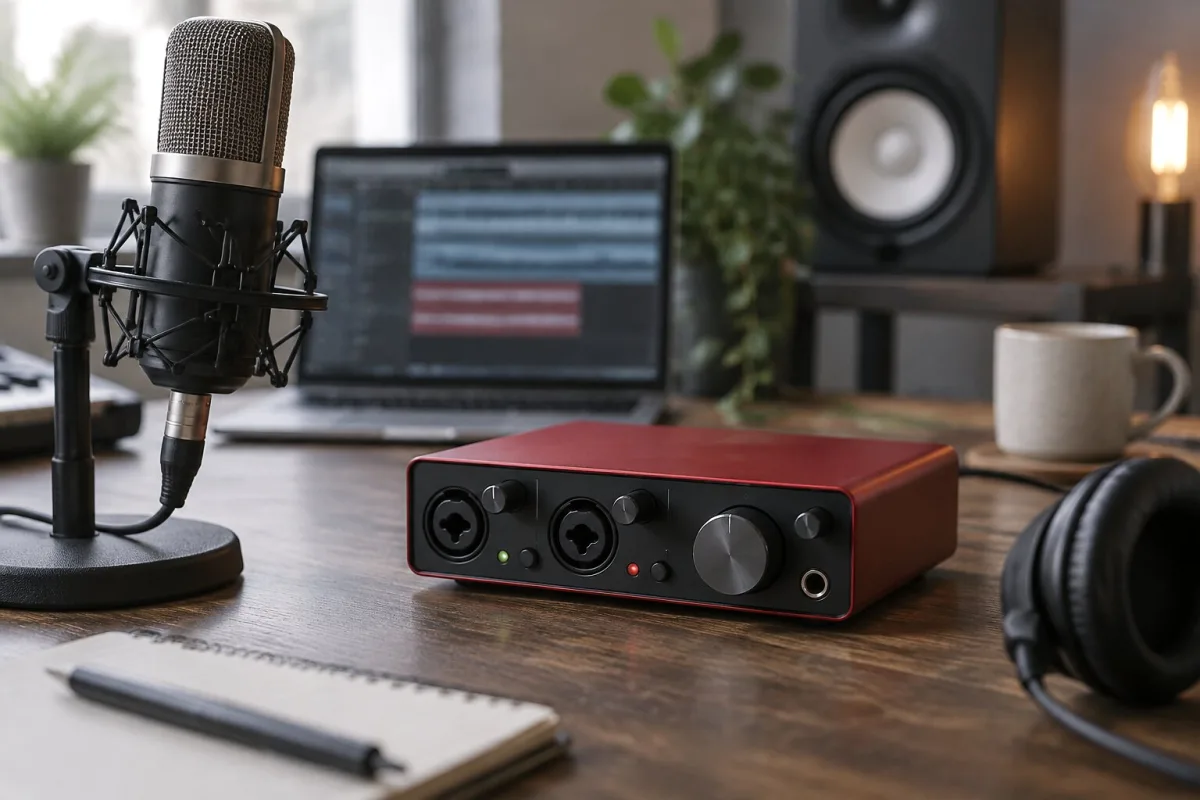
If someone just handed you a microphone and told you to plug it into your computer, and you got nothing but quiet, distorted mess—welcome to the club. Every person who's tried to record anything has been there. The issue isn't you. The issue is that your computer's built-in audio system isn't designed for proper recording. That's where a Focusrite audio interface comes in. Think of it as a translator between your microphone and your computer. It takes the tiny electrical signal your microphone produces, amplifies it properly, and turns it into digital data your computer can work with. A Focusrite audio interface for beginners is a practical investment that removes this frustration and lets you focus on actually making music rather than fighting your equipment.
What You're Actually Buying
A Focusrite audio interface is a small box that sits between your microphone and your computer. When you sing or play into a microphone, that produces a very weak electrical signal. Your computer can't handle that weak signal directly—it needs amplification and careful handling. A Focusrite audio interface takes that weak signal, amplifies it, converts it into digital information, and sends it to your computer. At the same time, it takes audio from your computer and sends it to your headphones or speakers. That's the whole job. It's elegantly simple, and it works reliably.
You're not buying a fancy piece of studio gear. You're buying a tool that lets your computer do something it was never designed to do: properly record audio. Every professional studio uses something like this. Every person recording podcasts uses one. Every producer making music on a laptop uses one. It's not optional if you want decent results.
The Focusrite Scarlett: The Beginner's Standard Choice
Focusrite makes several audio interfaces, and for beginners, the Scarlett range is where you want to look. The Scarlett is proven, reliable, and costs between £50 and £200 depending on which model you choose. For most beginners, the Focusrite Scarlett 2i2 is the sweet spot. It's got everything you need, nothing you don't, and it'll work reliably for years.
The Scarlett Solo is smaller and slightly cheaper if you're absolutely certain you'll only record one microphone at a time and never anything else. If there's any chance you might want to record guitar or another instrument later, spend the extra and get the 2i2. The small price difference is worth the flexibility.
The Scarlett 4i4 is bigger and more expensive, with four inputs instead of two. For a beginner, this is usually too much. Learn with the 2i2 first. If you outgrow it in a year or two, you'll know exactly what you need, and upgrading will be straightforward.
Setting It Up Without Stress
Unboxing a new Focusrite audio interface can feel intimidating. There are cables, there's software to install, and there are buttons you don't recognise. Here's how to do this calmly and methodically.
First, install the software. Focusrite includes driver software with every interface. Download it from their website, run the installer, and restart your computer. This isn't optional—your computer needs to know how to talk to the interface. Once installed, your Focusrite audio interface will appear as an available audio device in your recording software.
Next, connect the interface to your computer via USB. Most Focusrite interfaces power themselves through USB, so you don't need a separate power cable. Plug in the USB cable and your interface lights up. That's it.
Connect your microphone to the XLR input on the front. If you've never dealt with XLR cables before, they're three-pin connectors that click into place. You can't plug them in wrong—they only fit one way.
Open your recording software (Audacity, GarageBand, Reaper, whatever you're using) and go to the audio settings. Select your Focusrite interface as the input device. Most software will do this automatically, but check to be sure. That's everything. You're ready to record.
Getting Your Input Level Right
This is the one thing that trips up beginners, so pay attention. On the front of your Focusrite interface is a gain knob. This controls how loud your microphone signal is. If it's too quiet, your recording will be faint and hissy. If it's too loud, your recording will sound distorted and clipped. You want it just right.
Here's how: speak or sing into your microphone at normal volume. Watch the LED meters on your interface. You want the signal to be reaching about 6dB below the red. If you see red, your gain is too high—turn the knob down. If the lights barely flicker, your gain is too low—turn it up. Once you've got the level set, you're done. Leave it there for the entire session.
Think of it like setting the volume on an amplifier. Too quiet and nobody can hear you. Too loud and it's distorted garbage. Just right and everything works. The tiny LEDs on your Focusrite interface are there to help you get it right.
Monitoring While You Record
One feature of a Focusrite audio interface that you'll immediately love is monitoring. There's usually a small headphone jack and a volume knob. Plug your headphones in and turn the volume up just enough to hear yourself. This lets you hear what's actually being recorded in real time, with virtually no delay. This is called zero-latency monitoring and it's genuinely important for a confident performance.
You might also be able to hear a backing track or reference music playing through your DAW at the same time. The monitoring control on your Focusrite interface lets you blend your input signal with the playback so you can hear both. Spend five minutes learning how this works and your recording sessions will feel infinitely more professional.
Common Beginner Mistakes and How to Avoid Them
Mistake one: not installing the drivers. Your Focusrite interface won't work properly without the driver software. Don't skip this step. Mistake two: setting your gain too high. Distortion is permanent—you can't fix it in the mix. Set your gain conservatively and you'll thank yourself later. Mistake three: not using headphones while recording. Hearing yourself in real time makes you record better performances. Don't skip this.
Mistake four: buying something more complicated than you need. A beginner with a Scarlett 2i2 will outperform a beginner with an eight-channel professional interface they don't understand. Simplicity wins. Mistake five: not taking time to learn your software. Your Focusrite interface is just a box. Your recording software does the actual work. Spend time understanding how your DAW works and you'll create better recordings.
What Happens After You've Recorded
Your Focusrite audio interface gets your sound into your computer cleanly. What happens next—mixing, editing, adding effects—that's your DAW's job. The interface just provides the clean audio. Once you've recorded something you like, you'll save it in your project and start editing. Your Focusrite interface just sits there, letting your computer do its work.
Here's the honest truth: a Focusrite audio interface for beginners isn't a complicated device. It amplifies your microphone signal and converts it to digital. That's it. Buy one, follow the setup steps, and start recording. You'll immediately hear the difference compared to your computer's built-in audio. Within a week, you'll wonder how you ever recorded anything without it.




Comments