


Akai Keyboard article
Akai Keyboard for Beginners: A Complete Guide
Akai keyboards look complex but making music on them is surprisingly straightforward. This beginner's guide walks you through powering on, finding sounds, and playing your first melodies with encouragement.
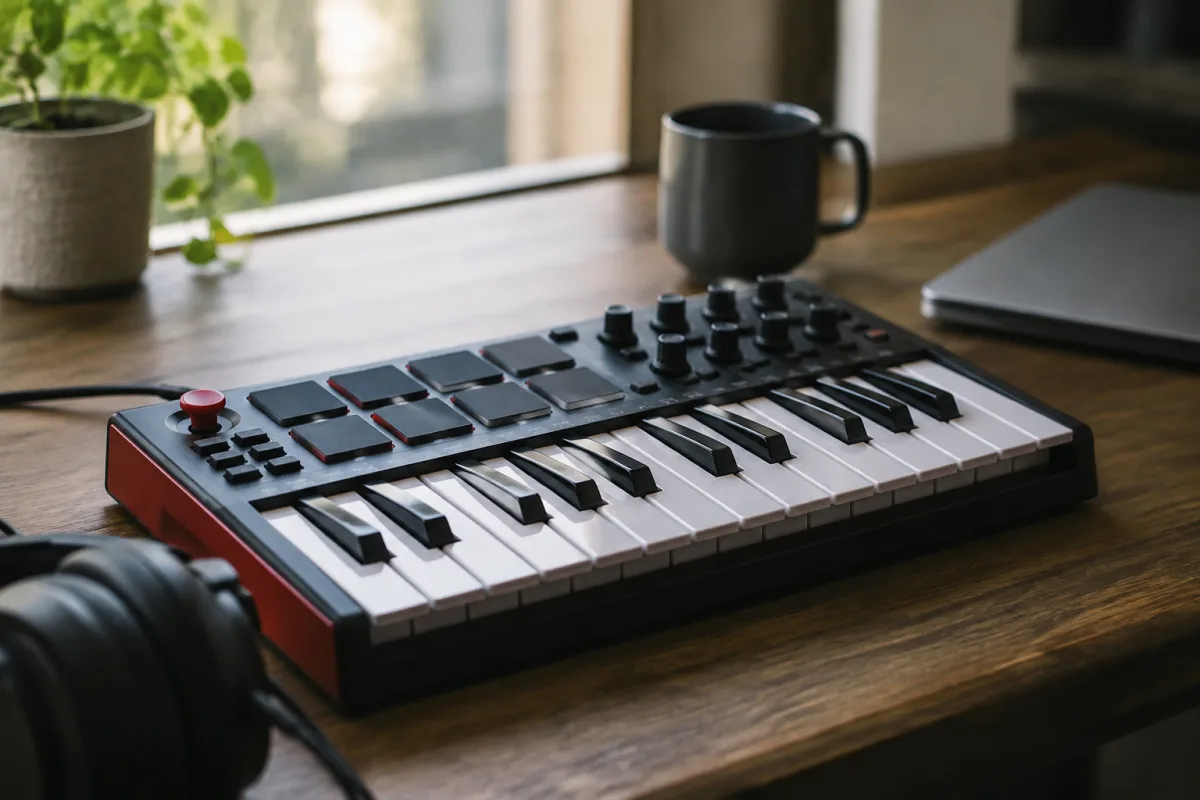
Your first Akai keyboard is an exciting entrance into music production and performance, but the interface's control density might feel intimidating initially. Rest assured that Akai keyboards are built with logical workflows enabling quick results for beginners, building your confidence naturally as you explore deeper. This guide walks you through essential first steps, helping you avoid common beginner mistakes and unlock your new keyboard's potential within your first session.
Powering On and Initial Setup
Begin by powering on your Akai keyboard and taking time to examine the interface without playing anything. Locate the power button, volume control, and connection ports at the rear. Most Akai keyboards feature USB connectivity, MIDI outputs, and audio outputs. Plug in headphones or connect to speakers—you'll need audio output to hear your keyboard's sounds. Don't rush through the setup process; understanding the physical layout prevents confusion when you start playing. Many beginners make the mistake of immediately diving into playing without establishing basic connection and power flow. Spending two minutes understanding the essentials prevents problems later.
The First Sound: Finding Your Sounds
Every Akai keyboard includes preset sounds (often called patches or programs) ready to play immediately. Press any key and hear an instrument sound—usually a piano or electric piano depending on the power-on default. The sound selection buttons or knobs (usually grouped on the left or top of the keyboard) allow browsing available sounds. Rotate through different categories: pianos, electric pianos, strings, basses, drums, synths. Within seconds you'll hear dozens of distinct instrument sounds. This immediate sonic feedback builds excitement and confidence. Most beginners underestimate how quickly they can produce recognizable music simply by selecting different sounds and playing different notes. Spend 10 minutes exploring sounds before worrying about any complex features.
Playing Your First Melodies
Once you've chosen a sound, play simple melodies using white keys only (the C major scale). This limitation removes overwhelm and focuses your attention on timing and flow rather than complex note selection. Play "Twinkle Twinkle Little Star," "Happy Birthday," or any melody you remember. You'll produce recognizable music instantly. The Akai keyboard's responsive keybed provides good dynamic feedback—pressing harder plays louder, pressing softly plays quietly. This dynamic response enables expressive playing and teaches you natural timing. Beginners often make the mistake of banging keys at maximum force; discover instead how subtle variations in touch create nuance and musicality.
Understanding Drum Pads and Rhythm Foundations
If your Akai keyboard includes drum pads (usually colourful, smaller keys below or beside the main keyboard), these trigger drum sounds, percussion, and bass patterns. Press any drum pad and hear immediate, rhythmic sounds. The pads feel different from the keyboard keys—they're velocity-sensitive triggers rather than pitched notes. Start by using drum pads as rhythm accompaniment whilst playing melodies on the main keyboard. Press a drum pad on each beat: kick on beats one and three, snare on two and four, creating basic rhythm framework. Combining pitched melody with rhythmic accompaniment enables you to produce full, engaging arrangements quickly. The most common beginner mistake is ignoring drum pads or using them randomly; instead, think of them as your rhythm section foundation.
Introducing the Arpeggiator Feature
Most Akai keyboards include an arpeggiator—a feature that automatically plays repeated patterns of notes from those you're holding. Press and hold a chord (several notes simultaneously), then enable the arpeggiator. You'll hear the notes repeating in a rhythmic pattern, creating complex textures from simple key presses. The arpeggiator rate (speed) and pattern buttons allow customisation. Beginners love this feature because it enables complex sound generation from minimal playing skill. A common mistake is using arpeggiator constantly; instead, use it strategically to enhance melodies or create interest in arrangements. Combining manual playing with arpeggiator usage creates dynamic, engaging performances.
Using Octave Controls to Expand Your Range
Your Akai keyboard's octave buttons (often labelled with plus/minus symbols or numbered octave ranges) shift the pitch of all keys without changing their relative positions. This enables playing extremely low bass notes and very high melodies whilst maintaining your hand position on the keyboard. Press the octave down button several times and play low notes; press octave up repeatedly and access high notes. Beginners often ignore octave controls or become confused by them; understanding their function expands your musical range dramatically. Practice shifting octaves whilst playing to develop comfort with this navigation tool.
Connecting to a Computer: MIDI Basics
Akai keyboards connect to computers through USB, enabling integration with music production software (DAWs like Ableton Live, Logic Pro, or Studio One). Don't approach this immediately; master basic keyboard playing first. When ready to explore, connecting via USB is straightforward: plug the cable, and most systems recognise the keyboard automatically. Your keyboard then becomes a controller for computer-based production. Many beginners feel overwhelmed imagining this complexity; remember that basic keyboard skills transfer directly to computer-based production. The keyboard controls the software rather than the software controlling the keyboard, making it more accessible than many imagine.
Common First Mistakes to Avoid
Beginners commonly press all available buttons simultaneously in frustration, accidentally engaging features they don't intend. Instead, experiment with one control at a time, listening carefully to understand its function. Another mistake is ignoring the manual; Akai provides clear documentation explaining each button's purpose. Reading the manual before playing prevents confusion and enables intentional feature exploration. Beginners also often damage keyboards by eating or drinking whilst playing—avoid spills near electronics. Finally, avoid leaving the keyboard powered on continuously; proper shutdown extends equipment lifespan.
Exploring Pitch Bend and Modulation Wheels
Most Akai keyboards feature pitch bend and modulation wheels on the left side. The pitch bend wheel lowers or raises note pitch whilst keys are held, enabling expressive techniques like guitar-style bending. The modulation wheel (usually controlling effects like vibrato or filter changes) adds dynamics to sounds. These aren't essential for beginners but offer immediate, satisfying expressive possibilities once you understand them. Avoid cranking these wheels randomly; use them intentionally to enhance specific musical moments. Brief experimentation teaches you their function quickly.
Creating Rhythmic Patterns with Your Keyboard
Akai keyboards often include pattern creation or sequencer functions, enabling programming of repeating musical phrases. Don't approach this initially; focus on real-time playing first. Once comfortable with basic playing, sequencers enable recording loops and building complex arrangements from layered patterns. Many beginners skip sequencers entirely, never discovering their creative potential. After several weeks of basic keyboard playing, exploring sequencer functionality opens new creative possibilities without requiring steep learning curves.
Building Practice Habits and Moving Forward
Your first days with an Akai keyboard should focus on play rather than study. Spend time simply making sounds, playing simple melodies, and discovering features through experimentation. Avoid attempting advanced functions before mastering basics. Within a few weeks of casual, exploratory playing, you'll develop intuitive understanding of your keyboard's workflow. Most successful keyboard players started exactly this way—through playful exploration rather than manual memorisation. Your Akai keyboard is designed to reward experimentation, so embrace that spirit from day one.
For comprehensive information about Akai keyboard specifications and advanced features, explore the complete guide to Akai keyboard, which covers detailed technical information and expert techniques.


Comments