


Pro Tools DAW Software article
Pro Tools Daw Software for Beginners: A Complete Guide
Pro Tools can feel overwhelming when you first open it. This guide walks you through the essentials, showing you how to set up your first session, record your initial audio, and build confidence working with professional-grade DAW software.
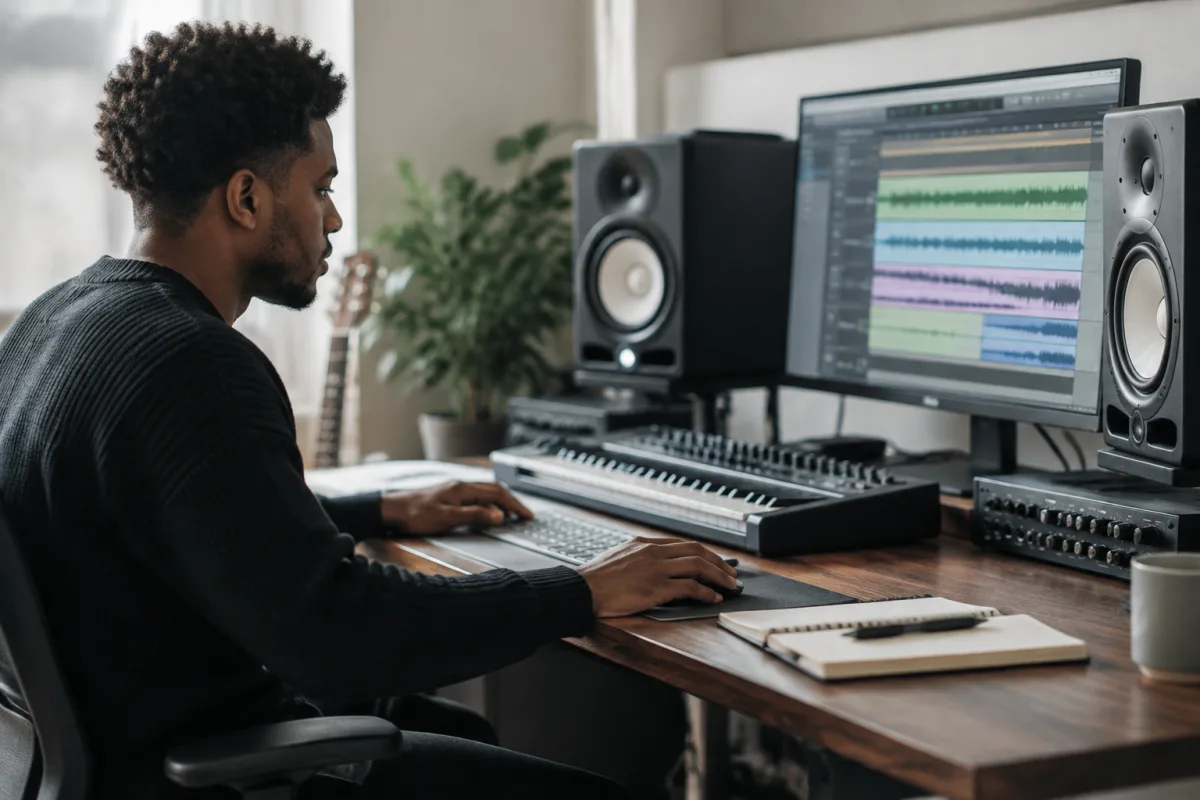
Pro Tools can feel overwhelming when you first open it. The interface is packed with buttons, menus, and technical jargon that seems designed to confuse newcomers. But here's the truth: Pro Tools is fundamentally approachable once you understand the essentials. This guide walks you through those essentials, showing you how to set up your first session, record your initial audio, and build confidence working with professional-grade DAW software.
Understanding What Pro Tools Actually Does
Before diving into the software, let's demystify what Pro Tools DAW software is really about. Pro Tools is a digital audio workstation—it's an environment where you record, edit, and mix audio. Think of it as a high-tech tape machine crossed with a mixing console. Unlike some competing DAWs that emphasize music production with lots of instruments and loops, Pro Tools traditionally focuses on recording and editing audio with surgical precision. This makes it perfect for recording podcasts, voiceovers, interviews, and music tracking.
Your First Week: The Absolute Basics
Starting with Pro Tools DAW software doesn't require understanding every feature. Focus on these four fundamentals: creating a session, setting up tracks, recording audio, and playback. These alone will let you accomplish real work. You don't need to touch mixing yet. You don't need to explore the MIDI capabilities. Get comfortable with the basics first, then expand.
Creating Your First Session
When you launch Pro Tools, you'll see a template selection screen. Choose "Blank Session" and stick with the default sample rate (44.1 kHz for music, 48 kHz for video work). Don't overthink this—you can always create a new session later. Your DAW software session is essentially a project file that stores everything: your recordings, edits, and settings.
Setting Up Tracks
A track is where your audio lives. To create your first audio track, use Track > New or right-click in the empty track area. Start with just one mono or stereo audio track. You can expand later. Give it a descriptive name like "Vocals" or "Guitar." This sounds simple, but naming tracks properly is a professional habit that saves frustration when you're juggling ten tracks at once.
Recording Your First Take: Managing Expectations
Recording in Pro Tools DAW software involves connecting an audio interface, creating a track, arming it for recording, and pressing the red record button. Here's what beginners often get wrong: they expect perfection immediately. You won't sound like a professional producer on day one. That's completely normal. Every professional who uses Pro Tools DAW software spent weeks learning. Focus on the mechanics of recording, not judging your performance.
Before you record, set your input levels on your audio interface. Aim for a signal that peaks around -12 to -6dB. Too quiet, and you'll hear background noise. Too loud, and you'll get distortion that can't be fixed. Once levels are set, arm your track by clicking the record-enable button (the red circle on each track), then click the big record button in the transport controls at the top.
Common Beginner Mistakes: What Not to Do
Learning Pro Tools DAW software is easier when you know which pitfalls to avoid:
- Recording at the wrong sample rate: If your project is 48kHz but your audio interface is set to 44.1kHz, you'll get timing issues. Check your audio interface settings first—this is usually the culprit.
- Forgetting to save: Pro Tools doesn't auto-save by default. Save your session constantly. Use Ctrl+S (Windows) or Cmd+S (Mac) after every important step.
- Using the wrong track type: Audio tracks are for recorded sound. Instrument tracks are for MIDI. Don't mix them up or you'll waste time troubleshooting.
- Ignoring your meters: The level meters in Pro Tools DAW software tell you if your signal is healthy. Green is good, red means clipping (distortion). Pay attention to them.
- Editing before understanding zooming: Pro Tools has powerful editing tools, but they're useless if you can't see your waveform clearly. Learn to zoom in and out first.
- Cranking the master fader without headphones: Always use headphones or monitor speakers when testing volume. Never trust your room's ambient sound.
The Essential Tools You'll Actually Use
Pro Tools DAW software includes hundreds of buttons and menus. As a beginner, you need exactly four tools: Selection, Trim, Grabber, and Pencil. That's it. The Selection tool (shortcut: F1) lets you highlight sections of audio. The Trim tool (F2) cuts audio. The Grabber (F3) moves audio around. The Pencil (F4) draws automation. Master these, and you can edit professional-quality audio.
Everything else is optional. Don't feel pressured to learn mixing, automation, or MIDI editing until you're comfortable with basic recording and editing. Pro Tools DAW software has a learning curve, and climbing it gradually is smarter than trying to memorise the whole interface at once.
Building Your First Complete Workflow
Now that you understand the basics, here's how a beginner typically works with Pro Tools DAW software:
| Step | What You Do | Why It Matters |
|---|---|---|
| 1. Create Session | File > New Session, choose blank template | Sets up your project with proper settings |
| 2. Create Track | Track > New, select Stereo or Mono Audio | Prepares a place to record your audio |
| 3. Check Levels | Speak/play into your microphone or instrument, watch the input meter | Ensures recording quality before you start |
| 4. Record | Arm track, press record button, perform | Captures your audio into the session |
| 5. Playback | Press spacebar to play, use the timeline slider to navigate | Lets you hear what you recorded |
| 6. Save | Ctrl+S (Windows) or Cmd+S (Mac) | Protects your work from being lost |
Learning More: The Second Month
After two weeks with Pro Tools DAW software, you'll be comfortable with basic recording. At that point, expand gradually. Learn editing techniques. Explore basic mixing with faders and pan. Then, if you're interested, venture into effects and automation. But don't rush. Pro Tools rewards patience and practice more than most DAWs because its depth is genuinely vast.
For more comprehensive information, check out the complete guide to Pro Tools DAW software, which covers advanced techniques and the full feature set.
Conclusion: You Can Do This
Pro Tools DAW software intimidates beginners because it's powerful. But that power doesn't matter on day one. All that matters is that you can record, play back, and save. Everything else you'll learn gradually, and each new skill builds naturally on the ones you already have. Start simple. Save often. Be patient with yourself. In a month, you'll look back surprised at how much you've learned. Pro Tools is entirely within your reach.


Comments