


Sampler Plugin article
Sampler Plugin for Beginners: A Complete Guide
An introductory guide to sampler plugins, covering recording techniques, keyboard playback, basic editing, common mistakes, and creative applications for transforming audio into instruments.
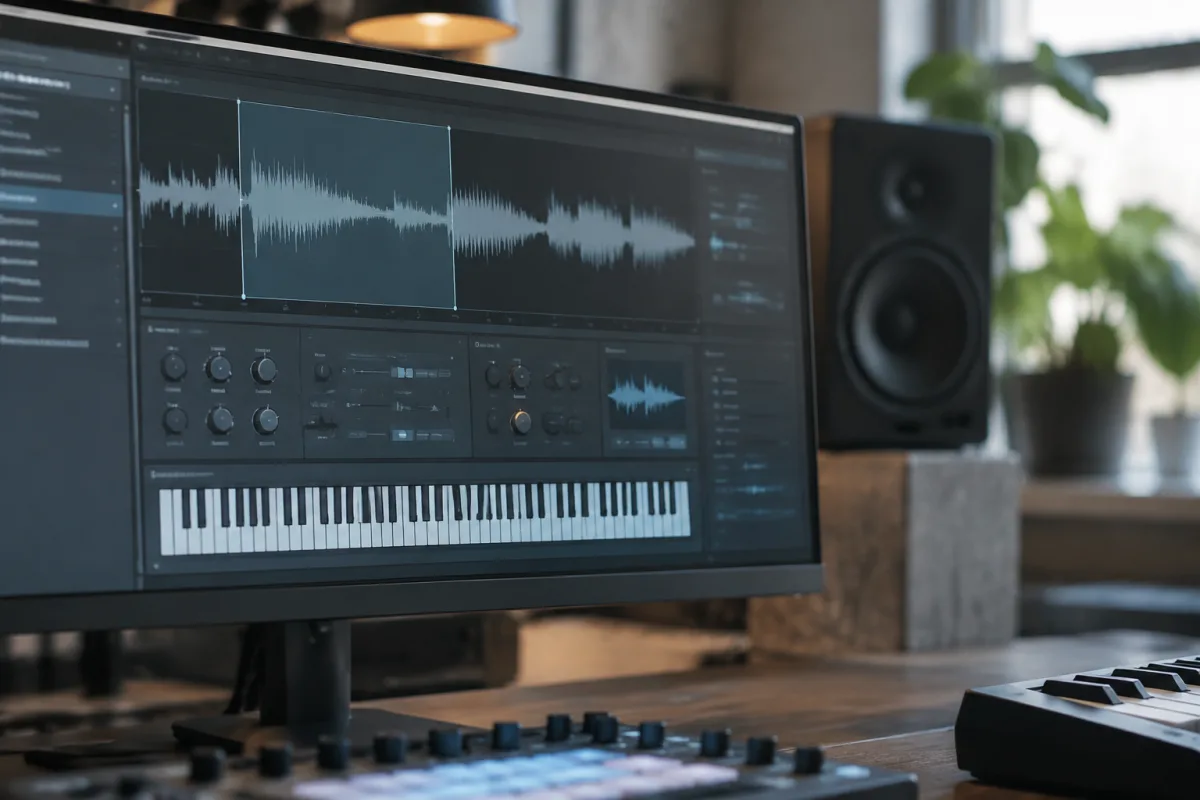
Sampler plugins record, manipulate, and play back audio samples—transforming ordinary recordings into musical instruments. Beginners often misunderstand sampler plugins, thinking they require complex sound design skills or specialised knowledge. Actually, recording a sample and playing it across your keyboard with pitch following represents the core capability, achievable within minutes of first use. This guide demystifies sampler plugins, revealing how beginners quickly unlock creative possibilities.
Understanding What Sampler Plugins Do
A sampler plugin takes audio recordings (samples) and makes them playable as musical instruments. Record your voice saying a word, and the sampler enables playing that recording across your keyboard in different pitches. Record guitar riff, and trigger it at different pitches from MIDI notes. This fundamental capability opens creative production possibilities: chopping beats, transforming vocal phrases into melodic instruments, and manipulating found sounds into cohesive arrangements.
Samplers differ fundamentally from drum machines or synths: they operate on recorded audio rather than synthesis. This distinction matters: samplers preserve recordings' original character whilst enabling pitch shifting, time manipulation, and granular triggering. A high-quality vocal recording becomes countless variations through sampling.
Most professional DAWs include serviceable sampler plugins: Ableton Live's Sampler, Logic Pro's ES2 with sampling modes, Cubase's Halion. These bundled options suffice for learning; dedicated samplers like Native Instruments Maschine or Spectrasonics Omnisphere add sophisticated features, yet complexity often exceeds beginner requirements.
Recording Your First Sample
Select your DAW's sampler plugin and load it on an audio track. Record something simple: tap a coffee mug, snap fingers, sing a short phrase, or play a guitar lick. Aim for 1-3 seconds—longer samples work, but beginners benefit from concise, focused recordings. Speak clearly, tap definitively; good source recordings simplify subsequent manipulation.
After recording, name your sample descriptively: "vocal_yeah," "mug_tap," "guitar_bend." Organisation matters; after recording dozens of samples, descriptive naming accelerates locating the sounds you want.
Listen to your recording carefully. Does it contain unwanted noise? Did the peak level clip, causing distortion? Would multiple takes yield better options? Taking 30 seconds for quality assurance prevents disappointment when manipulating inferior recordings.
Playing Samples Across Your Keyboard
Most sampler plugins include a simple key mapping feature: your sample automatically spans your keyboard, with each note triggering the sample at different pitches. Press middle C and hear your original pitch; press higher keys and the sample plays faster at higher pitch; press lower keys and the sample slows, sounding lower. This pitch-following behaviour enables playing samples melodically, like traditional instruments.
Experiment immediately: play melodies using your sampled sound. If you recorded "yeah," try playing "Yeah-yeah yeah yeah, yeah yeah yeah"—a melody using that single word. This exploration reveals how samplers make ordinary recordings into expressive instruments.
Many beginner sampler explorations feel awkward initially. Persevere: as familiarity grows, manipulating samples becomes intuitive, transforming your recordings into musical elements impossible with ordinary instruments.
Basic Sample Manipulation: Trimming and Looping
Rarely does a raw recording serve perfectly in sampled form. Sampler plugins include basic editing: trimming unwanted silence from recording start and end, and looping sustained portions. Trimming removes quiet beginning and ending, tightening sample response. Looping repeats a portion of audio smoothly, extending limited recordings into sustained instruments.
Trimming works intuitively: find unwanted silence, select it, delete it. Before trimming, verify your sample level—peak meters should show approximately -6 to -3 dB; if lower, the recording is excessively quiet and may sound weak after sampling.
Looping proves trickier for beginners. Quality looping requires finding matched sample points—positions where audio characteristics align, creating seamless repetition. Many sampler plugins include automatic loop detection; enable this feature initially, allowing the software to find loop points. As competence grows, manually refining loop points yields superior results.
Common Beginner Mistakes in Sampling
Many first-time samplers record at excessive levels, causing distortion. If your recording peak meter shows red or levels exceed -3 dB during recording, reduce input level immediately. Quality recording requires headroom—maintain peaks between -12 and -6 dB for comfortable manipulation margin.
Beginners often attempt sampling complex, lengthy recordings (entire drum loops, extended vocal performances). Start with isolated, focused recordings: single words, brief taps, short melodic phrases. These simple samples prove most manageable for learning; complexity comes later with experience.
Excessive pitch shifting creates problems. Playing samples across large pitch ranges (more than an octave above or below original pitch) causes obvious pitch-shift artefacts and timestretch degradation. Sampler plugins work best spanning moderate pitch ranges. For extended pitch flexibility, record multiple samples at different pitches rather than extreme pitch shifting.
Creative Sampling Applications for Beginners
Record yourself speaking individual syllables, then play them as melodies. "Ba-ba-ba" becomes a bass line; "Voc-voc-voc" becomes rhythmic texture. This approach, favoured by electronic music producers, transforms spoken words into instrumental elements.
Record percussive sounds (tapping, clicking, snapping) and trigger them rhythmically using MIDI patterns. Sampled percussive elements add character impossible with drum machines alone. Quality snare samples, kick recordings, or metallic taps become customised drum kits through sampling.
Sample sustained instruments (held organ notes, extended pad sounds, droning strings) and play them melodically at different pitches. This approach creates hybrid instruments: the original instrument's character combined with keyboard-style pitch control.
Moving Beyond Basics
After comfortable basic sampling, explore additional features: velocity mapping (louder MIDI velocity triggers louder playback), envelope editing (adjusting how sounds attack and decay), and effects processing (reverb, distortion, filtering). These refinements expand creative possibilities; initially, focus on recording and playback fundamentals.
Experiment with multi-sample mapping: recording variations of the same sound at different pitches, then mapping each recording to specific keyboard ranges. Professional samplers exploit this technique extensively; beginners often underestimate its impact.
For comprehensive information on sampling techniques, workflow integration, and professional applications, review our complete guide to sampler plugins, covering advanced editing, synthesis integration, and creative sound design approaches.
Building Confidence Through Experimentation
Sampler plugins initially feel abstract—recording audio and playing it as musical instrument seems unnecessary complicated. Yet within minutes of first use, beginners understand the fundamental magic: ordinary recordings become instruments. This realisation sparks creativity: your voice, objects you tap, field recordings all become musical elements. Start simply, record something today, play it melodically, and experience sampler plugins' creative potential. Confidence grows rapidly once you understand that core capability; additional features become discoverable within that fundamental framework.


Comments