


Powered Audio Mixer article
Powered Audio Mixer for Beginners: A Complete Guide
A powered mixer looks intimidating at first, but it's actually just a few simple functions. Here's how to understand each section and start mixing real events.
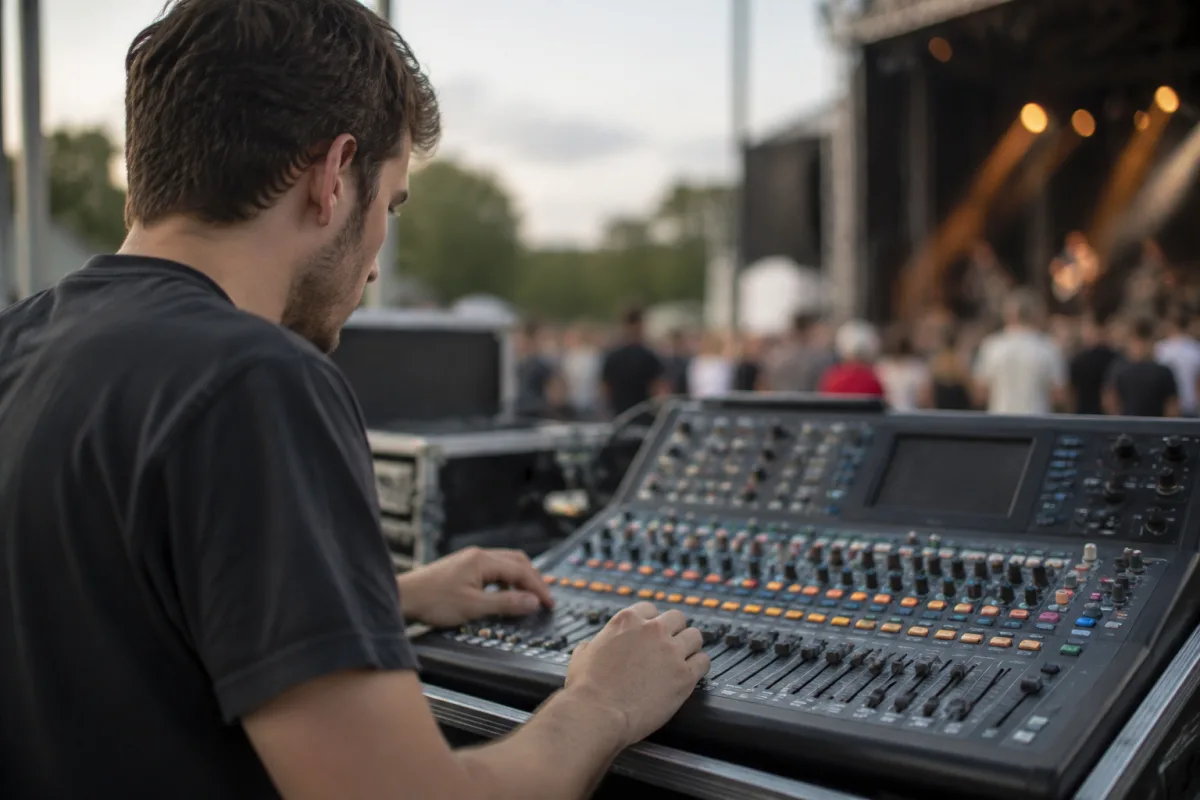
Your First Powered Audio Mixer: Start Here
Walking up to a powered audio mixer for the first time—even a small one—can feel overwhelming. You're staring at two dozen knobs, three rows of sliders, and mysterious buttons with acronyms you've never heard. But here's the truth: a powered mixer is actually just a few simple functions combined. Once you understand what each section does, mixing a small event or band rehearsal becomes straightforward and even enjoyable.
What "Powered" Actually Means
A powered mixer combines two things: a mixing console (where you control levels, EQ, and effects) and an amplifier (which powers the speakers). This simplifies your setup enormously. Instead of buying a mixer and a separate amp, you have one compact unit that plugs into a wall and drives your speakers directly.
The trade-off: once the amp section fails, the whole mixer is down. But for small venues, rehearsals, and school events—the most common beginner uses—powered mixers are utterly reliable and industry-standard.
The Three Main Sections: Breaking It Down
Input section (the left side): This is where sound enters the mixer. Microphone cables, instrument cables, and line-level inputs (from phones, laptops, pre-recorded music) plug in here. You'll see channels—often 4, 8, 12, or 16 of them, depending on the mixer size.
Each channel has a volume fader (a sliding control) at the bottom. Move the fader up, sound gets louder; move it down, sound gets quieter. That's the core of mixing.
Master section (the right side): This is the "boss" of the mixer. All the channels feed into the master, where you control the overall output volume going to the speakers. Think of it as a volume knob for the entire event.
Amplifier section (the back panel): This is invisible during a gig, but it's powering your speakers. On the back, you'll see outputs (usually XLR connectors or 1/4-inch jacks) where you connect speakers. The amp automatically boosts the mixed signal to speaker level—you don't touch this part. It just works.
The Absolute Basics: What Happens When You Press Start
- Plug in power. Connect the mixer to mains electricity. Let it warm up for a minute.
- Connect your speakers. Speaker cables run from the mixer's speaker outputs to your powered speakers (or passive speakers connected to the amp outputs).
- Plug in your microphones and instruments. Each cable gets its own channel on the mixer.
- Set levels channel by channel. Speak or play into each mic/instrument, and slide that channel's fader up until the signal level is comfortable (typically halfway up the fader, leaving room for sudden peaks). Watch for the red light at the top—if it flickers red, you're clipping (distorting). Pull back slightly.
- Set the master volume. This controls the overall output. Start it halfway and adjust if the speakers are too quiet or too loud.
- Mix. As the event happens, move the faders up and down to balance the sound. Lead vocalist louder; backing singers quieter. Bass and drums supporting the whole mix.
What Those Confusing Knobs Actually Do
Gain (sometimes called "Input"): This is *not* the channel fader. It's a small knob usually above or below the fader, and it sets the input strength before the fader takes over. If your microphone is very quiet, turning up the gain boosts it. If it's very loud, turning down the gain prevents clipping. Set this once at the start and leave it.
EQ knobs (Treble, Mid, Bass): These shape the tone of each channel. Turn up "Bass" to warm up a thin vocal; turn up "Treble" to make a vocal cut through the mix. Don't overthink this as a beginner. Flat (middle position) is fine for most situations. Adjust only if a channel sounds obviously wrong.
Pan (left–right knob): Moves a channel's sound left or right in the stereo image. For a beginner, ignore this or leave it in the centre. It matters more in larger venues.
Mute button: Silences that channel instantly. Useful if someone's mic picks up feedback or an instrument goes quiet.
Fader (the big slider): Controls channel volume. This is what you'll move constantly during a gig. All the way down = silent; halfway up = typical starting level; all the way up = peak level.
Phantom Power: The Mysterious Switch
Some mixers have a switch labelled "+48V" or "Phantom Power". This is only for condenser microphones, which need power to work. Dynamic microphones (the typical handheld kind) don't need it. If you're using condenser mics, switch phantom power on. If you're using dynamic mics, leave it off. It won't hurt to turn it on either way, but turning it off when you're only using dynamic mics is cleaner.
The Most Common Beginner Mistakes
Cranking the master volume to maximum right away. Start at 2 or 3 on the dial, then increase gradually as you get comfortable. You can always turn it up; you can't un-burst someone's eardrums.
Leaving all channel faders at maximum. This is how feedback happens and why your mix sounds muddy. Move down channels you're not using, and keep active channels at a moderate level (halfway to three-quarters up). This gives you space to boost important channels without clipping.
Ignoring the gain knob. If your mixer sounds distorted or noisy no matter what you do, the problem is likely the gain set too high. Turn it down and adjust with the fader instead. Gain is for setting the input strength; the fader is for mixing.
Assuming "more volume = better mix." Loud ≠ good. A well-balanced mix at moderate volume sounds infinitely better than a loud, muddy disaster. Start at a comfortable listening level and focus on balance, not loudness.
Plugging microphones into line-level inputs. Most powered mixers have both mic-level inputs (usually channels 1–4) and line-level inputs (often labelled "Aux" or "Tape"). Microphones must go into mic-level inputs. Plugging a mic into a line-level input will sound either silent or distorted.
Preventing Feedback (That Awful Squeal)
Feedback happens when a microphone picks up its own amplified signal from the speakers. Here's how to avoid it:
- Position microphones *in front of* the speakers, never behind them or to the side.
- Keep the mic-to-speaker distance as large as possible.
- Don't turn up the channel fader higher than you need.
- Use a mic stand if possible (handheld mics often feed back worse).
- If feedback starts, immediately lower that channel's fader. Don't grab the mic—move the fader.
First Practice Run: What to Do
Before your first real event, set up the mixer in a quiet space and practice. Speak into the microphone. Adjust the gain until the signal is strong but not clipping (watch the level indicator). Slide the channel fader up and down. Hear how it affects volume. Do the same with all inputs you plan to use.
Plug in the speakers and do a full dry run. Talk, sing, or play music into each channel. Mix them together. Adjust the master volume to a comfortable level. The whole process should feel intuitive after 30 minutes of tinkering.
Maintenance and Care
A powered mixer is surprisingly robust, but treat it with respect:
- Never spill liquid into it. Keep it away from water and condensation.
- Don't expose it to extreme heat or cold.
- Store cables neatly to avoid crimping or damage.
- Check connectors regularly; loose cables cause all sorts of weird audio problems.
- Transport it in a road case if you're moving it regularly. Shock damage is expensive.
The Bottom Line
A powered mixer is a beautifully simple device once you understand its core job: take sound in, let you balance it, and send it to speakers. Start with just the basics—channel faders, master volume, and gain—and ignore the fancy buttons until you're comfortable. Spend your first session just moving faders and listening to how they change the mix. Within an hour, you'll feel confident. Within a few events, you'll be doing this without thinking. Every working sound engineer started exactly where you are: nervous, surrounded by knobs, ready to learn.


Comments