


Pedalboard Isolated Power Supply article
Pedalboard Isolated Power Supply for Beginners: A Complete Guide
Tired of hum and buzz from your guitar pedals? A pedalboard isolated power supply solves this problem. This beginner's guide explains what they do, how to choose one for your setup, and how to install it correctly.
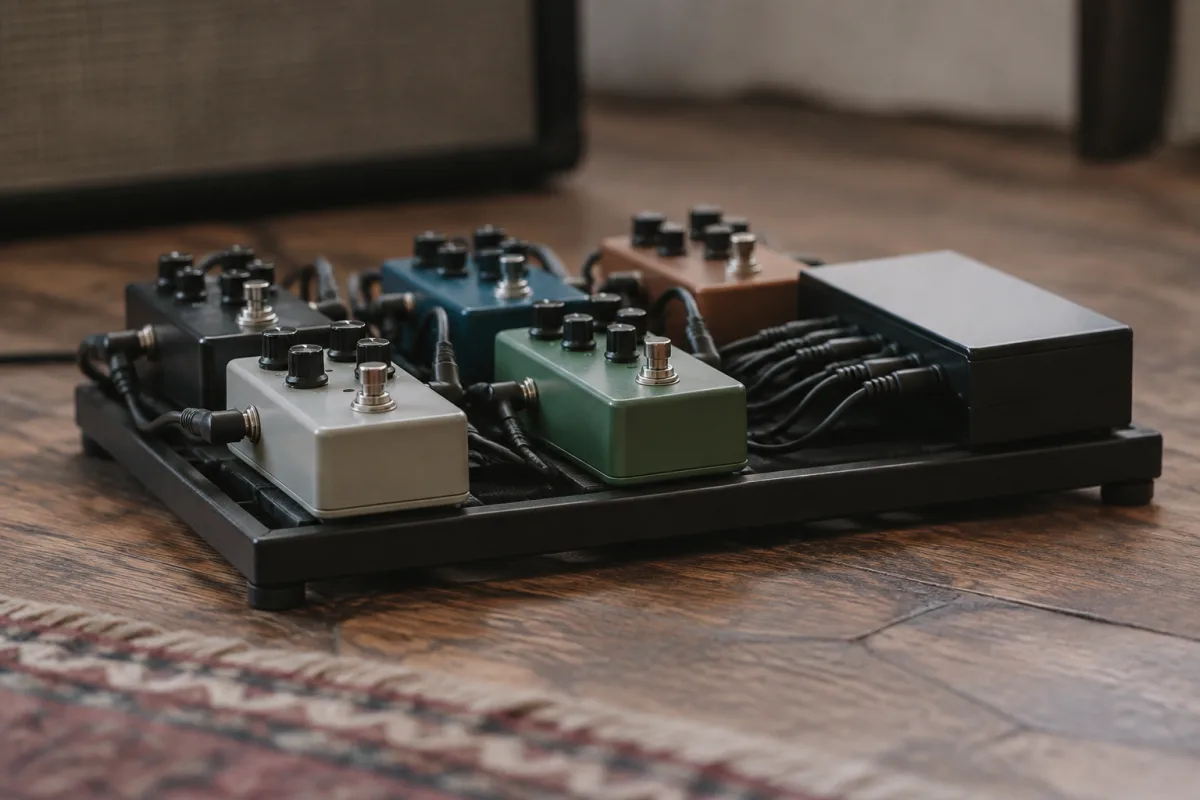
When you add more guitar pedals to your setup, you might notice an annoying hum or buzz that gets worse as you stack effects. This noise comes from power distribution problems, and it's frustrating. A pedalboard isolated power supply solves this issue but seems mysterious to beginners. This guide explains what an isolated power supply actually does, why you need one, and how to choose your first unit without feeling overwhelmed.
Understanding the Noise Problem First
Multiple guitar pedals powered by a single power supply can cause ground loops—electrical paths that create hum and interference. This isn't a sign your gear is broken; it's a normal problem with multi-pedal setups. The solution is an isolated power supply, which powers each pedal independently and eliminates these ground loops. Beginners often waste months troubleshooting cable routing and trying different patch cable arrangements when the real problem is power distribution. Understanding this saves time and frustration.
What an Isolated Power Supply Does
A pedalboard isolated power supply takes power from your wall outlet and distributes it to your pedals through multiple isolated outputs. Each output powers one pedal with completely isolated power—no shared ground paths, no interference. This is different from a regular power bank, which combines multiple pedals to a single power line. With isolation, each pedal gets clean, independent power. The result is dramatically quieter operation and more transparent tone. If your pedalboard hums or buzzes, an isolated supply typically eliminates this completely.
Finding the Right Number of Outputs
Pedalboard isolated power supplies come with different numbers of outputs. A small supply might have 4-6 outputs; larger units have 8-12 or more. Count the pedals on your board and choose a supply with enough outlets for each pedal plus one or two extras for future expansion. Many beginners start with 8 outputs, which covers most small to medium boards. If you think you'll expand your setup dramatically, more outputs are better. However, don't buy a massive supply just in case—wasted outputs sit empty and waste money. Be realistic about your actual needs.
Current Rating: More Than a Spec to Ignore
Each isolated power supply output has a current rating—typically 200mA to 500mA per output. This is how much electrical power each outlet can deliver. Most standard guitar pedals draw between 50mA and 200mA. Fuzz pedals and digital effects often need more. Before buying, check your pedals' current requirements (usually printed on the back or in the manual). Add up the total and make sure your power supply's total capacity exceeds this. If you undershare power, pedals behave erratically or won't work properly. Checking this one time during purchase prevents frustration forever.
Mains Voltage and Frequency Considerations
Power supplies sold in different countries work with different electrical standards. UK power supplies work with 230V, 50Hz. US supplies work with 110V, 60Hz. Using the wrong standard damages equipment instantly. Always buy a pedalboard isolated power supply designed for your country's electrical system. This is obvious but worth mentioning because ordering online from the wrong region can lead to expensive mistakes.
Cable Connections and Connector Types
Isolated power supplies use different connector types—2.1mm barrel connectors are the standard for guitar pedals, but some use 2.5mm or proprietary connectors. When buying a supply, verify that it includes cables for your pedals or that you can source compatible ones. Many budget supplies skimp on included cables or use off-brand connectors that don't fit well. Cheap cables cause intermittent power problems that are frustrating to troubleshoot. Investing in quality cables from the start prevents hours of debugging later.
Compact Versus Desktop Supplies
Compact isolated power supplies are designed to fit on your pedalboard itself. They're smaller and tidier but have fewer outputs and less cooling. Desktop supplies sit separately beside or behind your board. They're larger but offer more outputs and better heat management. For a small board with few pedals, compact is convenient. For a larger board with many pedals, a desktop supply is practical and reliable. Choose based on your actual board size and pedal count.
Unboxing Your First Isolated Power Supply
When you get your power supply, open it carefully and check what's included. Most come with the unit and a power cable. Some include output cables; some don't. Verify whether included cables fit your pedals. Read the manual for your specific model—different supplies have different configurations and features. Take 15 minutes to understand which outputs do what, whether there are any special settings, and how to troubleshoot if needed.
Correct Connection and Installation
Here's the process: Unplug everything from your current power source. Connect the isolated power supply to wall power. Connect a cable from each isolated output to one pedal. Once everything is connected, turn on the supply. Your board should power up silently without hum or buzz. If you still hear noise, check that each cable is fully seated in both the power supply and the pedal. Loose connections cause intermittent problems and noise. Make sure every connection is firm.
Common Beginner Mistakes to Avoid
The biggest mistake is buying a supply underpowered for your setup. If your total pedal current requirement exceeds the supply's capacity, pedals won't power reliably. This is frustrating because it seems random and intermittent. Check your requirements before buying. Another common error is using cheap output cables. Budget cables introduce the exact noise problems the isolated supply is supposed to eliminate. Invest in quality cables. Finally, many beginners overtighten connections, damaging sockets. Hand-tighten barrel connectors until snug, not more. Tight connections break easily.
Troubleshooting If Problems Persist
After installation, if you still hear noise, first check that every cable is fully inserted and not loose. Then check that you're using the correct cables for your pedal types. Some pedalboards have grounding issues in the board itself—this is rare but possible. If isolated power doesn't solve your problem, your pedals might be damaged or incompatible. Read your power supply's troubleshooting section or contact customer support. Most issues are connection-related and easily fixed.
A pedalboard isolated power supply is a genuinely useful tool that eliminates noise and improves tone quality. Choose the right number of outputs for your board, respect current requirements, use quality cables, and you'll wonder how you ever played without one. For comprehensive information on everything about pedalboard isolated power supplies, explore our complete guide to pedalboard isolated power supplies.



Comments