


Mic Guitar Amp article
The Complete Guide to Mic Guitar Amp
Microphone technique for guitar amplifiers represents one of the most critical yet underappreciated skills in recording and live sound engineering.
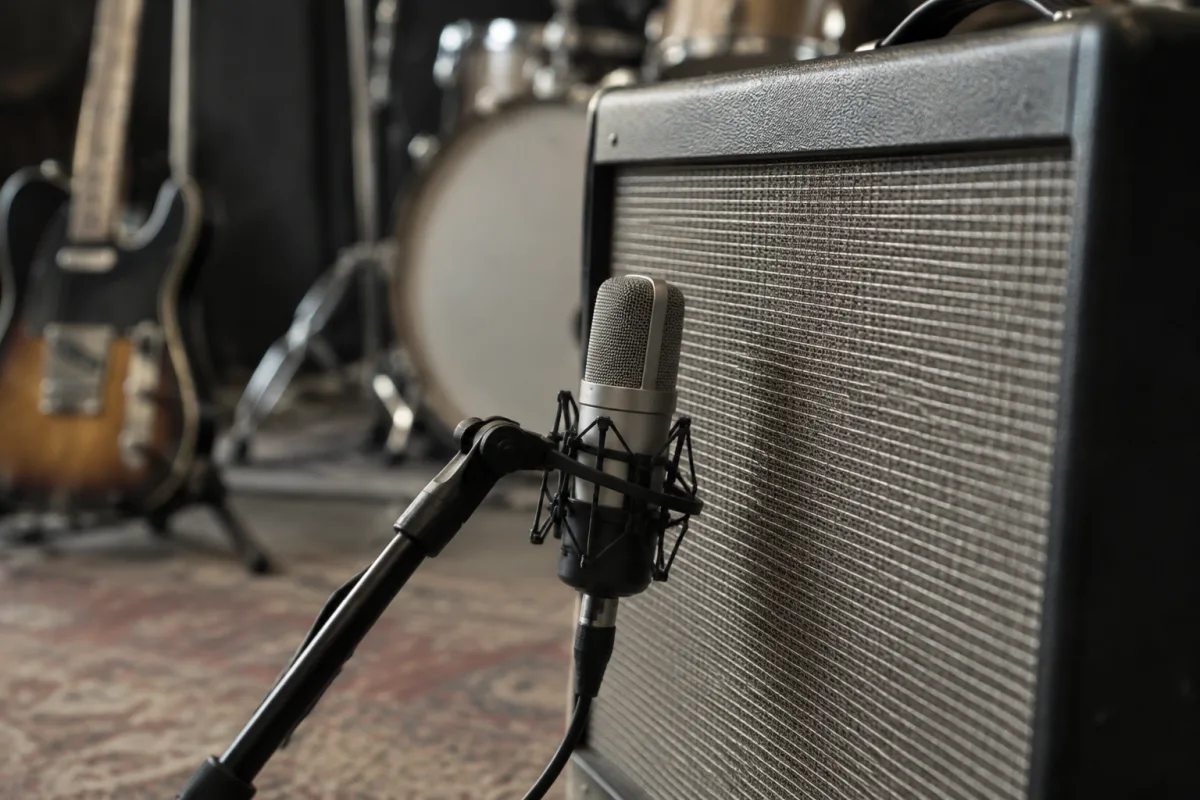
Microphone technique for guitar amplifiers represents one of the most critical yet underappreciated skills in recording and live sound engineering. The difference between a thin, lifeless guitar tone and a thick, powerful one often comes down to microphone placement, choice and technique rather than the amplifier itself. Learning how to properly mic a guitar amp transforms your recordings and live performances.
Why Miking Your Amp Matters
A guitar amplifier's tone exists only once it exits the speaker, radiating into the air around it. Recording the amplifier directly—without a microphone—loses the spatial character, room interaction and acoustic behaviour that define its character. In recording studios, engineers have mic'd guitar amps since the earliest days of rock music. In live sound, mic'ing the amplifier allows the engineer to send precisely shaped guitar tone to the main mixing console, enabling consistent levels and tonal control across venues and performances.
Essential Microphones for Amp Miking
| Microphone Type | Frequency Response | Characteristics | Suitability |
|---|---|---|---|
| Dynamic (cardioid) | 50 Hz – 16 kHz | Robust, handles high SPL, proximity effect | Studio and live use, rock and metal |
| Condenser | 20 Hz – 20 kHz | Detailed, bright, transient response | Studio recording, nuanced tone capture |
| Ribbon | 40 Hz – 15 kHz | Warm, smooth, natural roll-off | Studio use, vintage tone, combination miking |
| Large-diaphragm condenser | 20 Hz – 20 kHz | Flattering response, presence peak | Lead guitar recording, close-mic placement |
Microphone Placement Fundamentals
The first rule of miking a guitar amp is understanding that amplifier speakers are highly directional—they radiate most of their energy directly from the cone centre. Placing a microphone directly on-axis with the speaker cone captures maximum treble and presence, producing a bright, articulate tone. Moving the microphone off-axis gradually reduces high-frequency content and presence peaks. Increasing distance from the speaker reduces both amplitude and the proximity effect, creating a smoother, more integrated tone.
Most engineers place the microphone between the speaker's centre and its edge, roughly 10–15 centimetres from the grille cloth. This sweet spot provides detailed tone without excessive harshness. For live reinforcement, engineers often start with the microphone directly on-axis and adjust based on the amplifier's inherent brightness and the venue acoustics. Bass frequencies emanate more omnidirectionally, so moving the mic closer to the bottom of the speaker captures more low-end warmth.
Close-Mic versus Room-Miking Techniques
Close-miking refers to placing the microphone very near the amplifier speaker—typically 5–20 centimetres away. This technique isolates the amplifier's direct tone from room reflections and environmental noise, producing defined, controllable recordings. Close-miking works well for overdubs in studios and for live amplified tone. Room-miking places the microphone several feet away, allowing it to capture the speaker's direct sound plus reflections from walls and room boundaries. This technique reveals the amplifier's character as it interacts with acoustic space, producing more organic, dimensional tone. Many professional recordings employ both techniques simultaneously, blending them to achieve ideal tone.
Angle and Distance Considerations
Microphone angle profoundly affects tone. A microphone aimed directly at the speaker cone's centre captures brightness and presence. Moving the mic slightly off-axis (15–30 degrees) mellows the tone while maintaining clarity. Extreme off-axis placement (greater than 45 degrees) rolls off treble significantly, useful for taming harsh amplifiers. Distance scaling also matters: doubling the microphone distance roughly reduces amplitude by 6 decibels whilst slightly reducing high-frequency content, producing a smoother, more integrated tone.
Dual-Microphone Techniques
Professional recordings often employ two microphones simultaneously, capturing different aspects of the amplifier's character. A common approach pairs a dynamic microphone placed close on-axis (capturing brightness and presence) with a condenser microphone placed further away or off-axis (capturing depth and warmth). These signals are blended during mixing, allowing fine-tuned tonal control. Alternatively, pairing a dynamic and ribbon microphone produces a natural blend of detail and smoothness, yielding exceptionally musical results.
Amplifier-Specific Mic'ing
Different amplifier types respond differently to miking. High-gain amplifiers with harsh characteristics benefit from off-axis or room-miking techniques that smooth the tone. Vintage amplifiers with naturally warm, smooth tone sound best with close on-axis miking, preserving their detailed character. Combo amplifiers with rear-facing speakers sometimes benefit from miking the rear speaker in addition to the front, capturing reflections from the cabinet back. Taking time to experiment with different placements yields superior results compared to assuming one technique works universally.
Live Sound Considerations
In live settings, the microphone placement must balance tonal control against feedback risk. Placing the microphone very close to the speaker reduces feedback vulnerability. Employing cardioid microphones with tight polar patterns further reduces feedback from monitors and main speakers. An isolation box—a wooden enclosure surrounding the amplifier—allows aggressive close-miking whilst providing physical separation from stage monitors.
Conclusion
Mastering microphone technique for guitar amplifiers separates competent engineers from exceptional ones. Understanding how microphone type, placement, angle and distance interact with your specific amplifier enables you to capture the exact tone you envision. Whether recording an overdub or reinforcing live sound, proper amplifier miking techniques transform your guitar tone from acceptable to exceptional.


Comments