


Snare Drum Head article
The Ultimate Guide to Snare Side Drum Head
The snare drum head underneath your snare is as important as the one you strike. This guide explains the three main thicknesses—2-mil, 3-mil and 5-mil—how to tune a snare drum head properly, and when to replace it for optimal sensitivity and tone.
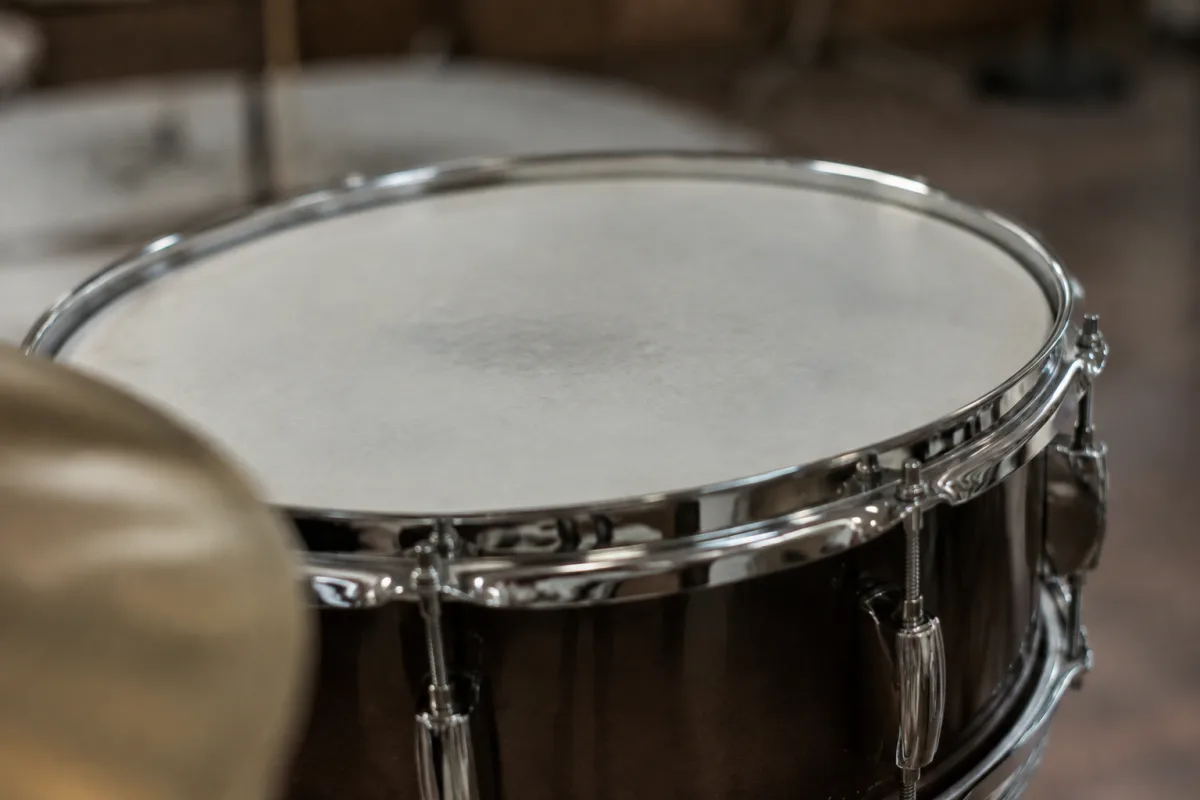
The snare drum head you rarely see—the one underneath your drum—shapes your sound as much as the one you strike. Most drummers focus on the batter head, the thick membrane their sticks hit, but the snare-side head is equally critical. This thin, transparent layer sits beneath your snare drum, supporting the snare wires and responding to their vibrations. When you understand what a snare drum head does and how to choose the right thickness, you unlock genuine control over sensitivity, projection and the clarity of your ghost notes. This guide walks through everything you need to know about selecting, tuning and maintaining a snare-side head.
What Is a Snare-Side Head?
A snare drum uses two separate membranes. The batter head is the thick one you play—typically 5 mil or thicker—designed to withstand repeated strikes and deliver tone. The snare-side head, also called the resonant head, is the thin membrane underneath. It serves a different purpose: transmitting the vibration of the snare wires, responding to small articulations, and determining how sensitive your drum feels.
The snare-side head is substantially thinner than any other drumhead in your kit because it must respond to the slightest vibrations. When you play a ghost note, brush the snare, or execute a rapid roll, that thin snare head picks up every nuance and transmits it through the wires. This responsiveness is what gives snare drums their characteristic crack and sensitivity compared to, say, a tom-tom.
Most snare-side heads carry a lightly hazy or transparent finish, which refers to the surface texture but does not mean they're coated like a coated batter head. The finish is simply how the film appears; it's not protective coating.
Understanding Snare-Side Head Thickness
The single most important choice when selecting a snare-side head is thickness, measured in mils—thousandths of an inch. The three standard options each have distinct characteristics and suit different playing styles.
2-Mil Snare-Side Heads: Maximum Sensitivity
The 2-mil option is paper-thin by any standard and is the most sensitive choice available. It responds instantly to ghost notes, brush strokes, low-volume playing and rapid articulations. Professional concert snare players and orchestral drummers favour this thickness because the wires engage quickly and every detail translates to the listeners. The trade-off is durability and forgiving response. Over-tighten it and you'll distort the film. Play too aggressively and it can fail.
Remo's Diplomat Hazy Snare Side is their standard 2-mil offering, marketed as delivering "maximum sensitivity, sustain, articulation and projection." It's available in common snare sizes from 10 to 15 inches.
3-Mil Snare-Side Heads: The Standard
The 3-mil option is the general-purpose choice for most drum-set players. It balances sensitivity with durability and resilience. You get responsive wires and quick articulation without the fragility of thinner alternatives. If you play rock, pop, funk, jazz or most contemporary music on a drum set, this thickness probably suits you better than thinner or thicker options.
Remo's Ambassador Hazy Snare Side is their 3-mil option and is positioned as an industry-standard choice. It's available in sizes from 10 to 16 inches, making it the easiest snare-side head to find in most retail environments.
5-Mil Snare-Side Heads: Control and Durability
The 5-mil option is thicker than the standard and provides a firmer, more controlled response at the cost of sensitivity. If you hit hard, play in very loud settings, or prefer a less articulate snare sound, this thickness can work well. The wires sit slightly less engaged, which can reduce buzz and provide a more controlled feel.
The trade-off is that you lose some responsiveness and ghost-note definition. This thicker option generally suits players who prioritise durability and controlled response over sensitivity.
Choosing the Right Thickness for Your Playing
Your playing style, genre and venue volume should guide your choice. Concert and orchestral players almost universally choose 2-mil heads—that responsiveness is essential when you're performing notated music and need every ghost note and dynamic to register clearly. Drum-set players in most contemporary settings choose 3-mil. It's forgiving enough to survive rehearsals and gigs without being too insensitive for dynamic playing. If you hit particularly hard or play in extremely loud settings like heavy rock or metal, a 5-mil head can be practical.
The key insight is that thickness alone does not determine tone. Head formulation, shell diameter, bearing-edge condition, snare-wire design and your tuning all interact. Two heads with the same nominal thickness can feel and sound quite different depending on these factors. The best way to know which thickness suits you is to try them, ideally on your own drum.
Tuning Your Resonant Head
Installing and tuning correctly makes an enormous difference. Here's a practical procedure:
- Remove and inspect: Take off the old head and examine the bearing edge for chips, dirt or irregularities. Clean the bearing edge and hoop seating area thoroughly.
- Install the new head: Lay it on the drum, positioning the logo consistently if you prefer.
- Finger-tighten: Tighten all tension rods by hand until they're snug but not forced.
- Cross-pattern tightening: Using a drum key, tighten the rods in a cross pattern (opposite sides alternating) with small, even increments. This ensures even tension across the head.
- Bring to high tension: Continue tightening until it feels relatively tight and high in pitch.
- Check pitch: Tap near the bearing edge at several points and listen for an even pitch around the drum. If one area sounds lower or higher, adjust the nearest tension rod to bring it into tune.
- Install the snare wires: Once it's tuned evenly, install and center the wires.
- Adjust wire tension only after: Only after tuning should you adjust the strainer to control wire tension.
A common mistake is tuning too high. While higher pitch generally produces a crisper sound, excessive tension can choke the drum and distort the film. Experiment with relatively high tension and adjust downward if the drum feels choked.
Managing Snare Wire Tension and Buzz
The snare wires should sit centered on the resonant head and make even contact. The strainer and butt plate must be properly aligned—perfect tuning cannot compensate for badly centered wires.
Wire tension affects how quickly the wires engage and disengage. If your wires are too tight, you'll hear excessive high-frequency buzz and the drum will sound choked and thin. Too loose, and you'll hear rattling and poor articulation. The goal is that sweet spot where the wires crack sharply on strong strokes and whisper lightly on ghost notes.
Symptoms of excessive wire tension include choked sustain, a weak center tone and uncontrolled buzz. Symptoms of insufficient tension include loose rattling, uneven response and buzz that doesn't stop cleanly. Adjust the strainer in small increments and play the drum each time until you find the balance.
When to Replace It
Replace your snare-side head when you see:
- A visible dent or crease in the film
- A stretched or uneven collar around the hoop
- Actual film damage—tears or holes
- Persistent tuning instability—the head will not hold pitch
- Unexplained buzz that won't resolve with wire adjustment
- Contact marks from improperly adjusted wires pressing into the head
Because it's thin, it can fail quickly if the bearing edge is rough or if you over-tighten the tension rods. If you find yourself replacing heads frequently, inspect your bearing edge and make sure your drum key isn't cross-threading the rods.
Recording Considerations
In a recording situation, your choice affects how much articulation the microphones pick up, how much buzz sits in the mix, and how much high-end definition your snare contains. A 2-mil option captures every ghost note and brush stroke—great if your playing is clean and you want maximum detail. That same sensitivity can expose unwanted buzz if your wires aren't perfectly adjusted. A 3-mil option often provides a more balanced and forgiving result in the studio because it delivers articulation without excessive noise.
Common Mistakes to Avoid
Treating it like a thick batter head is the most common error. This thin membrane demands care. Other frequent mistakes include tuning without checking each tension point for even pitch, using snare wires that are mismatched to your drum size, over-tightening the wires in an attempt to eliminate every trace of buzz, ignoring the bearing edge condition, and assuming that thinner is always superior. Often the real problem causing poor snare response isn't the membrane at all—it's a damaged strainer, bent wires, loose hardware or an uneven hoop.
Conclusion
The snare-side head is easy to overlook because you never see it played, but it determines how your snare drum feels and sounds fundamentally. Choosing the right thickness—2-mil for concert work, 3-mil for general drum-set use, 5-mil for durability and control—sets the foundation. Learning to tune the membrane evenly, managing wire tension carefully and recognising when replacement is necessary takes your snare technique from adequate to genuinely professional. A well-chosen and properly maintained option transforms how responsive and articulate your snare drum becomes.






Comments