


Turntable Stylus guide
How to Set Up and Use Turntable Stylus
Setting up a turntable stylus properly makes the difference between an average listening experience and one that sounds genuinely magical. Here's how to dial everything in.
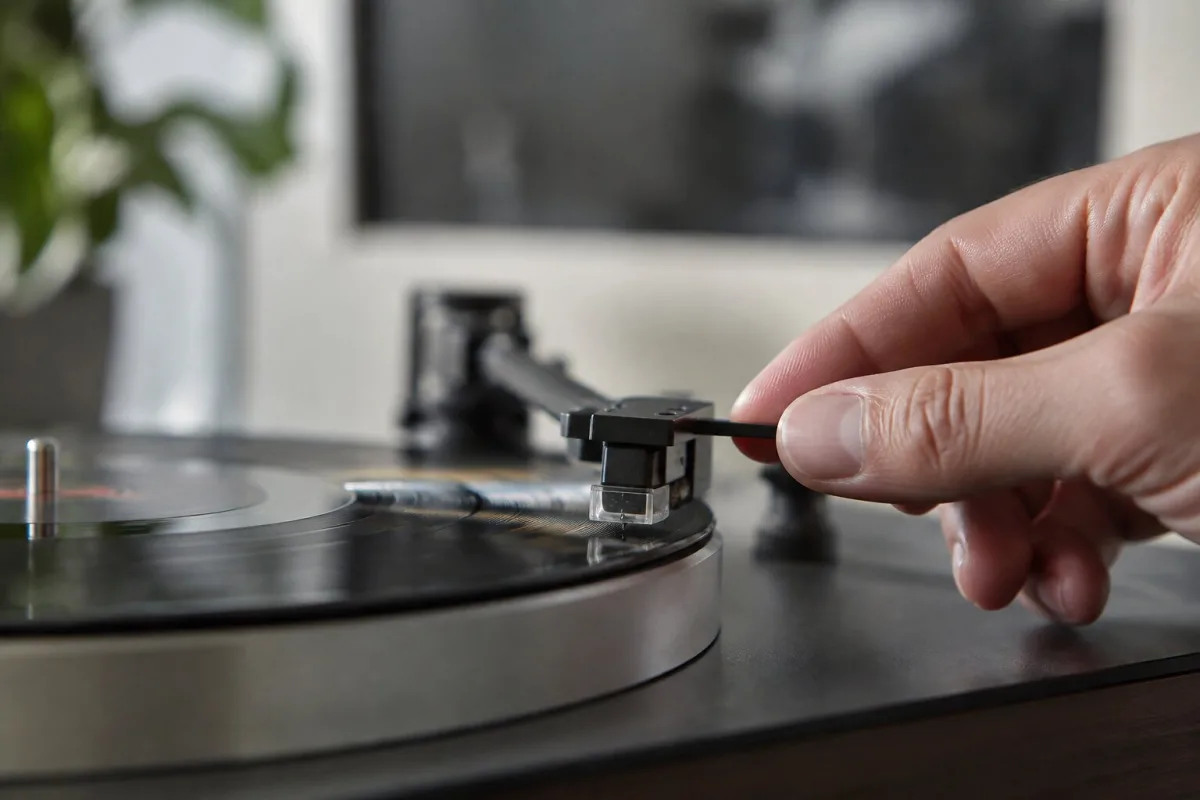
Dropping a new stylus on your turntable is exciting—until you realise that simply installing it isn't the same as actually setting it up. The difference between a stylus that's merely sitting in your cartridge and one that's properly dialled in is the difference between a nice listening experience and one that's genuinely magical. It takes an afternoon, a couple of basic tools and a little patience, but the payoff is absolutely worth it.
Get this right, and your records will thank you. Your ears will too.
What You'll Need
Before you touch your stylus, gather a small toolkit. A stylus force gauge (or stylus scale) is essential—these cost between £15 and £50 and measure the downward pressure your stylus applies to the record. A cartridge alignment protractor is equally important; specialist retailers sell them for around £20. You'll also want a small flathead screwdriver for adjusting the tonearm counterweight, and it helps to have a magnifying glass or jeweller's loupe to inspect your setup. Use the stylus guard that came with your cartridge—it's not optional when installing or removing a stylus.
Step 1: Balance Your Tonearm
Before anything else, balance the tonearm. With the turntable switched off, gently lift the tonearm and set it on its rest (the small cradle at the back). Now—and this is crucial—the arm should be perfectly horizontal. If it tilts down toward the record, the counterweight at the back needs to be moved forward (away from the tonearm). If it tilts up, move the counterweight backward (toward the tonearm). Adjust until the arm floats horizontally without support.
This isn't the final tracking force—it's the starting point. You're removing the arm's own weight from the equation.
Step 2: Set the Counterweight Reference
Once the arm is balanced, rotate the counterweight's reference ring (the marked ring) so that it sits at zero. Don't turn the counterweight itself yet; just rotate the ring around it. Now the counterweight reads zero, which is your baseline for setting the correct tracking force.
Step 3: Set the Tracking Force
Your cartridge or stylus manual will specify a tracking force range—typically between 1.25 and 2.5 grams, though some designs require different values. Let's say your cartridge specifies 1.8 grams. Carefully rotate the counterweight backward (away from the arm) until you've added 1.8 grams of downward force. The arm will gently descend as you do this.
Now place your stylus force gauge on the turntable (with a record on the platter for stability). Gently lower the tonearm onto the gauge and read the measurement. Adjust the counterweight forward or backward until the gauge reads exactly 1.8 grams. This precision matters; too light and the stylus loses contact, too heavy and it wears your records.
If you don't have a force gauge, the counterweight marking method works, but a gauge is far more reliable and worth the small investment.
Step 4: Adjust Anti-Skate
Anti-skate is a small outward force that counters your tonearm's natural tendency to drift inward across the record. Most cartridges recommend setting anti-skate equal to the tracking force—so if your tracking force is 1.8 grams, set anti-skate to 1.8 as well. Consult your tonearm's manual for the adjustment mechanism; some use a small dial, others use a weight or spring.
Step 5: Cartridge Alignment
This step requires a cartridge alignment protractor, which is a printed grid designed to match your tonearm's geometry. Place the protractor on the turntable platter, over the spindle, so it sits flat.
You're checking two key measurements: overhang and alignment angle.
Overhang is how far the cartridge extends past the platter spindle. Loosen the cartridge mounting screws (just slightly—don't remove them completely) and slide the cartridge forward or backward in the headshell until the stylus aligns with the overhang marks on the protractor. Then retighten the screws.
Alignment angle determines whether the cartridge's body sits parallel to the record grooves. Most cartridges should sit parallel with the protractor's alignment grid. Rotate the headshell (if your tonearm has a removable headshell) until the cartridge's body aligns perfectly with the grid lines. If your headshell is fixed, you may need to adjust the cartridge's angle by loosening and retightening the mounting screws while rotating the cartridge body.
This is fiddly work, but it's worth doing carefully. A perfectly aligned cartridge will sound noticeably clearer than a twisted one.
Step 6: Tonearm Geometry Check
Some tonearms have specific geometry requirements—things like overhang, stylus offset angle and effective tonearm length. Consult your tonearm's manual to understand its geometry. Some advanced setups require a second protractor measurement (pivot-to-spindle distance) to be truly dialled in. If your tonearm manual specifies this, take time to get it right.
Step 7: Listen and Fine-Tune
Once everything is set, drop the needle on a record you know well—something with clear vocals and defined bass. Listen critically. If the sound is clean, detailed and the bass feels tight, you've done it. If something seems off—fuzzy treble, smeared imaging, inner-groove distortion—revisit your tracking force first (it's the most common culprit), then alignment.
After Setup
After a few weeks, check your settings again. A new stylus sometimes settles slightly into the cantilever, which can shift tracking force by a fraction of a gram. One quick measurement with your force gauge ensures everything remains perfect.
The Reward
Proper setup transforms how your turntable sounds. A correctly aligned stylus with precise tracking force doesn't just sound better; it protects your records from unnecessary wear. You'll hear details in your favourite albums that you'd previously missed. And knowing that you dialled everything in yourself? That's a satisfaction no amount of money can buy.



Comments