


Lighting Controllers Buying guide
Lighting Controllers: A Complete Buyer's Guide
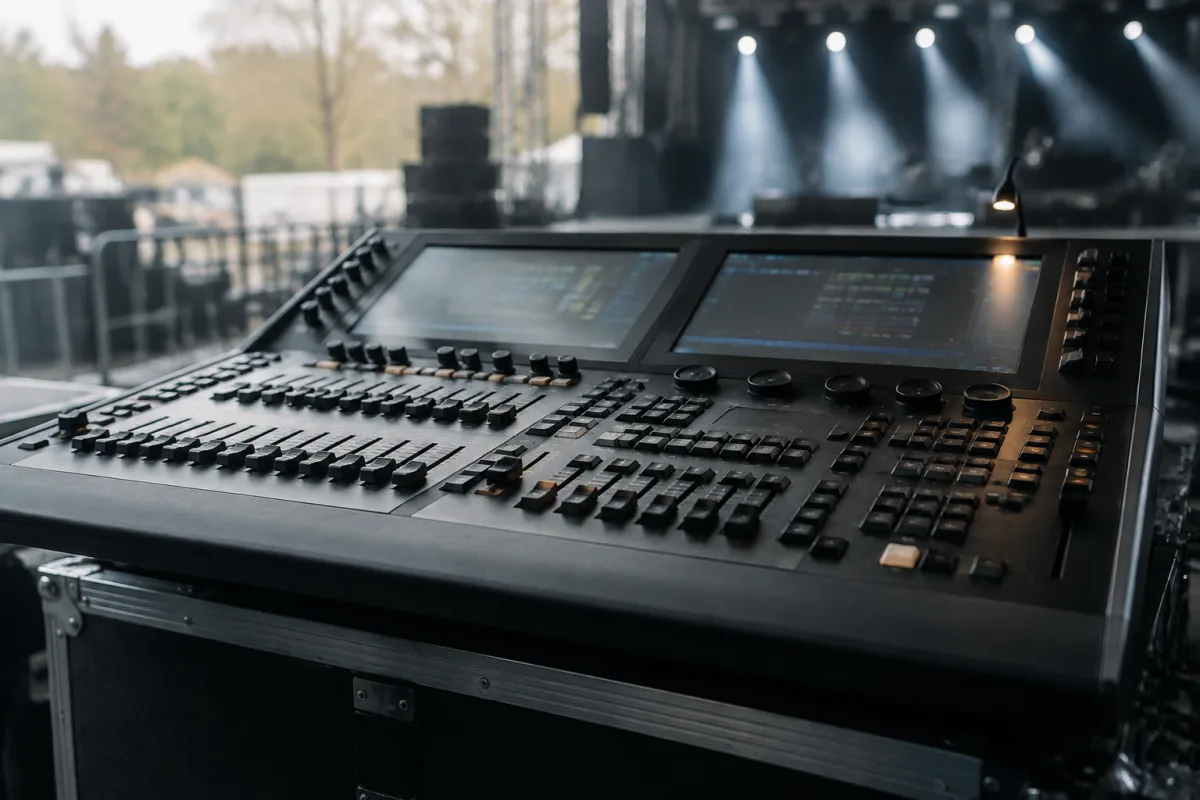
Choosing the right lighting controller determines whether your stage effects enhance your event or create chaos. A poorly selected controller wastes your investment on features you don't need, lacks functionality you require, or proves frustrating to operate under pressure. This buyer's guide examines what matters when selecting a lighting controller, separating essential capabilities from marketing fluff and helping you align your investment with your actual needs.
What Lighting Controllers Actually Do
A lighting controller is the command centre of your stage lighting system. It sends signals (typically DMX protocol) to individual fixtures, telling them to change colour, brightness, movement, or effects. Unlike a simple on-off switch, a controller orchestrates complex lighting sequences, syncs effects with music, and enables real-time improvisation during performances.
Before shopping, clarify what you actually need to control. Are you managing a single colour-changing PAR? A full stage rig with moving heads, strobes, and hazers? A small venue versus a touring truck? These scenarios demand dramatically different controller capabilities and budgets.
Understanding Controller Types and Categories
Lighting controllers come in distinct categories, each suited to different applications:
- Portable/Compact controllers (£200–£800): Small footprint, 12–24 channels, suited for mobile DJs, small venues, and touring. Essential controls with basic effects programming. Popular with beginners and semi-professional operators.
- Mid-range controllers (£800–£2500): Larger, 24–72 channels, advanced programming options, suitable for club residencies and larger events. Balanced control complexity and usability.
- Professional touring controllers (£2500–£10000+): Full-featured consoles, hundreds of channels, extensive library of effects, sophisticated cueing systems. Reserved for major venues, festivals, and touring productions.
- Software-based controllers: Computer-operated systems (£100–£2000) with lower hardware cost but require laptop reliability. Popular with budget-conscious operators and studio environments.
Most buyers balance budget and capability in the compact or mid-range tiers. Professional consoles exceed most operators' actual needs and add complexity.
Channel Count and Number of Fixtures
The first specification to understand is channel count—how many individual light controls your controller manages. Each fixture requires channels:
- Simple colour-changing PAR: 3 channels (red, green, blue)
- Moving head light: 8–16 channels (add pan, tilt, focus, strobe, etc.)
- Haze machine: 1 channel
- Effect rig: Multiple lights add up quickly
Calculate your total fixtures' channel requirements, then choose a controller with capacity exceeding that by 25–50% for future growth. A 72-channel controller suits someone with 12–15 fixtures; a 24-channel controller suffices for 4–6 basic fixtures.
Undersizing the controller forces awkward compromises; oversizing wastes money. Know your fixture count before shopping.
Fader vs. Button-Based Control
Controllers offer two primary interaction styles, each with distinct advantages:
- Fader-based controllers: Physical sliders for each channel, intuitive real-time control, immediate visual feedback. You see which channels are active. More physically demanding but familiar to many operators.
- Button/menu-based controllers: Smaller footprint, programme complex scenes, navigate nested menus. Less intuitive for real-time adjustments but powerful for programming intricate effects.
- Hybrid systems: Physical faders for immediate control plus buttons for scene triggering and effects programming. These offer flexibility but add complexity.
Your workflow determines which approach suits you. DJ-style operators favour faders; studio programmers favour menu systems. Try before buying if possible.
DMX and Wireless Connectivity
Modern controllers communicate via DMX-512, the industry standard for lighting control:
- DMX ports: Most controllers offer multiple DMX OUT ports, allowing you to daisy-chain fixtures or create separate networks (universe expansion). Verify port count matches your setup.
- Wireless DMX capability: Radio-based DMX eliminates cables, ideal for mobile rigs. Adds £200–£500 to controller cost but invaluable for touring.
- USB and software support: Ability to backup programming, update firmware, or integrate with other systems. Essential for professional environments.
- MIDI compatibility: Sync lighting with audio equipment or synchronise with other controllers. Enables elaborate multi-system orchestration.
For stationary installations, standard DMX suffices. Mobile operators justify wireless; touring professionals require it.
Scene Programming and Chase Sequences
Moving beyond simple manual control, most controllers allow programming scenes (static light states you trigger with a button) and chases (automated light sequences):
- Scene capacity: How many static scenes can you store? Budget controllers hold 50–100; professional controllers hold thousands. Beginners typically need 10–30 scenes.
- Chase programming: Can you automate sequences where lights follow rhythm patterns or coordinates? This separates fun operators from basic controllers.
- Effect library: Pre-programmed effects you trigger rather than creating from scratch. Larger libraries suit beginners; experienced programmers prefer flexibility.
- Programming complexity: Some controllers use intuitive visual interfaces; others require menu navigation and arcane commands. Try before committing if you're programming-averse.
If you only need to run pre-programmed shows, a simpler controller suffices. If you improvise and create custom effects nightly, invest in programming power.
Build Quality and Durability Indicators
A lighting controller endures rough handling in venues and vehicles. Assess build quality:
- Fader quality: Faders should slide smoothly without grinding or resistance variation. Cheap faders fail after months of touring; quality ones last years.
- Button and control resistance: Buttons should click crisply and resist accidental presses. Mushy buttons invite mistakes during performances.
- Connector types: Locking Neutrik connectors resist accidental disconnection; standard connectors don't. This matters in mobile environments.
- Housing material and weight: Metal chassis resists damage; plastic scratches easily. Heavy units feel more substantial but transport more difficulty.
- Warranty and support: Established manufacturers offer 2–3 year warranties and accessible customer support. Budget brands often vanish within years.
Test controls in person if possible. Feel button responsiveness and fader smoothness. These details predict longevity.
Price Tiers and Value Positioning
Lighting controllers span a substantial price range, each tier reflecting features and build quality:
- Budget tier (£200–£500): Basic controllers with 12–24 channels, limited programming, suitable for learning or single-fixture venues. Expect shorter lifespan and limited upgrade paths.
- Mid-range (£500–£2000): Balanced controllers with 24–72 channels, decent programming, reliable build. Ideal for most professionals and serious amateurs.
- Premium (£2000–£5000+): Feature-rich consoles, extensive programming capabilities, professional-grade build. Expected in touring and large venues.
- High-end (£5000+): Top-tier systems with expansive features, custom configurations, dedicated support. Reserve for major operations.
Most buyers find excellent value in the mid-range tier. Budget controllers frustrate with limited capabilities; premium controllers exceed most operators' actual needs.
Common Pitfalls When Buying Lighting Controllers
Avoid these frequent mistakes:
- Undersizing channel count: Running out of channels during an event forces frustrating compromises. Calculate requirements generously.
- Ignoring DMX port count: A single DMX port limits fixture scalability. Multiple ports enable expansion without redesigning your system.
- Overlooking programming complexity: A capable controller is useless if you can't programme it intuitively under pressure. Test the menu structure.
- Neglecting connectivity options: Wireless DMX, MIDI, and USB support future-proof your investment. Budget controllers often lack these.
- Assuming more features equals better value: Unused features add cost and complexity. Match capabilities to actual needs.
- Buying without a venue or fixture plan: Purchase after defining your setup, not speculatively. Vague requirements lead to poor matches.
Making Your Purchase Decision
Work through this final assessment before committing:
- Have you accurately calculated total channel requirements with 25–50% headroom?
- Does the controller offer the interaction style (faders vs. buttons) matching your workflow?
- Does it provide adequate DMX ports for your fixture plan?
- Are programming capabilities (scenes, chases, effects) sufficient for your creative needs?
- Does it support wireless DMX if you operate mobile rigs?
- Does the build quality (faders, buttons, connectors) suggest durability?
- Does the manufacturer offer reliable support and warranty?
- Does the price tier reflect your professional needs and usage intensity?
A properly selected lighting controller becomes the trusted command centre of your stage effects—reliable, intuitive, and capable of executing your creative vision. Choose thoughtfully, and your investment serves you for years of events and performances. For comprehensive exploration of lighting control technologies, advanced programming techniques, and how to integrate controllers into complex stage systems, see the complete guide to lighting controllers, which covers professional standards and creative possibilities.


Comments