


Two Channel Mixer article
Two Channel Mixer for Beginners: A Complete Guide
Getting started with a two channel mixer doesn't have to be intimidating. This beginner-friendly guide walks you through the essentials, from understanding basic controls to avoiding common pitfalls.
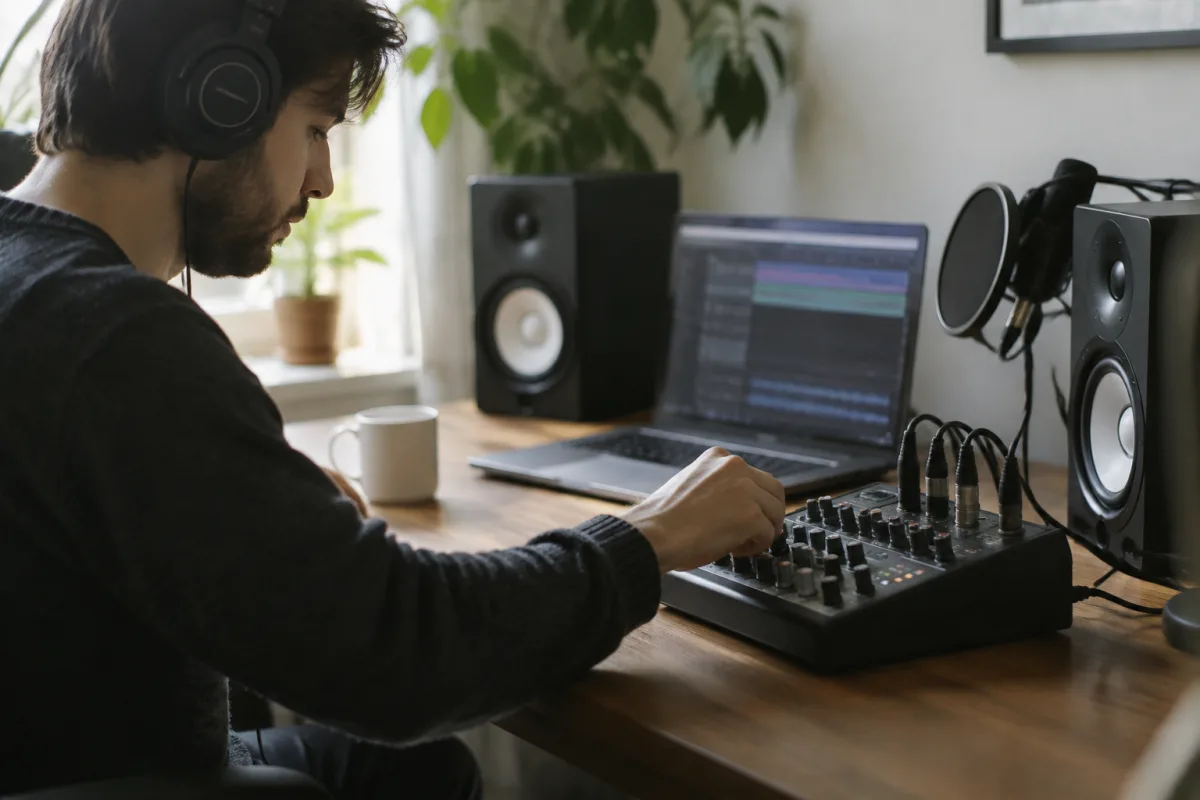
Getting started with a two channel mixer can feel daunting, especially if you're new to studio recording or live sound. You might worry about all those knobs and buttons, wondering if you'll accidentally damage equipment or make a horrible sound. The good news is that a two channel mixer is actually one of the simplest mixing tools available, and it's a fantastic way to begin learning how to blend multiple audio sources together. This guide walks you through everything a beginner needs to know to use a two channel mixer confidently.
Understanding What a Two Channel Mixer Does
A two channel mixer is designed to do one primary job: take audio from two separate sources and combine them into a single output. Think of it like blending two ingredients into one dish. You might be combining a microphone with a guitar, two microphones, or a microphone with a pre-recorded backing track. The mixer lets you control how loud each source is independently, then sends them out together through speakers, headphones, or a recording device.
The beauty of a two channel mixer for beginners is its simplicity. Unlike larger mixing consoles with dozens of channels and complex routing options, you only have two inputs to worry about. This makes learning the basics much less intimidating. Once you understand how to work with two channels, scaling up to larger mixing situations becomes straightforward.
The Essential Controls You'll Actually Use
Every two channel mixer has a few key controls that do most of the work. Don't be overwhelmed by seeing more buttons and knobs than you expect—most of them are optional features you can explore later. Here are the essential ones:
- Input level controls: These are usually faders or knobs that let you adjust how loud each of your two sources is. Start with these around the middle position.
- Master volume fader: This controls the overall output level. Set it around halfway initially, then adjust based on what you're hearing.
- Monitor/headphone output: This lets you hear what's happening through headphones, which is invaluable for checking your mix without affecting the main output.
- On/off switch: Make sure your mixer is powered on before you start. Check the LED indicator to confirm.
- Input connectors: These are where you plug in your audio sources. Common types are XLR (for microphones), RCA (for consumer equipment), or 3.5mm aux.
That's genuinely the list of things you need to operate a two channel mixer successfully. Everything else is bonus features that add flexibility once you're comfortable with the basics.
Your First Steps: Setting Up a Two Channel Mixer
The first time you use a two channel mixer, follow these steps in order. This approach removes guesswork and prevents surprises:
- Power on your mixer and let it warm up for about 30 seconds.
- Set both input level faders to the lowest position (all the way down).
- Set the master volume fader to about the middle position.
- Connect your first audio source to Channel 1. Check that the input label matches (XLR, RCA, etc.).
- Slowly turn up the Channel 1 input fader while making sound through that source (speaking into the mic, playing the guitar, etc.). Stop when the level looks good—aim for the meter not to go into the red zone.
- Connect your second audio source to Channel 2 and repeat the same process.
- Test your output by listening through speakers or headphones. Adjust individual channel faders to balance the two sources.
- If the overall level is too quiet or too loud, adjust the master volume fader, not the channel faders.
Congratulations—you're now mixing on a two channel mixer. That really is all there is to the basic operation.
Common Beginner Mistakes to Avoid
As you start using a two channel mixer, watch out for these pitfalls that trip up many first-timers:
- Turning input levels too high: More isn't always better. If the input level is in the red, you'll get distortion. Aim for yellow on the meter—there's plenty of headroom there.
- Forgetting to turn the mixer on: You'd be surprised how many people troubleshoot for minutes before realizing they haven't powered on the unit.
- Using only the master fader to adjust levels: The master fader controls overall output, not individual sources. Always use the channel faders to balance your two sources.
- Plugging in cables without power off: While modern equipment is usually protected, it's safer to turn off your mixer before plugging in or unplugging audio cables.
- Ignoring the monitor output: Many beginners don't use headphones to check their mix, so they miss problems before the output reaches speakers or recording.
Avoiding these mistakes will save you frustration and help you sound more professional right away.
When Your Two Channel Mixer Isn't Working
Sometimes you'll plug everything in and hear nothing. Before you panic, work through this simple checklist:
- Is the mixer powered on and showing an LED indicator?
- Are the input level faders actually raised above the lowest position?
- Is the master volume fader turned up to a reasonable level?
- Are your audio cables fully seated in their connectors?
- Is your audio source actually producing sound (test the microphone or guitar separately)?
- Are your speakers or headphones powered on and connected?
Nine times out of ten, the issue is something simple like a fader in the down position or a cable not fully plugged in. Take your time working through the checklist rather than assuming the equipment is broken.
Building Confidence with Your Two Channel Mixer
The fastest way to become confident with a two channel mixer is to use it regularly for actual projects, not just practice. Set it up for a podcast, a simple recording session, or a small event. Real-world experience teaches you far more than reading instructions.
As you gain confidence, you can explore the additional features your mixer might have—equalisation controls, effects sends, or aux outputs. But these genuinely aren't necessary for excellent basic mixing. A two channel mixer has successfully handled professional recording and live sound for decades, and it will work beautifully for your projects too.
For more comprehensive information about two channel mixers and how they fit into larger studio setups, check out our complete guide to two channel mixers. It covers advanced techniques and everything else you might want to know as you progress beyond the basics.
Your Next Steps
Start small. Plug in two audio sources, set the levels sensibly, and listen. Don't overthink it. A two channel mixer is forgiving equipment designed to make your life easier, not harder. With these foundational steps, you're ready to start mixing today.



Comments