


Mixer Rack Mount article
Mixer Rack Mount for Beginners: A Complete Guide
A mixer rack mount organises your equipment professionally and protects it during transport. This beginner's guide covers sizing, mounting securely, cable management, and whether you actually need one.
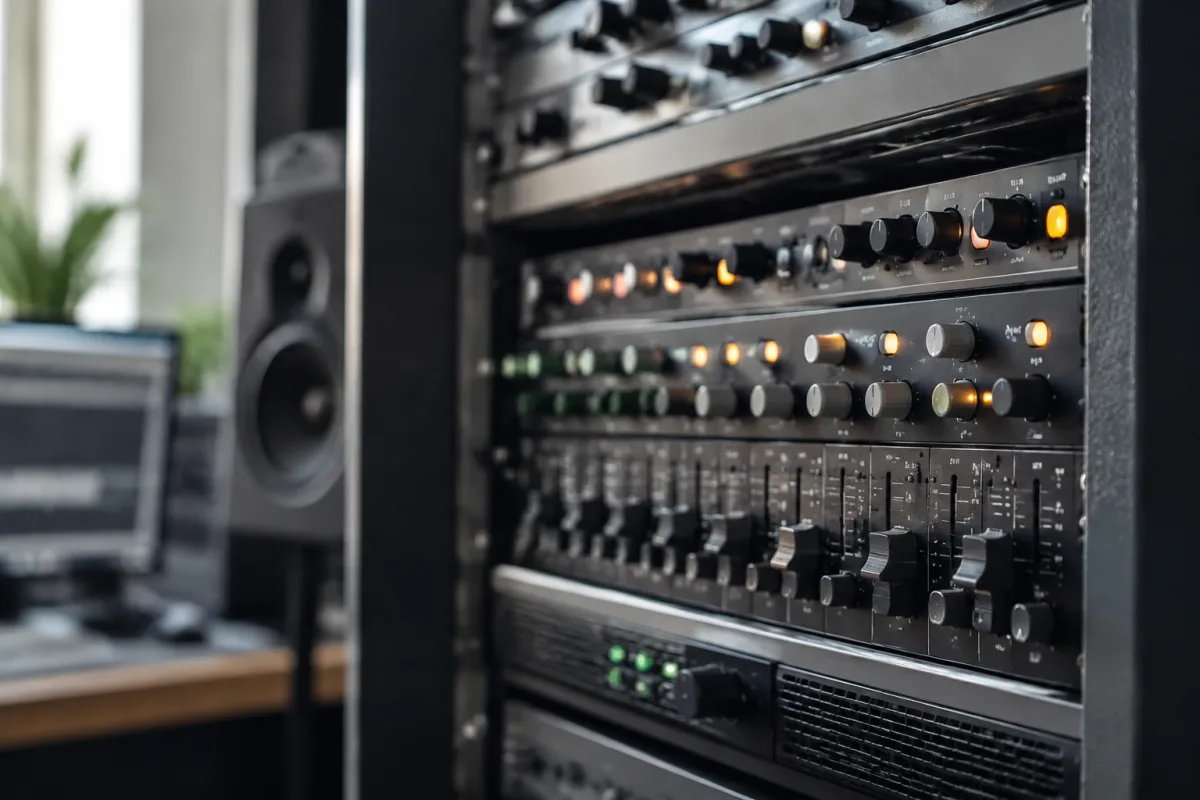
If you're organising a studio or live sound rig for the first time, you've probably noticed professional setups have equipment stacked neatly in racks. You might have wondered whether you need one. Here's the honest answer: a mixer rack mount is not essential for beginners, but it becomes valuable once you've got multiple pieces of gear. This guide walks you through what a mixer rack mount actually is, whether you need one, how to set it up without breaking anything, and how to avoid the pitfalls that catch first-timers.
What a Mixer Rack Mount Actually Does
A mixer rack mount is simply a metal frame that holds your mixer and other audio equipment in a standard 19-inch rack. Think of it as a filing cabinet for your gear. The mixer sits in a bracket, secured by screws or rails, so it doesn't slide around when you move the rack or accidentally bump it. That's the entire function. It keeps your equipment organised, accessible, and protected from damage during transport or in busy studios. It doesn't amplify sound, process audio, or add any features to your mixer. It's simply infrastructure. If your mixer is happy sitting on a shelf or table and you're not moving it around, you don't need a rack mount. If you're building a travelling rig, running multiple pieces of gear, or setting up a permanent installation in a venue, a rack mount becomes practical.
Standard Rack Sizes and What Beginners Should Know
Professional audio equipment uses standardised 19-inch racks, measured in "U" units (where 1U is 1.75 inches). A mixer typically occupies 2-4U of space depending on the model. A simple shelf unit might take 3U. You'll see racks come in 12U, 16U, 20U, and 42U sizes. Beginners often buy racks that are too large (thinking they'll "grow into it") and end up with an awkward, mostly-empty setup that's difficult to cable and overly expensive. Buy a rack sized for your actual gear right now. A 12U or 16U rack holds a mixer and a few accessories comfortably. If your current equipment fits in a 12U rack with a couple inches of headroom, that's your ideal size. You can always add a second rack later.
Key Components: Rails, Screws, and Cable Management
Every mixer rack mount needs three things: the rack frame itself, mounting rails or brackets to hold your mixer, and proper cable management. Most racks come with the frame and basic mounting rails. Ensure the rails are adjustable so you can position your mixer at a comfortable height. Cable trays at the back of the rack keep audio cables organised and prevent the tangled mess that makes troubleshooting impossible. Some beginner racks skip cable trays as a cost-saving measure—they're worth the extra expense. You'll spend less time untangling cables and more time focusing on your mix. Rubber feet at the base matter too. A rack sitting directly on concrete or tile can transmit vibration and hum; rubber isolation feet reduce this. They cost almost nothing and are often included. Check before you buy.
Mounting Your Mixer Securely Without Damage
This is where beginners go wrong most often. A mixer is expensive, and securing it incorrectly damages screws, strips threads, or even cracks the mixer's casing. Here's the safe approach. Identify the mounting points on the underside of your mixer—usually small threaded holes or ears designed for rack mounting. Use the appropriate bolts or screws specified by your mixer manufacturer (often M6 or M8). Insert bolts into the rack rails, then carefully guide your mixer into place. Tighten each bolt evenly in a cross pattern, not fully tightening one side and then the other. Uneven tension can crack the mixer's chassis. Tighten just enough so your mixer is stable but not under extreme pressure. Your mixer should feel rock-solid but not squeezed. If you're uncertain, practice on a spare piece of equipment first or watch your mixer manufacturer's installation video.
Planning Cable Runs: The Hidden Complexity
Most beginners focus on mounting the mixer and overlook cable management. This is a mistake. Before you bolt anything down, plan where every cable will run. How will audio cables route from your mixer to amplifiers? Where will power cables go? Will microphone cables enter the rack from the front or run along the back? A messy cable run means you won't be able to troubleshoot problems easily, swapping equipment becomes a nightmare, and you risk damaging cables by trapping them under mounted gear. Trace each connection on paper first. Then mount components in logical order—power supplies at the bottom, signal processors in the middle, outputs at the top. Label every cable at both ends with a permanent marker. It sounds tedious, but you'll thank yourself when you need to replace a single cable and can do it in 30 seconds without disturbing anything else.
Cooling and Ventilation
Equipment generates heat, and a tightly packed rack can become an oven. Most mixers don't generate excessive heat, but if you're adding amplifiers, processing units, or power supplies, heat buildup becomes a concern. Ensure there's at least 2-3 inches of clear space above your equipment and proper airflow. If your rack will be in a cabinet or enclosed space, add ventilation holes or fans. Equipment sitting in a sealed box may overheat and fail. Test your setup after a few hours of use by feeling whether components are getting hot. If they are, improve ventilation. Most studio and venue disasters occur because equipment overheated due to poor rack ventilation.
To Rack Mount or Not: A Practical Decision Framework
You should consider a mixer rack mount if: you have two or more pieces of equipment to organise, you're regularly moving your rig, you're setting up a permanent installation in a venue, or you want to look professional. You probably don't need one if: you have a single mixer sitting in a home studio, your setup never moves, or you're on a tight budget. A mixer works just fine sitting on a table or shelf. The rack mount is an organisational choice, not a performance requirement. Many home studios get by perfectly well without one, while every touring rig and permanent venue installation benefits from proper racking. Be honest about your actual needs. Don't buy equipment just because "professionals use it."
Budget Considerations and Quality Levels
Mixer rack mounts range from £50 for a basic 12U frame to over £500 for professional touring racks. A budget-friendly 12U or 16U rack with basic rails serves most beginners excellently. Spending £100-150 gets you a decent frame with cable trays and proper construction. Spending £300+ buys professional-grade equipment designed for touring and heavy use—overkill for a first setup. Buy a mid-range rack now, and upgrade only if your rig becomes complex enough to justify it. Many professionals use £150 racks successfully; expensive doesn't mean necessary.
Common First-Timer Mistakes
Beginners often buy racks that are too large, thinking they'll "grow into them." A 42U rack in a home studio looks ridiculous and makes cable management harder. They also forget to plan cable routing, then get frustrated when they can't find specific connections. They over-tighten bolts when mounting equipment, damaging expensive gear. They stack equipment without adequate ventilation, causing overheating. And they ignore cable management, creating a rats' nest that makes troubleshooting impossible. Avoid these by planning before you buy, measuring your space, respecting your equipment's mounting specifications, and taking cable organisation seriously.
Your First Rack Setup Checklist
Ready to get started? Here's what you need: a rack appropriately sized for your equipment (measure first), mounting rails compatible with your mixer, bolts or screws specified by your mixer manufacturer, a cable tray, rubber feet, and label tape. Optional but recommended: a power distribution unit designed for racks, cable ties and spiral wrap to bundle cables, and acoustic foam if your rack will sit in a small space. Assemble on a flat surface. Mount your mixer first, then add other equipment. Cable last. Test everything before sealing up.
When to Upgrade or Add Racks
Your first rack serves you well until you outgrow it. You're ready for a bigger setup when you can't fit new equipment without removing something, when you find yourself wanting to add new pieces regularly, or when you're managing multiple racks and want to consolidate. That's when you graduate to larger racks, additional frames, or even touring-grade roadcases. But for your first mixer rack mount, simple is better. Keep it small, organised, and practical. As you dive deeper into recording or live sound, the complete guide to mixer rack mounts offers strategies for larger setups, touring considerations, and professional installation techniques. For now, focus on getting this first rig right.
Your first mixer rack mount is simply infrastructure. Get it right—the right size, properly mounted, well-cabled—and your setup becomes professional-looking, organised, and easy to troubleshoot. Get it wrong, and you'll regret it every time you need to move a cable or swap equipment. Take your time, measure twice, and you'll build something you're genuinely proud of.



Comments