


Soundproofing Studio article
Soundproofing Studio for Beginners: A Complete Guide
Soundproofing your studio doesn't require professional renovation. This beginner guide covers practical techniques, budget tiers, and realistic expectations for noise reduction.
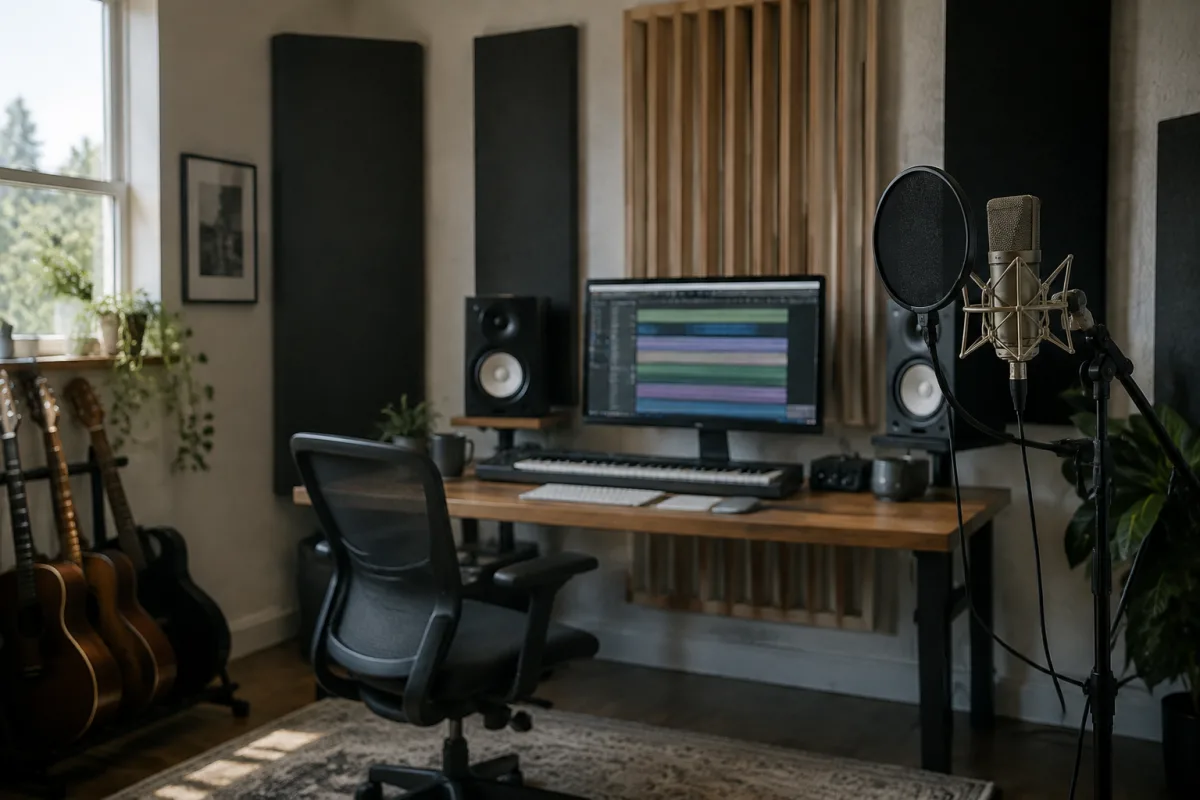
Starting a home studio without addressing soundproofing creates conflicts with neighbours and family. The idea of soundproofing studio spaces intimidates many beginners—complex terminology, expensive solutions, and uncertainty about what actually works. This guide strips away the jargon and shows you practical, affordable soundproofing studio approaches that genuinely work, helping you start recording without guilt or noise complaints.
Understanding Why Soundproofing Studio Spaces Matters
Soundproofing studio isn't optional if you value your relationships. Drum practice, loud guitar amplifiers, and synthesiser sessions disturb neighbours and family members. Soundproofing studio prevents conflict and lets you practice whenever inspiration strikes.
Beyond relationships, soundproofing studio improves your recordings. Outside noise—traffic, neighbours, dogs barking—ruins takes and forces endless retakes. A quieter space produces cleaner recordings. Soundproofing studio benefits both your peace of mind and your audio quality.
Soundproofing studio also improves monitoring. You hear your mix more accurately in a quieter environment, making better decisions about tone, balance, and effects.
Crucial Distinction: Soundproofing Versus Acoustic Treatment
Most beginners confuse soundproofing studio with acoustic treatment. Understanding the difference matters.
Soundproofing studio means preventing sound escaping to outside spaces. This requires mass and isolation—heavy materials that stop sound transmission through walls and doors.
Acoustic treatment means controlling sound within the room—absorbing reflections, managing reverb, flattening frequency response. This uses softer materials like foam and fibreglass.
True soundproofing studio requires more effort and cost than acoustic treatment alone. Most beginners can afford basic acoustic treatment. Professional soundproofing studio demands renovation-level work and investment. Understanding what you actually need prevents overspending.
Practical Soundproofing Studio Approaches for Beginners
Several budget-friendly techniques significantly reduce noise transmission without professional renovation.
Weatherstripping doors is the single most effective beginner soundproofing studio step. Sealing gaps around door frames prevents enormous amounts of sound escape. Self-adhesive weatherstripping costs under £10 and requires just 10 minutes installation. If you only do one thing for soundproofing studio, this is it.
Heavy curtains on windows dramatically reduce soundproofing studio needs. Floor-to-ceiling curtains made from dense fabric absorb sound and dampen transmission. Professional acoustic curtains are expensive, but heavy theatre curtains achieve similar results for less money.
Mass-loaded vinyl under carpeting improves soundproofing studio from below. Neighbours hearing bass from upstairs sound less problematic with this treatment. Installation is straightforward if you're already planning carpet replacement.
Moving blankets on strategic walls provide emergency soundproofing studio when you can't afford proper materials. They're not permanent solutions but genuinely reduce noise transmission when arranged carefully.
Soundproofing Studio: Budget Tiers and Realistic Outcomes
| Budget Level | Typical Soundproofing Studio Measures | Noise Reduction | Best For |
|---|---|---|---|
| £0-£100 | Weatherstripping, moving blankets, soft furnishings | Modest (5-10dB) | Apartment neighbours, initial setup |
| £100-£500 | Acoustic foam, heavy curtains, mass-loaded vinyl, door seals | Moderate (10-15dB) | Most home studios, semi-detached homes |
| £500-£2000 | Professional acoustic panels, resilient channels, improved doors | Significant (15-25dB) | Serious home studios, attached properties |
| £2000+ | Full decoupling, double-wall construction, professional design | Dramatic (25+ dB) | Professional studios, extreme noise situations |
Common Soundproofing Studio Mistakes Beginners Make
Several errors waste money or fail to solve problems. Avoid these.
First mistake: Assuming acoustic foam provides soundproofing studio benefits. Foam absorbs sound within the room but does little to prevent outside transmission. Foam treats acoustics; it doesn't soundproof. This distinction matters tremendously.
Second mistake: Expecting complete sound elimination on a budget. True soundproofing studio costs thousands. Beginners should expect 10-15dB noise reduction from budget measures, not silence. This reduction helps but isn't perfect.
Third mistake: Ignoring the door gap. Sound escapes around door perimeters disproportionately. Addressing just the door gap often improves soundproofing studio dramatically, sometimes more than expensive wall treatments.
Fourth mistake: Treating walls without considering the path. Sound travels through walls, doors, windows, and floors. Treating one wall without addressing others wastes effort. Plan comprehensive soundproofing studio addressing all transmission paths.
Fifth mistake: Permanent installation on rental properties. Renters shouldn't damage walls for soundproofing studio. Focus on removable treatments—curtains, blankets, temporary weatherstripping. Discuss modifications with landlords before investing heavily.
Your Practical Soundproofing Studio Action Plan
Start here for immediate improvement. No tools or expertise required.
Week one: Weatherstrip your studio door thoroughly. This takes 10 minutes and costs under £10. It's the highest return-on-investment soundproofing studio improvement.
Week two: Hang heavy curtains on windows. Measure windows, purchase theatre curtains (far cheaper than acoustic ones), and install. This dramatically reduces high-frequency noise escape.
Week three: Add area rugs and soft furnishings. Carpet, curtains, and furniture dramatically improve soundproofing studio by providing mass and absorption. This also makes the space more pleasant.
Week four: If still insufficient, add acoustic foam to strategic wall areas. Focus on the corners and first reflection points. Remember this acoustic treatment but not soundproofing studio solution.
For comprehensive guidance on all soundproofing studio techniques and advanced acoustic treatment, read our complete guide to soundproofing studio, which covers professional methods and detailed specifications.
Managing Expectations and Next Steps
Budget soundproofing studio genuinely works but has limits. You won't achieve professional results cheaply. However, weatherstripping doors and hanging curtains reduce neighbour disturbance so significantly that most conflicts resolve. That's the real goal—keeping peace whilst pursuing music.
As your studio evolves, you can invest in better soundproofing studio gradually. Start cheap, see what helps, then spend more strategically on proven techniques. This approach beats guessing and wasting money on ineffective solutions.



Comments