


Soundproofing Studio Buying guide
Soundproofing Studio: A Complete Buyer's Guide
Confused about soundproofing your studio? Discover what materials actually work, common mistakes, and how to spend your budget wisely.
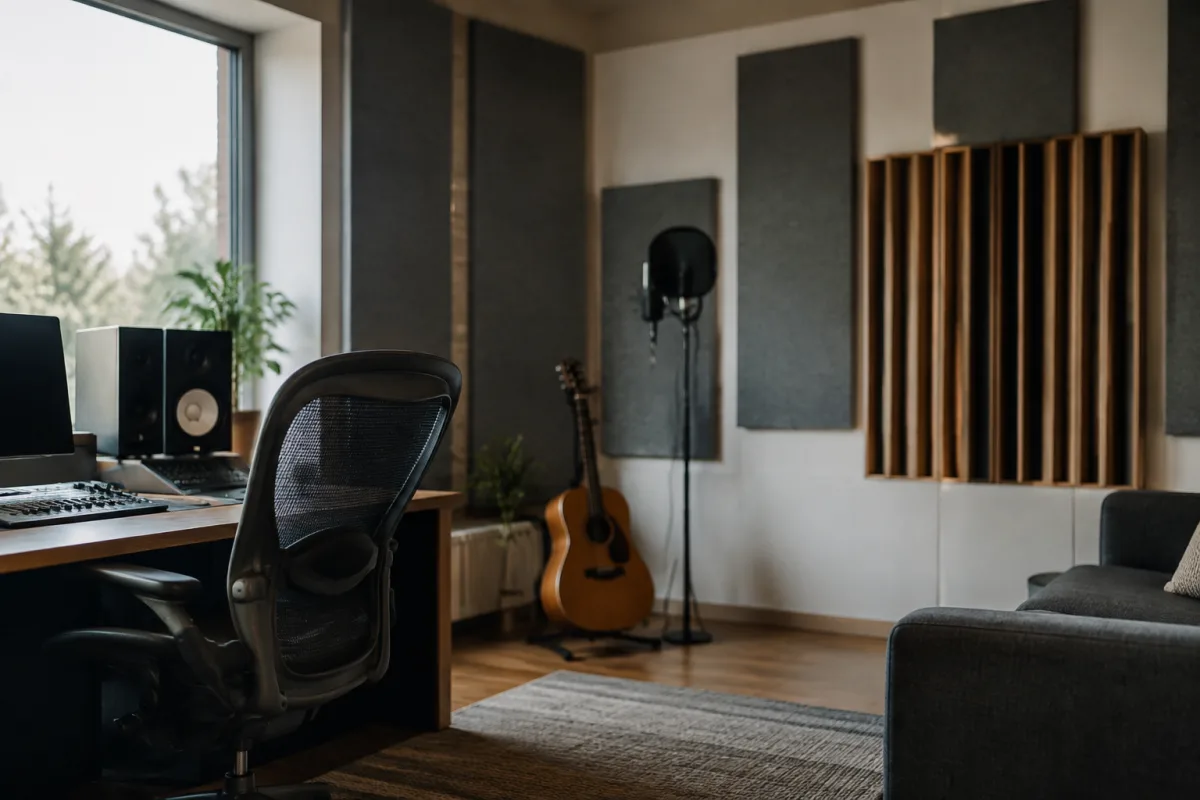
Soundproofing a studio is one of the most impactful upgrades you can make, yet buying soundproofing materials without understanding what you're actually treating is a recipe for wasted money. Whether you're blocking outside noise, containing music inside your space, or simply improving the acoustics of your existing room, you need to know the difference between soundproofing and acoustic treatment, understand the available materials and their real-world effectiveness, and plan a budget that matches your actual problem. This guide walks you through the essential buying decisions.
Understanding What You're Actually Trying to Fix
Before spending a pound on soundproofing materials, diagnose your problem precisely. Many people confuse three different issues, each with a different solution.
Outside Noise Coming In. If traffic, neighbours or other external sounds are disrupting your recording, you need mass and decoupling to block sound transmission through walls, windows and doors. This requires expensive structural changes or dense barrier materials—basic foam does little here.
Sound Escaping Your Studio. If your playing disturbs neighbours or you share a thin wall, you're trying to contain loud sound within your space. Again, you need mass and proper sealing, not basic absorption.
Reflections and Room Modes Inside Your Space. If your room is too reverberant, bass bounces uncontrollably, or vocals sound hollow, you're fixing acoustics—not soundproofing. Absorption panels and bass traps address this for £100–£500. This is what most bedroom studios actually need.
Too many people buy foam panels thinking they're soundproofing when they're actually treating room reflections. The right material depends entirely on which problem you're solving.
The True Cost of Effective Soundproofing
Real soundproofing—blocking sound transmission through walls—is expensive. A single properly isolated wall (with decoupled framing, mass-loaded vinyl, dense insulation and acoustic sealant) costs £2,000–£8,000 per wall in a typical home studio. An entire room might run £15,000–£50,000+ if you're serious about external isolation.
If you're renting or can't afford structural work, accept that you won't achieve professional soundproofing. Instead, focus on acoustic treatment (reflections and reverb control) and find a quieter space if possible. Money spent on expensive soundproofing panels in a room you can't structurally modify is money wasted.
Soundproofing vs. Acoustic Treatment: Which to Buy
Soundproofing Materials (Blocking External Sound).
- Mass-loaded vinyl (£15–£30 per square metre). Adds mass to walls without major space loss. Moderately effective but requires professional installation.
- Rockwool or mineral wool insulation (£20–£50 per cubic metre). Dense, affordable, excellent for retrofit within walls. Requires wall disassembly or new framing.
- Acoustic door seals and weatherstripping (£50–£200). Cheap high-impact upgrade—doors and gaps leak massive amounts of sound.
- Acrylic or polycarbonate window inserts (£300–£1,500 per window). Decoupled secondary windows offer serious sound reduction. Expensive but effective.
Acoustic Treatment Materials (Controlling Reflections Inside Your Room).
- Absorption panels (£10–£50 per panel, typically 1m² each). Foam, rockwool or felt-wrapped panels that damp room reflections. Budget £500–£2,000 to treat a small studio adequately.
- Bass traps (£50–£200 each). Larger, denser panels targeting low-frequency modes. Essential for any serious mixing room. Budget £500–£1,500 for a small studio.
- Diffusers (£100–£500). Scatter sound reflections rather than absorb them—useful for maintaining liveness in larger rooms while controlling flutter echo.
- Portable screen systems (£200–£800). Temporary sound barriers for isolation without permanent installation. Useful for live recording in untreated spaces.
Evaluating Material Quality and Real Performance
Acoustic material quality varies wildly. Budget foam panels (thick, dense foam) absorb some sound but are far less effective than rockwool or professional absorption panels. Professional-grade materials specify NRC (Noise Reduction Coefficient) ratings—aim for 0.75+ for absorption panels and 0.80+ for bass traps.
Be sceptical of marketing claims. A thin foam panel costing £15 will not soundproof your room. Professional materials typically cost more, but they deliver measurable acoustic improvement. If your budget is tight, fewer high-quality panels positioned strategically beat a room full of cheap foam.
DIY Installation vs. Professional Installation
Acoustic panels and foam can be DIY-installed with basic tools—adhesive, wall anchors and a bit of patience. Absorption panels simply glue to walls; the installation cost is minimal.
Real soundproofing (decoupled framing, mass-loaded barriers, proper sealing) requires professional installation to be effective. A poorly installed soundproofing system performs terribly. If you're committing to structural soundproofing, hire a professional acoustic designer or contractor—DIY usually disappoints.
Planning Your Budget by Priority
If your budget is £500, spend it on:
- Door seals and weatherstripping (£100–£150). Highest bang-for-buck.
- Absorption panels for primary work area (£200–£300). Focus on first and second reflection points.
- Dedicated desk/instrument space treatment.
If your budget is £2,000:
- Comprehensive room absorption (panels and bass traps covering 40–60% of surfaces).
- Heavy acoustic door upgrade (£300–£500).
- Proper speaker stands and isolation.
If your budget is £10,000+, consider:
- Professional acoustic room design consultation (£1,000–£3,000).
- Comprehensive soundproofing (wall insulation, double doors, window upgrades).
- Full acoustic treatment tailored to room dimensions.
Avoiding Common Soundproofing Mistakes
Mistake One: Buying Foam to Soundproof. Foam absorbs mid and high frequencies but does almost nothing to block low frequency or external noise transmission. It's an acoustic treatment, not soundproofing.
Mistake Two: Treating Only One Wall. Sound leaks through all surfaces—walls, ceiling, floor, doors, windows, ventilation. Partial treatment is ineffective; commit to comprehensive coverage or accept limited results.
Mistake Three: Skipping Door and Window Sealing. A single unsealed gap undoes thousands of pounds of soundproofing. Proper sealing and upgrades are essential first steps.
Mistake Four: Installing Soundproofing Without Ventilation Plans. Sealed, soundproofed rooms become stuffy and uncomfortable. Plan for quiet ventilation (acoustic ducting) if you're serious about isolation.
New vs. Used and Budget Alternatives
Absorption panels and bass traps don't degrade with age. Used panels (especially from recording studios or schools closing) are excellent value—often 40–60% cheaper than new. Verify condition and ask about NRC ratings.
Budget alternatives: used rockwool insulation, heavy curtains layered for absorption, and DIY panel construction with rockwool and fabric covering. A talented DIY-er can build effective bass traps and panels for 30% of retail cost. Search for acoustic panel building guides and source materials separately.
Conclusion: Buying Soundproofing That Actually Works
Effective soundproofing requires honest assessment of your problem, realistic budget, and willingness to invest in materials that genuinely work—not cheap foam marketed as soundproofing. For most home studios, acoustic treatment (panels and bass traps) addresses the real problem (reflections and room modes) far more cost-effectively than structural soundproofing. If external noise is your issue, prioritize door and window upgrades before spending on expensive wall treatment. Plan your purchase strategically, focus spending where it matters most, and expect to spend £500–£2,000 to meaningfully improve a small studio.


Comments