


Desktop Monitor Controller article
Desktop Monitor Controller for Beginners: A Complete Guide
New to home studio monitoring? This beginner guide explains desktop monitor controllers, installation basics, and common pitfalls to help you take confident control of your mixing environment.
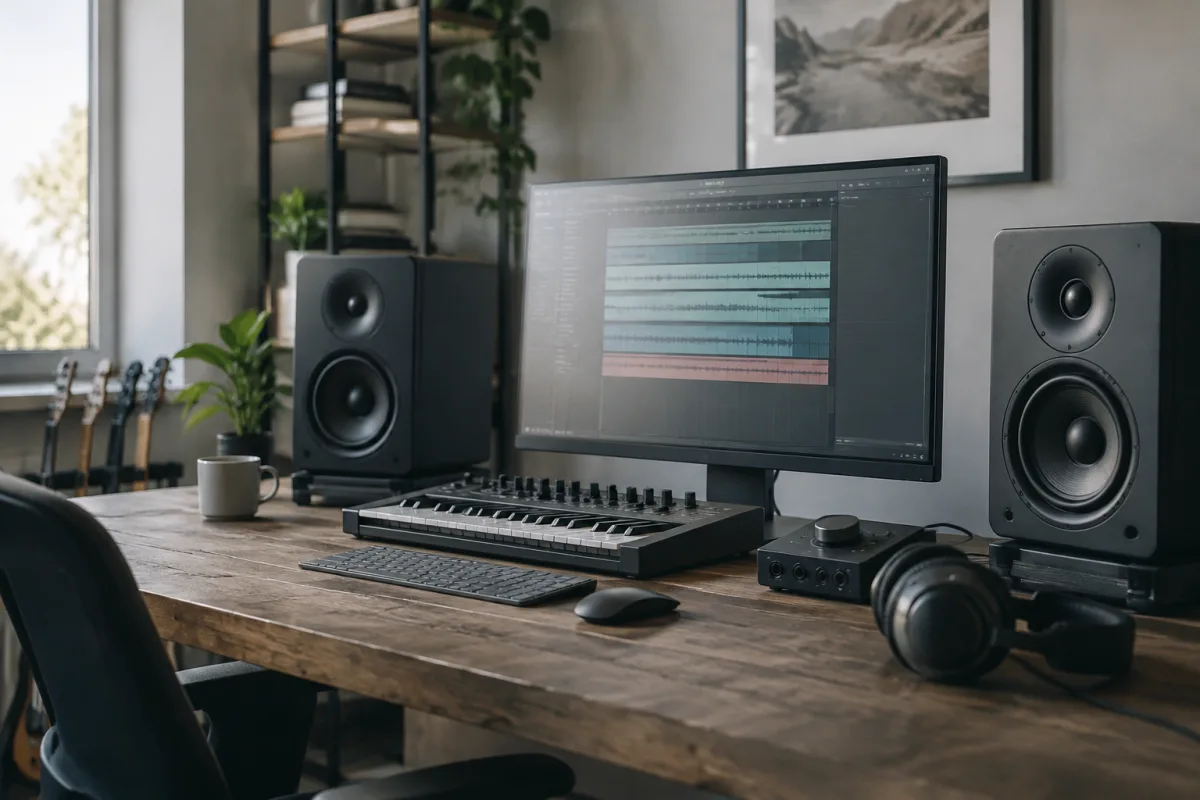
If you're building your first home studio and feeling overwhelmed by monitoring setup choices, you're not alone. A desktop monitor controller might sound like an advanced piece of gear, but it's genuinely one of the most beginner-friendly investments you can make. This guide explains why you need one, how to use it confidently from day one, and helps you avoid the mistakes that trap new producers in frustration.
Why Your First Studio Needs a Desktop Monitor Controller
Imagine plugging your audio interface directly into your studio monitors (speakers) and having exactly one way to control volume: turn the speakers' physical knobs up and down. Now imagine doing that one hundred times a day whilst recording, editing, and mixing. That's the problem a desktop monitor controller solves. It sits between your audio interface and your speakers, giving you a dedicated volume control and—crucially—a way to quickly switch between different monitoring situations without touching your speakers.
For a beginner, this matters more than you might think. Turning your speakers up and down by hand gets old quickly, and more importantly, it introduces human error into your mixing decisions. A controller provides repeatable reference levels, which means the volume stays consistent across multiple sessions. That consistency is what trains your ears to make better mixing choices.
The second reason beginners benefit: most desktop monitor controllers let you switch between stereo and mono monitoring with a single button press, and many include a dedicated headphone output. These features sound technical but translate into freedom. You can check how your mix sounds in mono (essential for mobile listening compatibility), flip back to stereo instantly, and switch to headphones without unplugging cables. That workflow support genuinely improves productivity.
The Easiest Path: Getting Started Without Overthinking
You need exactly three things to start: your audio interface, the monitor controller, and your studio speakers (monitors). Ignore the temptation to buy an expensive or overly featured controller for your first purchase. A modest £80–150 desktop monitor controller from a reputable brand handles everything you need for at least your first two years of production. Features like talkback microphone input, headphone amp, and multiple input switching matter later—not now.
Physical installation is embarrassingly simple. Most desktop controllers have one stereo input (from your audio interface) and one stereo output pair (to your speakers). Turn everything off, plug the cables in with the volume turned completely down, power everything on in order (interface first, then controller, then speakers), and you're done. There's genuinely nothing intimidating here, even if you've never owned studio gear before.
Your first week should focus on learning the volume knob behaviour. Turn it slowly upward from zero until you reach a comfortable working level. Mark that position mentally. Stop. That's your reference level. Use that level for mixing decisions. Don't keep changing it throughout your session. This discipline trains your ears far more effectively than constantly chasing volume changes.
Common Beginner Mistakes to Skip Right Now
Mistake one: buying a controller with so many features that you spend more time reading the manual than actually recording. Beginners often assume more buttons equals better gear. The opposite is frequently true. Choose simplicity. A knob for volume, a button for mono, and a headphone output cover 95 per cent of real-world needs for your first two years.
Mistake two: positioning your controller in an awkward spot. Ideally, it should sit between your keyboard/mouse and your speakers, at a natural reaching distance. If it's tucked away in a corner, you'll avoid using it, defeating its purpose. Accessibility matters.
Mistake three: forgetting to turn the volume all the way down before powering the system on. This is genuinely important for protecting your hearing and preventing speaker damage. Make it a habit: power on in this order: audio interface, monitor controller (at zero), speakers. Power down in reverse order.
Mistake four: assuming your monitors need to be absolutely loud to sound good. Most home studios suffer from excessive monitor volume, which leads to poor mixing decisions. You'll mix better at 75 per cent of your speakers' maximum output, working at lower volumes trains your ears more accurately, and your neighbours will appreciate the restraint.
Mistake five: ignoring the mono button. Checking your mix in mono weekly catches phasing issues, balance problems, and compatibility concerns that only appear when mono compatibility matters (which is most streaming platforms). A desktop monitor controller makes this check literally one button press away.
Building Confidence in Your Monitoring Setup
Your first real test: record a simple vocal or guitar take, play it back at your reference level three times, and listen critically. You're not evaluating your performance; you're evaluating whether you can hear clarity, balance, and frequency content clearly. That's what monitors and proper monitoring setup are for. If you can hear these details clearly, your monitoring chain is working.
Spend your first month using the basic functions only. Volume knob and headphone switching. That's genuinely all you need to become competent and confident. Everything else—stereo/mono switching, multiple input routing—can wait until you've built fundamental understanding.
Beginner producers often buy spectacular studio gear but then sabotage it with poor monitoring setup. A desktop monitor controller doesn't cost much, weighs next to nothing, and fundamentally changes how you work. This is one piece of gear where the beginner choice is identical to the professional choice: keep it simple, keep it reliable, keep it close at hand.
Moving Beyond Your First Studio
As you grow more experienced, you might add features like talkback, multiple input switching, or a dedicated headphone amplifier. But your foundational desktop monitor controller will still be doing exactly what it does now—giving you clean volume control and quick switching between monitoring modes. It won't become obsolete. It just gains supplementary features around it.
For deeper information about how desktop monitor controllers fit into your complete monitoring workflow, explore our complete guide to desktop monitor controllers once you're comfortable with basics.
Your first desktop monitor controller is an investment in workflow clarity and ear training. Purchase confidently, install it thoughtfully, and use it consistently. Within weeks, you'll wonder how you ever worked without one.


Comments