


Mixing Panel article
Mixing Panel for Beginners: A Complete Guide
Overcome mixing panel intimidation with this beginner's guide. Master essential controls, avoid common mistakes, and build confidence through hands-on first steps.
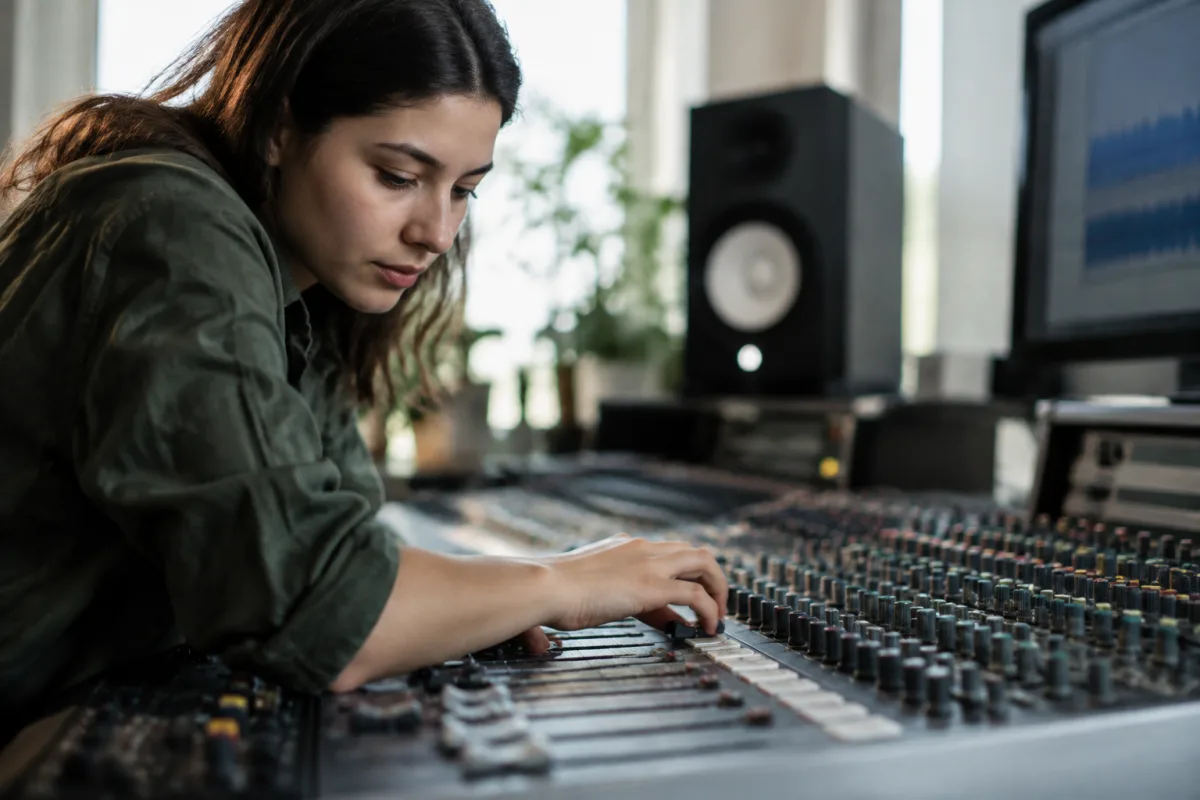
Approaching a mixing panel for the first time can feel daunting. You're staring at dozens of sliders, mysterious buttons, and cables that seem unnecessarily complex. The truth is reassuring: mixing panels follow logical patterns that become intuitive with gentle exploration. This beginner's guide walks you through your first encounter with a mixing panel, highlighting the friendliest starting points and common mistakes first-timers encounter.
Overcoming the Intimidation Factor
Every experienced sound engineer remembers their first mixing panel encounter. The endless faders, unexplained labels, and fear of breaking something through misunderstanding is completely normal. Here's the secret: you don't need to understand every function to start working productively. Mixing panels are designed with main mixing functions at eye level and front centre; less frequently used controls are secondary. Start with the basics and expand your knowledge gradually.
Your mixing panel won't break from exploration. Channel faders control volume; pushing them won't damage equipment. Input knobs adjust incoming signal level—turning them too high might cause unpleasant noise, but nothing suffers permanent harm. The worst outcome of experimentation is needing to reset levels. Embrace gentle exploration as your learning method.
Allocate your first session as pure discovery time. Connect a microphone, plug in a guitar, or use a backing track as your audio source. Press buttons, move faders slowly, and listen to what changes. Take notes of functions that create interesting results. This tactile learning embeds knowledge far better than reading specifications.
Understanding the Mixing Panel Signal Flow
Every mixing panel routes audio through the same basic journey. Audio enters through input channels (usually microphone or line-level inputs at the panel's rear). Each channel has controls to adjust that input's volume and tonal characteristics. The output combines all channels into a stereo mix you hear from your monitors or recording device.
Start by identifying your mixing panel's input channels. Most models label channels 1–8 (or higher), each with a vertical fader and adjacent knobs. The main output fader (usually larger, centred, or colour-coded) controls overall mix volume—this is your master fader. Understanding this path is 90% of mixing panel operation; everything else is tonal refinement and creative effects.
Connect your first audio source to Channel 1. Plug a microphone, guitar, or auxiliary device into the channel's input. Slowly push Channel 1's fader upward. You should hear your audio at increasing volume. Congratulations—you're mixing. That core operation underlies all subsequent techniques.
The Easiest First Mixing Task: Simple Level Balancing
Forget complex EQ, compression, or effects for your first session. Focus purely on level balancing: getting multiple audio sources to sound balanced in volume so one doesn't overwhelm others. This alone constitutes 60% of real-world mixing work.
Connect three audio sources: a vocal microphone, an instrument, and a backing track. Bring each channel's fader up gradually, starting from minimum (fully down). Push the vocal fader up first, then adjust the instrument until it balances with the vocal. Finally bring in the backing track, balancing its volume against the other two. You've just completed a functional mix.
The golden rule for beginners: if it sounds good, it is good. Don't worry whether your level choices match professional standards. If the vocal sits comfortably above instruments and everything is clearly audible without any source overwhelming others, you're succeeding. Trust your ears.
Common First-Timer Mistakes to Avoid
Pushing all faders to maximum is the most frequent beginner error. This creates distortion, loses all dynamic range, and obscures individual elements. Instead, start with faders near minimum and bring them up gradually until they sit comfortably in the mix. You'll often use faders at 50–75% of their range, not at extremes.
Another common mistake is ignoring the master fader. If your master fader is too low, you'll assume the mixing panel isn't working properly and keep pushing individual channels higher, creating distortion. Always check that your master fader sits around the middle position. A properly set master fader allows individual channel faders to have dynamic range.
Beginners often avoid using panning controls, assuming mixing panels are exclusively volume-based. Pan knobs (usually above faders) control whether audio appears in the left or right speaker. Moving a vocal slightly left and an instrument slightly right creates spaciousness that makes mixes sound professional. Gentle panning (not extreme left/right) is a beginner-friendly technique delivering impressive results immediately.
Many first-timers enable effects or equalisation before mastering basic level balancing. Effects are fun but confusing initially; focus on clean level balancing first. Once that feels natural, gradually introduce simple effects like reverb (which adds space) or basic EQ adjustments. This layered learning approach prevents overwhelm.
The Three Essential Controls to Master First
Your mixing panel has hundreds of possible adjustments. Ignore most initially and master three controls: individual channel faders, the master fader, and channel pan knobs. These three controls accomplish approximately 80% of mixing tasks for beginners.
Channel faders adjust individual volume levels. Push up to increase volume, pull down to decrease. Simple, immediately useful. Master fader controls overall output volume—this should sit around middle position for maximum headroom. Pan knobs balance audio between left and right speakers; start at centre (fully counterclockwise typically) and adjust gently if needed.
Once these three feel comfortable, expand into mute/solo buttons (which silence or isolate individual channels), auxiliary sends (which route signal to effects), and basic EQ controls. Each expansion builds on foundation skills; you're never truly confused because earlier skills still apply.
Creating Your First Two-Channel Mix
Practice this beginner-friendly exercise: connect a vocal microphone to Channel 1 and a guitar to Channel 2. Start both faders at minimum. Slowly bring up the vocal fader until you hear the voice clearly. Next, bring up the guitar fader until it complements the vocal without overwhelming it. Adjust both faders until they balance naturally.
Now experiment with panning. Move Channel 1's pan knob slightly left; move Channel 2's pan slightly right. Listen to how the stereo separation makes your mix feel wider and more professional. Both channels are still clearly audible, but they now occupy different spaces in the stereo field.
Finally, check your master fader. If it's below 50%, push it up gradually. Listen to how individual channel levels maintain their relationship while the overall volume increases. This exercise teaches the core principle: individual channels control balance; the master fader controls absolute output level.
Encouraging First Steps Forward
Your first mixing sessions will feel awkward. Faders won't respond as expected, you'll accidentally mute channels and worry something's broken, and subtle adjustments will seem impossible. This experience is universal. Experienced engineers remember identical frustrations and overcame them through patient experimentation.
Dedicate 15–20 minute sessions to mixing panel exploration. Short sessions reduce overwhelm and build confidence incrementally. Celebrate small successes—when two channels finally balance satisfyingly, you've accomplished something meaningful. Professional-quality mixes develop through accumulated small victories.
Record or video your first mixing attempts. After two weeks of practice, review those recordings. You'll be shocked at how much your intuitive mixing has improved. This concrete evidence of progress maintains motivation through the learning curve.
Exploring the Complete Mixing Panel Landscape
Once you're comfortable with basic level balancing, panning, and simple channel adjustments, read the complete guide to mixing panel for deeper understanding of advanced features, signal routing, effects integration, and professional techniques. That resource covers comprehensive mixing panel capabilities that elevate your skills beyond beginner fundamentals.
Beginning with a mixing panel isn't about mastering every function immediately. It's about building confidence through successful basic techniques, then gradually expanding your capabilities. Every professional sound engineer started exactly where you are now—nervous at a mixing panel, discovering that patient exploration leads to intuitive competence. Your mixing panel isn't intimidating; it's inviting you to create.


Comments