


Midfield Monitors article
Midfield Monitors for Beginners: A Complete Guide
A beginner-friendly guide to midfield monitors: what they are, when to use them, how to position them, and building confidence in a properly treated mixing room.
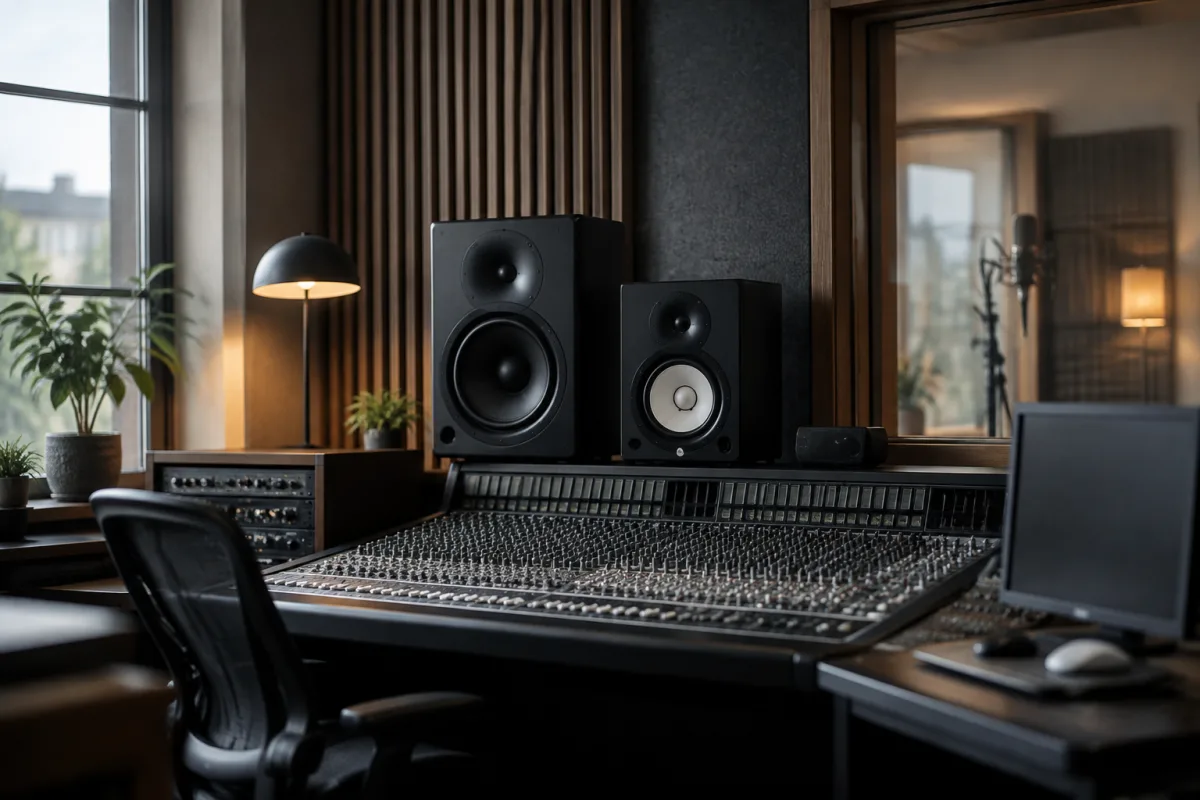
Learning about studio monitors can feel overwhelming. There are so many categories—near-field, far-field, mid-field—and you might wonder what each term means and why it matters. Midfield monitors are actually the sweet spot for many serious home studios, and understanding how they work is easier than you might think.
What Is a Midfield Monitor?
Midfield monitors are studio speakers designed to be heard from about 3 to 5 metres away—hence the name. They're larger than the small "near-field" monitors on your desk, but smaller and less powerful than full-scale "far-field" systems. This middle position makes them ideal for dedicated control rooms where you have the space and acoustic treatment to make them shine.
Midfield monitors deliver three practical advantages. First, you experience sound more naturally at distance, rather than close to your ears. Second, they integrate bass response more naturally into your room, rather than sounding boomy or thin. Third, they encourage proper listening habits—you're not sitting a foot away from a tweeter, but in a legitimate mixing position.
When Should You Choose Midfield Monitors?
Consider midfield monitors if you have a dedicated mixing room (not a bedroom where you also sleep). If you can position monitor speakers 3 metres from your listening position and treat the room acoustically, midfield monitors reward that investment beautifully. If you're mixing and mastering seriously—not casually—they're often the better choice than compact near-field monitors.
If your mixing room is smaller than 15 square metres or lacks acoustic treatment, near-field monitors are more forgiving. If you're working in a space larger than 20 square metres with proper isolation and absorption, midfield monitors become genuinely practical and enjoyable.
Understanding Your First Listening Tests
When you first listen to midfield monitors, you might feel disappointed compared to near-field monitors. They sound quieter and less "in your face". This is exactly correct—you're hearing them at a proper distance, revealing how mixes translate to real-world playback. Trust that experience. After a week, your ears adapt, and you'll realise how much more accurate and relaxed midfield monitoring feels.
Common Beginner Misconceptions
"Midfield Must Mean Expensive"
Midfield monitors range from £500 to £5000+ per pair. You don't need to spend a fortune. A solid midfield monitor from a reputable manufacturer—Focal, PMC, or even budget-conscious options—costs around £800–1500 per pair. That's genuinely accessible for a serious studio investment.
"I Need to Treat My Room Perfectly First"
Perfect acoustics aren't required. Basic treatment—absorption panels on the walls, bass traps in the corners, a rug on the floor—is enough. Many home studios start with modest treatment and add more over time. Midfield monitors work well with 70% treatment; don't wait for 100% before committing.
"Midfield Monitors Are Too Large for My Space"
Midfield monitors are larger than near-field, but not enormous. Most sit neatly on stands or wall mounts in a professional-sized room. If you're working in a 12×15 foot space (the minimum for midfield work), they fit without dominating the room.
Setting Up Midfield Monitors Successfully
Positioning
Place monitors at ear level when you're seated at your mixing position, forming an equilateral triangle between you and each speaker. This 60-degree angle ensures balanced imaging and clarity. Avoid placing monitors on shelves, in corners, or against walls—they need clear space to breathe.
Listening Distance
Sit at least 3 metres away from your monitors. At this distance, the direct sound from each speaker and the reflected sound from your room blend naturally, creating a realistic soundscape. Too close and you hear one speaker more than the other; too far and the room's acoustics overwhelm the direct signal.
Acoustic Treatment
Install absorption on the front and side walls (where reflections hit) and bass traps in the corners. Start with corner traps and front-wall panels; refine from there. This investment—often £300–800—transforms your room from problematic to professional.
Advantages You'll Experience
After two weeks with properly set-up midfield monitors, you'll notice your mixes translate better across playback systems. You'll hear problems earlier. Your back won't hurt from sitting too close to near-field monitors. You'll feel like a real mixing engineer, not an amateur hobbyist. These benefits compound—good monitoring changes how you work.
For a comprehensive exploration of all monitor types and acoustic design, read our complete guide to midfield monitors.
Your Next Steps
Research reputable midfield monitor brands. Listen to comparison reviews and forum discussions. If possible, demo a pair in a treated space. Calculate your room size and ensure you can position monitors at least 3 metres from your listening position. Budget for acoustic treatment alongside your monitor purchase. With patience and proper setup, midfield monitors become the foundation of a serious, professional mixing space.
Conclusion
Learning to use midfield monitors isn't as complicated as it sounds. They're simply studio speakers designed for listening at a proper distance in a treated room. Position them correctly, treat your acoustics modestly, and give your ears two weeks to adapt. The result is transparent, accurate monitoring that transforms your mixing abilities. Midfield monitors reward proper setup with genuinely professional sound and workflow.


Comments