


Big Knob Studio Mackie article
Big Knob Studio Mackie for Beginners: A Complete Guide
New to the Big Knob Studio? This beginner guide walks you through setup, the basic layout, how to control monitor levels, common first mistakes, and how to feel confident after just one week.
Why the Big Knob Studio for Your First Control Interface?
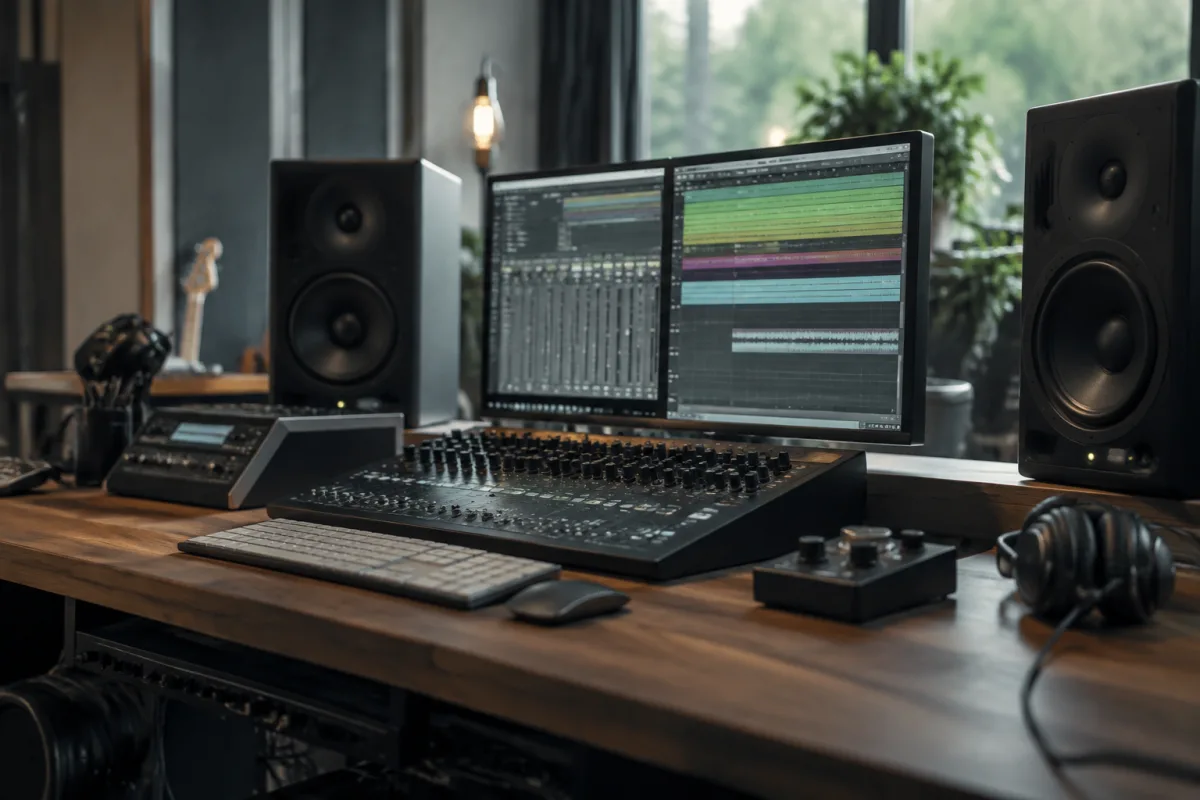
If you're setting up a home studio for the first time, a Big Knob Studio from Mackie is a genuinely friendly introduction to mixing and monitoring. It sits at the heart of your setup, controlling speaker levels, routing audio, and switching between different monitor destinations—all without needing to dig through software menus. For someone new to studio work, that hands-on, physical control is reassuring and intuitive.
Don't be intimidated by the buttons and knobs. Once you understand what each one does, the Big Knob Studio becomes second nature, and you'll wonder how you ever managed without it.
The Basic Layout: What You're Actually Looking At
The Big Knob Studio has three main zones. On the left is the input section, where audio arrives from your microphone, guitar, or other instruments. In the middle is the big volume knob that gives the unit its name—that's your main monitor level control. On the right are buttons for selecting different speaker pairs or headphones.
The top of the unit has small buttons for muting different inputs, a headphone level control, and indicator lights that glow when audio is being received. It looks busier than it actually is. Most of what you'll touch daily is the big central knob and maybe three or four of the buttons.
First Steps: Getting Connected
Start simple. Connect your audio interface to one of the two analog inputs on the back of the Big Knob. Use a standard stereo cable or XLR cables, depending on your interface's outputs. Then connect the Big Knob's main outputs to your studio speakers. Plug in your headphones to the headphone jack on the front.
Don't worry about all the other connectors at first—SPDIF, TRS, AES. Those are for future expansion when you need them. Beginner studios work perfectly well with just the basic stereo in and stereo out.
Power the Big Knob and turn the big knob down to zero before you play any audio. This is the most important safety step. Audio from your DAW should now play through your speakers when you press play.
The Big Knob: Your Main Volume Control
The giant central knob controls your monitor level—how loud your speakers play. Turn it slowly from zero upward until you hear sound, then set it to a comfortable working level. This knob is intuitive—rotate it right for louder, left for quieter.
Unlike software volume sliders, this physical knob gives you tactile feedback. You can adjust levels while listening without looking at a screen, which is brilliant for monitoring during recording. If a vocalist suddenly sounds too quiet, you just turn the knob instead of reaching for the mouse.
The sweet spot for most studios is somewhere in the middle of the knob's range. If you're constantly turning it all the way up or all the way down, something else in your signal chain needs adjusting.
Muting and Solo: Simple, Powerful Tools
Each input has a small mute button directly above its fader. Press it to silence that input without cutting it from the mix in your DAW. This is useful when you're recording a vocal and want to hear only the backing track, or when you want to focus on one instrument without the others distracting you.
The big central mute button on top silences all outputs at once—a panic button when something gets too loud or you need immediate silence. It's reassuring to have that instantly available.
Solo mode works differently here than in a DAW. The solo button on each channel lets you hear just that input through your monitors, which is brilliant for checking a microphone signal in isolation or verifying that a specific piece of equipment is working.
Switching Between Speakers and Headphones
The buttons on the right side of the unit let you switch between different monitor sources. If you have two pairs of speakers connected, you can flip between them instantly. This is genuinely useful—compare your mix through small powered speakers versus studio monitors, or check how it sounds through headphones.
The "Phones" button routes audio to your headphones instead of speakers. Turn the dedicated headphone level knob above the main knob to adjust how loud your headphones play independently of your speakers. Beginners often miss this knob, then wonder why their headphones are silent while the speakers are playing.
Understanding the Input Levels
The small faders on the left control the input levels going into each channel. For beginners, the simple approach is to leave these at unity (usually marked with a line at the centre position) and adjust everything from your audio interface's outputs instead. This keeps things straightforward.
Later, as you get more comfortable, you might use these faders to balance multiple inputs—say, a vocal and a guitar—so they arrive at your monitors at equal volume. But when you're starting, leave them in the middle and control your monitoring level with the big central knob.
Common Beginner Mistakes (and How to Avoid Them)
Forgetting to turn the big knob down before playing. You'll learn this fast, but worth mentioning: always start with the big knob at zero. Unexpected loud audio through monitors at full volume is unpleasant.
Ignoring the headphone level knob. Many beginners think they have a broken headphone output because they've turned the main monitor knob but forgotten the separate headphone control. They're independent.
Connecting only one speaker. The Big Knob is stereo by design. Connecting only your left speaker means you're hearing half the mix. Use both speakers, or use headphones.
Assuming all the buttons and switches do the same thing. The Big Knob has flexibility, but you don't need to use every feature immediately. Master the basics—monitor volume, input level, speaker selection—before diving into SPDIF routing and monitor mute groups.
Running your mix too loud for too long. Monitor speakers and headphones can play very loud. Your ears adjust, and you think it sounds good. Next day you realise your mix was distorted and harsh. Mix at a comfortable level, take regular breaks, and reference your mix on other systems.
Confidence Check: What You Should Feel After a Week
After a week of using the Big Knob Studio, you should feel comfortable turning it on, connecting your interface, playing audio, and adjusting monitor levels without thinking. You should know which button mutes which input and be able to switch between speakers and headphones instantly.
You don't need to understand SPDIF or AES digital routing yet. You don't need to dive into monitor mute groups or complex input matrices. Those are advanced features that matter once you've built confidence with the basics.
If you're still confused about what the unit is doing, re-read the manual section on analog stereo in/out and monitor control. That's genuinely all you need for months of solid studio work.
The Bigger Picture: How the Big Knob Fits In
Your Big Knob Studio sits between your computer (via your audio interface) and your speakers/headphones. It's a middleman that keeps your hands off the mouse and gives you physical, tactile control. That's its job. It doesn't record anything—your DAW does that. It doesn't make your mix sound better—your ears and your monitors do that. It simply routes and controls levels in a way that feels natural.
Once you understand that, the Big Knob stops looking complicated and starts looking useful. For more comprehensive insight into studio monitoring and how it all fits together, check out our complete guide to the Big Knob Studio.
First Session: Ready to Go
You now know enough to sit down, turn on the Big Knob, connect your gear, and monitor audio confidently. That's all you need to record your first vocal, first guitar, or first track. The Big Knob Studio is intuitive precisely because it's designed to be. You've got this.


Comments