


Beyerdynamic Mics article
Beyerdynamic Mics for Beginners: A Complete Guide
Recording your first vocal, instrument, or podcast with a Beyerdynamic microphone feels intimidating if you've never done it before. But Beyerdynamic mics produce professional results with minimal fiddling.
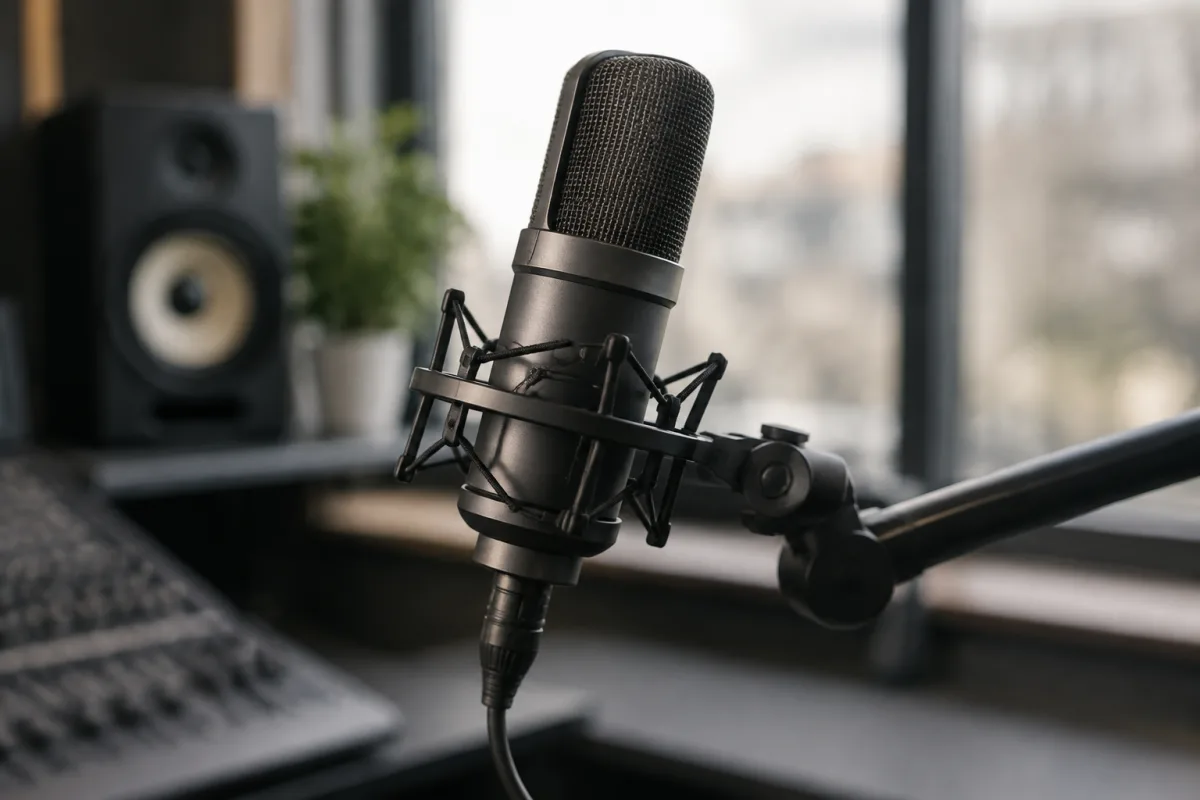
Recording your first vocal, instrument, or podcast with a Beyerdynamic microphone feels intimidating if you've never done it before. But Beyerdynamic mics are designed to be forgiving, producing professional-quality results with minimal fiddling. This guide walks you through everything you need to know to start recording confidently on day one.
Why Beyerdynamic Mics Are Perfect for Beginners
Beyerdynamic has earned a reputation for building robust, professional-grade equipment at reasonable prices. Their microphones offer several advantages for nervous first-timers. First, they're forgiving. The pickup patterns and sensitivity are designed to sound good with minimal mic technique. You don't need perfect microphone placement or impeccable vocal technique to capture quality recordings.
Second, they're durable. Beyerdynamic mics are built for professional touring, live recording, and studio work. They withstand mishandling, drops, and years of regular use. Your beginner mistakes won't damage expensive equipment.
Third, they sound professional. Even raw, unprocessed recordings from a Beyerdynamic mic sound polished and broadcast-ready. This builds confidence because your early recordings sound genuinely good.
Understanding Microphone Types
Beyerdynamic makes different microphone types, each optimised for different applications. Understanding these distinctions helps you choose and use the right mic for your needs.
Dynamic mics are the workhorses of recording. They're rugged, handle loud volumes well, and pick up less ambient room noise than other types. Perfect for recording vocals, drums, and loud instruments. Most beginners start here.
Condenser mics are more sensitive and capture detail beautifully. They're better for quiet instruments (acoustic guitar, strings, piano) and detailed vocal recording. They require phantom power from an audio interface.
Headset mics (like Beyerdynamic's broadcast headsets) mount directly on your head, leaving hands free. Ideal for podcasting, streaming, and hands-free applications.
For beginners, dynamic mics are usually the right starting point. They're forgiving and work well across most recording scenarios.
Getting Comfortable with Your First Beyerdynamic Mic
Your first session should build comfort, not capture perfect recordings. Here's how to start:
- Connect it properly: Plug your mic into your audio interface using an XLR cable (standard for professional mics). The interface connects to your computer via USB or Thunderbolt. Power on the interface and computer.
- Set the input level: In your recording software (Audacity, DAW, etc.), set the input device to your audio interface. Speak into the mic at conversational volume. Watch the input level meter. You want the level to hit around -12dB on peaks. Too quiet and you'll hear noise when amplifying. Too loud and clipping distorts the signal.
- Position the microphone correctly: Mount the mic on a stand with the diaphragm (the sound-sensing element) pointing at your mouth. Maintain consistent distance—roughly 6-12 inches is standard. Closer (2-4 inches) increases proximity effect (bass boost) and intimacy. Farther picks up more room noise.
- Do a test recording: Record 30 seconds of yourself speaking naturally. Play it back. Does it sound clear? Is there obvious background noise? These observations guide your next adjustments.
- Experiment with proximity: Move closer to the mic, then farther. Record samples at each distance. Listen back and note how proximity affects your tone. This teaches you the relationship between distance and sound.
After this orientation, you'll feel genuinely comfortable holding and using your microphone.
Microphone Technique: The Basics
Professional-sounding recordings aren't about expensive gear—they're about technique. A few fundamentals dramatically improve your recordings:
- Consistency: Maintain consistent distance from the mic throughout recording. Moving closer and farther creates volume variations that distract from content. Use the mic stand to maintain fixed positioning.
- Angle: Speak into the mic directly, not off-axis. Speaking from the side or below the mic sounds hollow and thin. Position your mouth to face the diaphragm squarely.
- Windscreen: Use a windscreen or pop filter to reduce plosives (aggressive 'P' and 'B' sounds). This simple accessory dramatically improves vocal clarity.
- Room acoustics: Record in a treated room when possible. Heavy curtains, carpets, and soft furnishings absorb room reflections. Empty, hard rooms sound echo-y and amateurish.
- Isolation: Record when ambient noise is low—not during rush hour, vacuuming, or loud neighbours. Silence allows your recording to shine.
Learning from Beginner Mistakes
New recordists typically make these predictable errors:
- Setting input levels too high: Beginners crank input gain to maximum, causing clipping and distortion. Aim for -12dB on peaks. This leaves headroom for unexpected loud moments.
- Ignoring room reflections: Recording in bathrooms or empty kitchens captures unpleasant echoes. Your voice bounces off hard surfaces and returns after you've stopped speaking. Soft materials absorb these reflections.
- Standing too close: Proximity feels intimate and makes beginners more confident, but excessive proximity creates bass boost and breathiness that sounds unnatural. 6-12 inches is the sweet spot for most applications.
- Constant mic placement changes: Moving the mic stand mid-recording creates audible volume variations. Record in complete, fixed sessions. Resetting mic placement between sessions is acceptable.
- Using low-quality XLR cables: Cheap cables introduce noise and intermittent connections. Invest in decent quality XLR cables—they last years and work reliably.
Tips for the Nervous First-Timer
If your first recording session feels intimidating, these tips will calm your nerves:
Everyone sounds weird to themselves: Your voice sounds different in your head (bone conduction) than through a speaker. Recorded playback will sound unfamiliar and uncomfortable. This is normal. Your listeners hear what's recorded, which sounds natural to them.
Mistakes are easy to fix: Digital recording is forgiving. You can re-record problem sections, edit out noise, adjust levels in post-production. Embrace iteration. Early attempts won't be perfect, and that's fine.
Beyerdynamic mics are forgiving: They're engineered to sound good with minimal mic technique. Casual positioning and technique still yield usable recordings. Perfection isn't required on day one.
Start with lower stakes: Record a journal entry, a podcast episode, or a song cover first. Save critical recordings for after you've built confidence.
First-Month Milestones
Set realistic expectations for your first month of recording:
- Week 1: Comfort with basic connectivity and input level setting. Successfully recording 30-second samples. Learning microphone distance effects.
- Week 2: Recording full vocal takes without significant technical problems. Understanding how room acoustics affect sound quality.
- Week 3: Consistent mic technique producing reliable sound quality. Recognising and fixing common issues independently.
- Week 4: Comfortable recording multi-minute sessions. Beginning to develop personal recording preferences and style.
Progress varies individually, but these milestones are realistic. You'll be shocked at the improvement between week one and week four.
Essential Accessories for Recording Success
Beyond the microphone and audio interface, a few accessories dramatically improve recording quality:
- Microphone stand: Keeps the mic positioned consistently without hand fatigue.
- Pop filter: Reduces plosives and mouth clicks. Inexpensive and essential.
- XLR cables: Quality cables ensure reliable signal transmission without noise.
- Acoustic treatment: Soft materials (blankets, foam, curtains) absorb room reflections.
- Monitor headphones: Inexpensive headphones let you hear what's being recorded in real-time.
Next Steps After Your First Month
Once you've built basic recording confidence:
- Experiment with different microphone distances and angles to find your signature sound.
- Learn basic audio editing in your DAW or free software like Audacity.
- Explore Beyerdynamic's full mic range to understand different types for different purposes.
- Record multiple takes and compare them to develop ear training.
For a deeper dive into Beyerdynamic mics, their applications, and how they compare to other brands, explore our complete guide to Beyerdynamic mics.
The Bottom Line for Beginners
Recording with a Beyerdynamic microphone is an achievable first step into the recording world. Your early recordings won't be perfect. They'll have technical issues, acoustic problems, and delivery awkwardness. That's entirely normal and temporary. Every professional recordist you admire started exactly where you are now. Within one month, you'll hear dramatic improvement in your recordings. Within three months, you'll produce genuinely broadcast-ready audio. Stop overthinking it. Plug it in, set your levels, and record. Your journey as a recordist is beginning.



Comments