


Tube Microphone article
Tube Microphone for Beginners: A Complete Guide
Tube microphones add natural warmth to recordings, but beginners often feel intimidated. This guide covers what you need, common mistakes to avoid, and a practical path to your first tube microphone purchase.
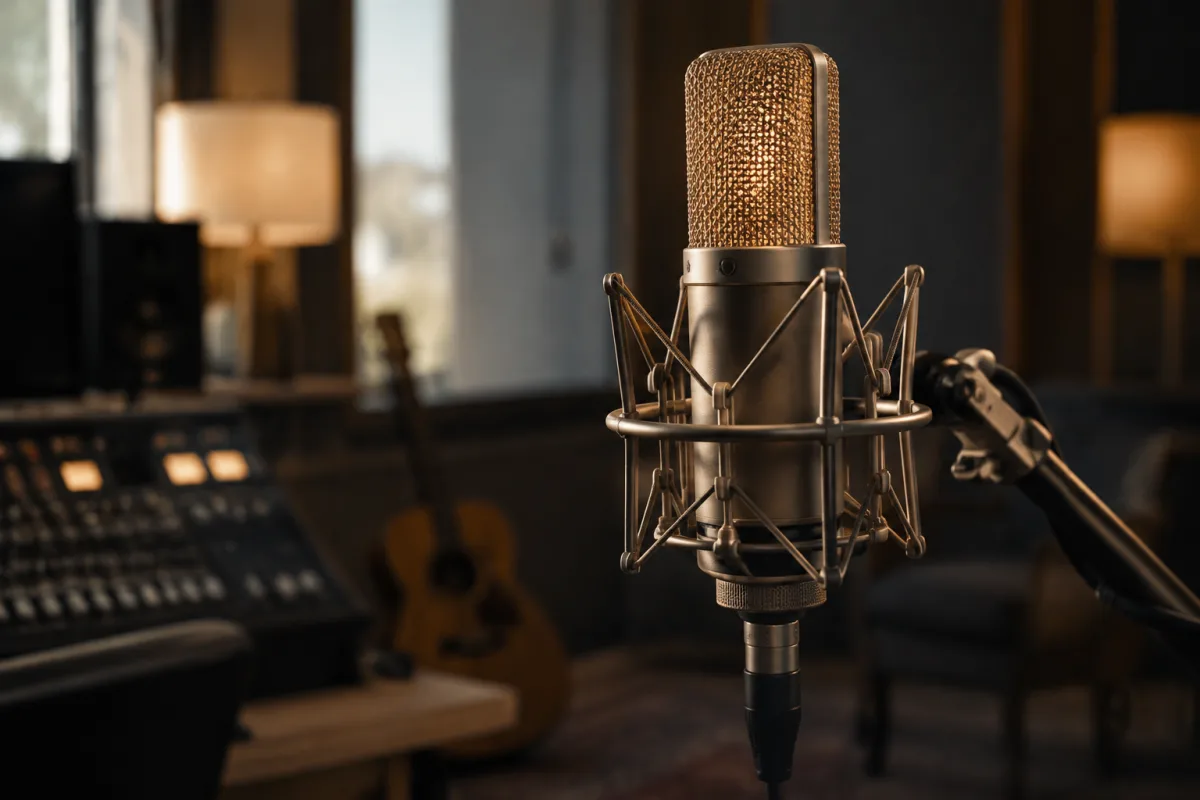
The first time you encounter a tube microphone in a professional studio, it feels like stepping into another era. These magnificent devices look and sound nothing like the everyday microphones you've used before—but they don't need to be intimidating. Whether you're starting out in home recording or fascinated by what makes vocal recordings sound so warm and rich, understanding tube microphones is entirely within reach. This beginner's guide cuts through the mystique and gives you everything you need to take your first confident steps into the world of tube microphones.
What Makes Tube Microphones Different for Beginners
The key thing to grasp straightaway: tube microphones add a particular character to recordings that many people love. Unlike the microphones found in most home studios, which use solid-state electronics, tube microphones use vacuum tubes—the same technology that powered vintage radios and early television sets. This matters because it means your recording will have a natural warmth and smoothness that's notoriously difficult (and expensive) to replicate with plugins after the fact. For a beginner, this is genuinely encouraging news. You're not fighting against the equipment; the tube microphone is already working in your favour. Before you leap into a purchase though, do read our detailed complete guide to tube microphones, which covers everything from frequency response to vintage models.
Your First Steps: The Essential Checklist
Before touching a tube microphone, you'll need a few basic items. Most beginners miss one or two of these, which can lead to disappointment or even damage. Here's what you genuinely need:
- An audio interface: This converts your microphone's analogue signal into digital audio your computer understands. Entry-level models start around £50 and work brilliantly for beginners.
- An XLR cable: This three-pin cable connects your microphone to your interface. Buy a decent one (you'll use it for years), but don't spend more than £15 on a metre-long cable.
- A microphone stand: A boom stand with a pop filter is essential. The pop filter prevents harsh plosive sounds (the "p" and "b" sounds) that plague inexperienced recordists.
- An audio workstation (DAW): Software like Reaper, Studio One, or the free Cakewalk by BandLab will record what your microphone captures. Many offer free trials.
- Monitoring headphones: Not the same as your listening headphones. You need something with a flat frequency response so you hear what's really there, not a pleasant-sounding version of it.
Once you've gathered these basics, you're ready for the real learning curve.
Six Mistakes Every Beginner Makes (And How to Avoid Them)
Learning from others' mishaps is one of the fastest ways to improve. Here are the pitfalls that trap beginners with tube microphones specifically:
1. Skipping the warmup time. Tube microphones need 10-15 minutes to reach their optimum sound after you switch them on. The tubes literally warm up. If you start recording immediately, your first take will sound noticeably thinner than your later ones. Turn your microphone on, then make tea. Genuinely.
2. Placing the microphone too close to your mouth. It's tempting to get the microphone right up against your lips to sound louder. Don't. This causes two problems: proximity effect (bass frequencies get dramatically boosted, making you sound unnatural) and plosives become unbearable. Start with the microphone 15-20 centimetres away and adjust from there.
3. Recording in an untreated room. This isn't specific to tube microphones, but beginners often blame the equipment. If your room sounds echoey, your recording will too—regardless of whether you're using a tube microphone or anything else. Start with soft furnishings (curtains, rugs, even clothing draped over a chair), not expensive acoustic panels.
4. Forgetting about phantom power. Tube microphones require a specific type of electrical power called phantom power, supplied by your audio interface. The moment you forget to enable this in your interface settings, you'll get silence. It's not broken; it's just sleeping.
5. Using the wrong cables or connections. Beginner studios are full of repurposed cables from other equipment. A guitar cable looks similar to an XLR microphone cable, but they're fundamentally different. Use the right cable from day one.
6. Comparing your recordings to professional releases immediately. Professional recordings have compression, EQ, mixing, and mastering applied by specialists. Your first recording with a tube microphone will sound lovely and warm, but it won't sound like a Beyoncé single. That's normal. Give yourself permission to learn.
Budget Tiers for Your First Tube Microphone
The beauty of starting with tube microphones is that you don't need to spend £5,000 to get something genuinely lovely. Here's how to think about it:
| Budget Range | What to Expect | Best For |
|---|---|---|
| £300–600 | Entry-level tubes with moderate specifications. Decent warmth, some colour. | First-time learners, hobby recording, bedroom studios. |
| £600–1,500 | Mid-range models with better engineering. Noticeably smoother response, more versatile. | Serious hobbyists, podcasters, small project studios. |
| £1,500–3,000 | Professional-grade tubes. Studio-ready, suitable for paid sessions. | Working musicians, commercial studios, audio engineers. |
| £3,000+ | Specialist tubes, often vintage or handcrafted. Exceptional character and build quality. | Commercial studios, collectors, engineered specifically for high-end work. |
Your Practical Getting-Started Path
Right now, here's what you actually do:
Week one: Buy an audio interface and basic accessories (see the checklist above). Record yourself reading a paragraph aloud using your existing microphone. Get comfortable with the workflow. This removes newness from the process itself.
Week two: Visit a music shop (or order online) and listen to two or three tube microphones in your budget range. You don't need to buy yet—just listen. Notice which one appeals to you. Don't overthink specs; your ears are the best guide for whether you like the sound.
Week three: Make your first purchase. You're not buying forever; you're investing in learning. Even if you replace this microphone in three years, you'll have three years of recordings and skills that justify the investment entirely.
Weeks four onwards: Record regularly. Your skill with microphone placement, gain staging, and room treatment will improve dramatically faster than your knowledge of microphone specs. The microphone is a tool; your ear and technique are the real instruments.
Final Thoughts for Your Journey
Tube microphones are less mysterious than they seem. Yes, they're more expensive than typical condenser microphones. Yes, they require specific equipment and a bit of care. But they sound gorgeous, they'll last decades, and they genuinely reward your effort. Every professional recording engineer has been exactly where you are now—excited, slightly overwhelmed, uncertain whether they're making the right choice. They all made it work, and so will you. Start small, listen carefully, and don't hesitate to reach out to communities of fellow recordists when you get stuck. Welcome to the world of tube microphones.


Comments