


Rode Microphone article
Rode Microphone for Beginners: A Complete Guide
Getting set up and sounding good does not take long, but there are things worth understanding before the first take. Sophie walks through the setup from the beginning.
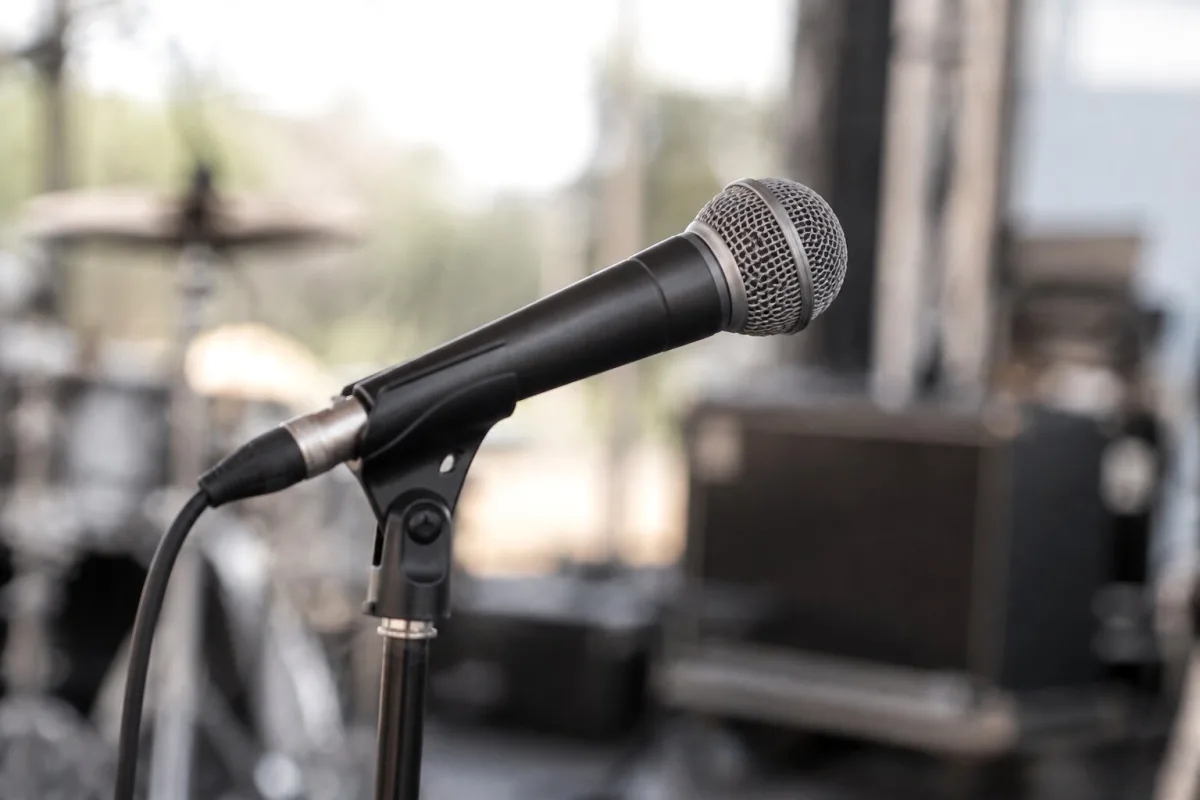
Getting a Rode microphone set up and sounding good does not take long — but there are a few things you need to understand before you record the first take. Sophie has been through this process enough times to know where new recorders stumble, and walks through the setup from the beginning.
What You Need Before You Start
For an XLR Rode microphone, you need: the microphone, a microphone stand, an XLR cable (sold separately), an audio interface with phantom power, and a computer with recording software (a DAW). Rode sells a complete kit with the NT1, a studio arm and XLR cable — this is a convenient starting point. For a USB model, you need only the microphone, a USB cable and your computer. Most modern DAWs (GarageBand, Audacity, Reaper, Logic) recognise USB microphones without any driver installation.
Setting Up Your Audio Interface
Connect your XLR cable from the Rode microphone to the interface's microphone input (usually labelled 'Mic 1' or the first channel). Switch on phantom power (the 48V button). Set the gain dial to around 12 o'clock as a starting point, then speak at normal recording volume and watch the input level meter — aim for levels peaking between -18 and -12 dBFS. If the meter clips (turns red), reduce the gain. If the signal is too quiet and you have to push the gain very high, move the microphone slightly closer to the source.
Rode Microphone Positioning Basics
For vocals, place your Rode microphone 15–25 cm from your mouth, slightly above mouth level and angled down. This off-axis positioning reduces plosive energy (the hard bursts of air from 'P' and 'B' sounds). A pop filter — a circular mesh filter on a gooseneck arm — helps further and is a worthwhile £10–15 investment. Avoid positioning the microphone directly in front of reflective surfaces like windows or bare walls; these create early reflections that add a noticeable room character to the recording.
Basic Acoustic Treatment
A Rode microphone in the condenser range captures the room as well as the source. Bare, reflective rooms produce hollow, reverberant recordings that are difficult to fix in post. You do not need professional acoustic panels to improve this — heavy curtains, a wardrobe of clothing, bookshelves full of books, and furniture all absorb reflections. Recording in the corner of a room reduces early reflections from two walls simultaneously. A reflection filter (a curved panel of acoustic foam that clips to the microphone stand) is an effective low-cost solution.
Recording Your First Take
- Open your DAW and create a new audio track. Set the input to your audio interface channel.
- Enable monitoring on the track (to hear yourself through headphones in real time) and arm the track for recording.
- Do a short test take — five seconds of normal-level speaking or singing — and check the waveform. It should be visible but not hitting the edges of the track.
- Adjust the gain on your interface if needed (not the track fader — the interface gain).
- Record the full take. Stop. Listen back on headphones. Note what you would change — microphone distance, angle, room position.
- Adjust and take another pass. Most experienced recorders take three to five passes before settling on a keeper.
Common Beginner Adjustments
If the recording sounds boxy or hollow, you need more acoustic treatment — move to a more furnished area. If it sounds too bright or sibilant (harsh 'S' sounds), angle the microphone slightly more off-axis or position it slightly above mouth level rather than directly in front. If there is constant background hum, check for USB or electrical interference — a mains power conditioner can help in some cases. Your Rode microphone will reveal the room honestly; the fix is usually in the recording environment — a quality Rode microphone is rarely the problem.
For a full explanation of the different models and types, the explainer covers the range in detail. For specific buying recommendations, the buyer's guide is the place to start.




Comments