


Rode Microphone article
Rode Microphone Explained: Features, Types and Tips
Rode has spent decades building a range that covers everything from studio condensers to USB options and on-camera shotguns — all at prices that make professional results accessible.
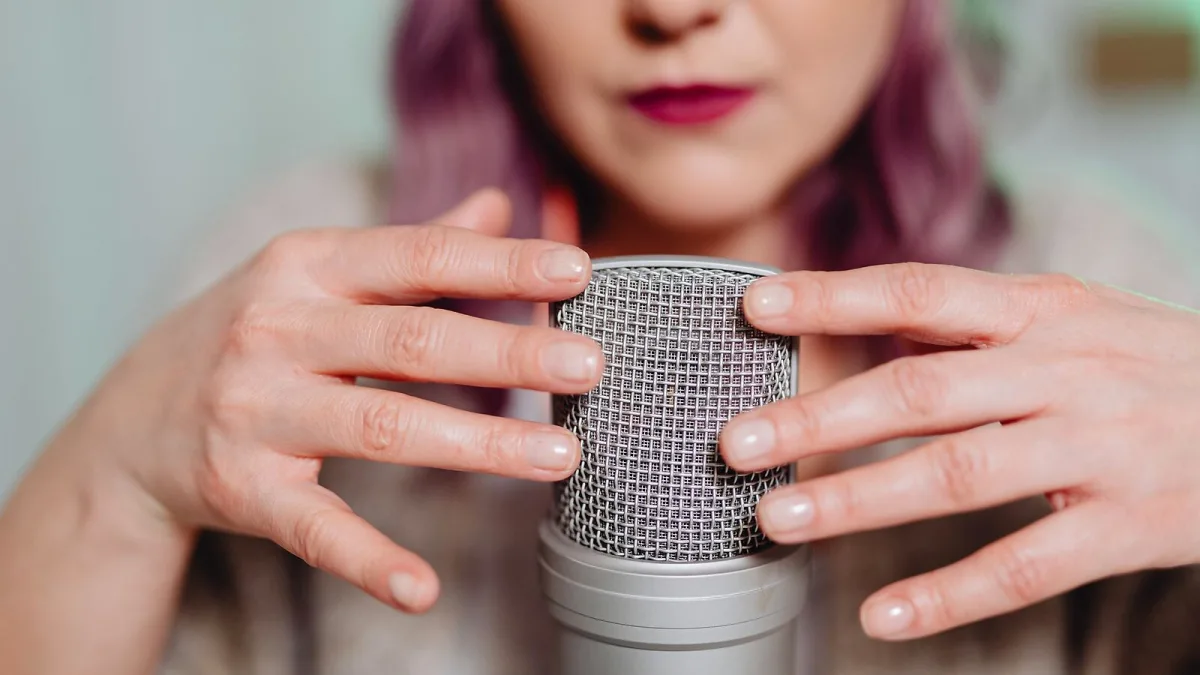
A Rode microphone has become a default recommendation for home recording — and with good reason. The Australian brand has spent decades building a range that covers everything from high-end studio condensers to compact USB options and on-camera shotguns, all at prices that make professional results genuinely accessible. Daniel runs through what the range covers and how each type is designed to be used.
What Rode Makes
Rode's product range divides into several distinct families. Large-diaphragm studio condensers — most famously the NT1 — are the core of the brand. Alongside these sit small-diaphragm condensers (NT5, M5), USB microphones for direct computer recording (NT-USB, NT-USB Mini, Podcaster), on-camera shotguns (VideoMic series) and wireless systems (Wireless GO). Each family serves a different recording context, and understanding these distinctions makes choosing straightforward.
How a Rode Microphone Works
A Rode microphone in the large-diaphragm condenser range uses a pressure-sensitive capsule — typically a one-inch diaphragm — that converts acoustic pressure variations into an electrical signal. This signal passes through an internal preamp before leaving via the XLR output. Condenser microphones require phantom power (48V, supplied by an audio interface or mixer) to operate. The capsule is the heart of the design: Rode manufactures most of its own capsules in Sydney, which is part of how it maintains quality control at its price points.
Polar Patterns and What They Mean
Most entry-level Rode microphones use a fixed cardioid polar pattern — meaning they are most sensitive to sound arriving from the front and reject sound from the rear. This suits solo vocals, acoustic instruments, and podcasting setups. Some models offer multiple polar patterns: the NT2-A, for example, switches between cardioid, omnidirectional and figure-eight, covering interview setups, room recording and stereo mid-side techniques. For home recording, fixed cardioid is the most practical starting point.
Key Specifications to Understand
Self-noise is the most important specification to understand when comparing condenser microphones. This figure (measured in dB-A) represents the electrical noise the microphone introduces into the signal chain when no external sound is present. Lower is better: the NT1 has a self-noise of 4 dB-A, which is exceptionally low and means even very quiet sound sources — soft vocals, nylon-string guitar, acoustic piano — are captured without an audible noise floor. This matters most in quiet, treated recording spaces; in noisier environments the difference between a 4 dB-A and 10 dB-A microphone is less audible.
USB vs. XLR Models
A USB Rode microphone connects directly to a computer without requiring an audio interface — plug in, select it as your input device, and you are recording. This is the simpler setup and works well for podcasting, streaming and voice recording. XLR models require an audio interface, which adds cost but also provides better preamp quality, lower latency monitoring, and the flexibility to add other gear to your recording chain. Most serious home recording setups eventually move to XLR; for a first setup prioritising simplicity, USB is a valid and capable option.
Where to Place a Rode Microphone
Positioning matters as much as the microphone itself. Place a Rode microphone 15–30 cm from the sound source for vocals, angled slightly off-axis (about 10–15 degrees) to reduce plosive energy striking the capsule directly. A pop filter between the plosive source and capsule is strongly recommended. For acoustic guitar, aim for the 12th fret area rather than directly at the soundhole — the soundhole captures too much low-frequency boom in most room conditions. Always allow the microphone to reach thermal equilibrium for ten to fifteen minutes before recording — condensers benefit from a warm-up period.
For a buying recommendation, the buyer's guide identifies the best models at each price. New to recording entirely? The beginner's guide walks through the full setup from scratch.




Comments