


Zoom Mics article
Zoom Mics for Beginners: A Complete Guide
New to Zoom microphones? Start here. This beginner-friendly guide covers basic setup, your first recording, microphone positioning, avoiding common mistakes, and the simplest path to professional-quality audio.
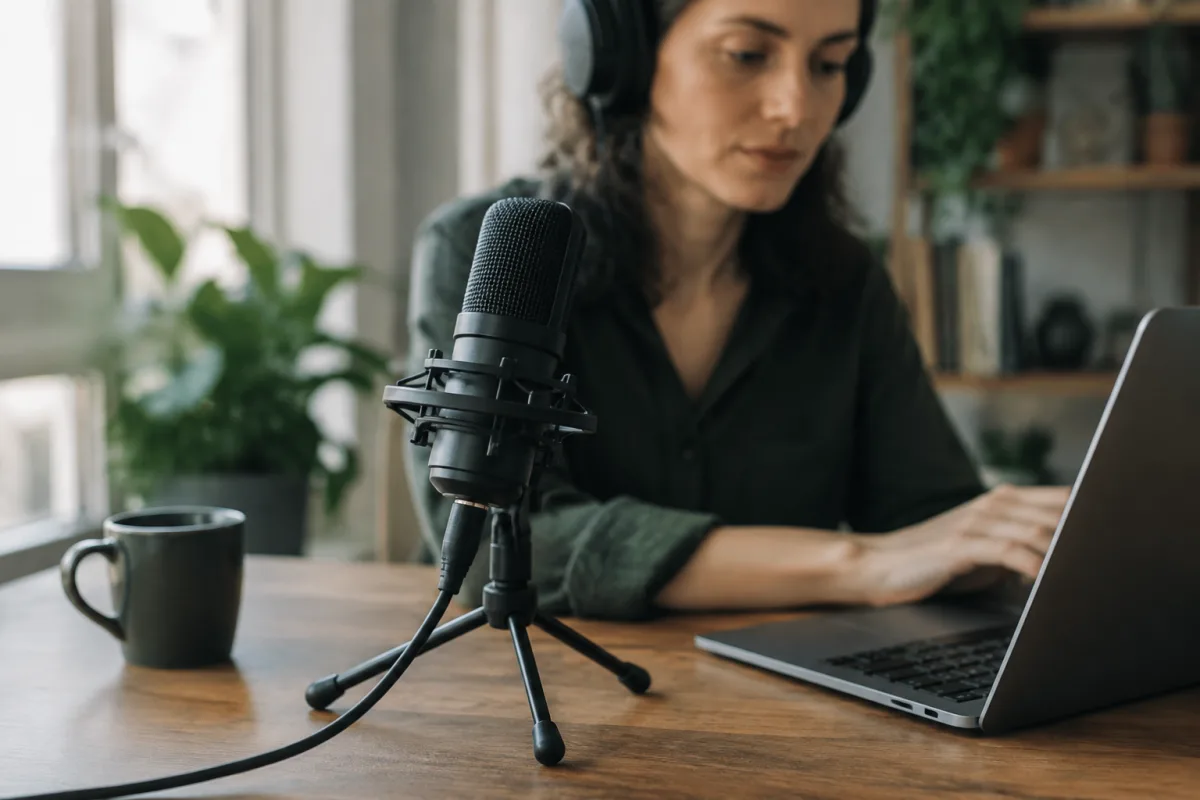
If you're getting your first Zoom microphone, you might feel a little lost looking at all the buttons, menus, and features. The good news? You can start recording excellent audio within minutes. This guide walks you through those first essential steps, shows you the easiest path forward, and helps you avoid the common mistakes that trip up beginners.
Unboxing and Basic Setup
Open your Zoom mic box and you'll find the microphone, USB cable, stand, and probably a windscreen or shock mount. Start simple: attach the microphone to your desk or arm using the included stand. Plug the USB cable into your computer. Your operating system should automatically recognise it as an audio input device. On Mac, go to System Preferences > Sound > Input and select your Zoom mic. On Windows, right-click the volume icon, select Sound Settings, and choose your Zoom mic as the input device. That's it—you're ready to record. No drivers to install, no configuration menus. Just plug and use.
Your First Recording: The Simple Path
Open any recording application—Audacity (free), GarageBand (Mac), or even Voice Memos on your phone. Hit record. Speak directly into the microphone at a normal conversational distance. Play it back. If you sound clear and natural, congratulations—your microphone is working properly. Many beginners overthink this part, fiddling with settings before they've even heard what the microphone actually captures. Get a baseline first, then adjust.
Understanding Microphone Types and Choosing Yours
Zoom makes several microphone models, each designed for different tasks. Lavalier mics clip to clothing and are perfect for interviews and hands-free recording. Handheld condenser mics are versatile and excellent for podcasting, singing, and detailed recording. Shotgun mics are super-directional and brilliant for video work or recording in noisy environments. For beginners, start with whatever model best matches your primary use. A podcaster should consider a condenser; a filmmaker should look at the shotgun. Don't agonise over the perfect choice—all Zoom mics produce genuinely professional results.
Microphone Distance and Positioning
This is where most beginners go wrong. Many people hold the microphone too far away, thinking distance is professional. It isn't. Position your Zoom mic 6-12 inches from your mouth for speech recording. For singing, 8-10 inches works beautifully. Closer positioning captures more of your voice and less of room noise and background distractions. If you sound too loud or distorted at this distance, you're either speaking too loudly or the mic is positioned at an awkward angle. Move slightly back or adjust your mic position rather than starting at a distance that requires post-recording volume boost.
Avoiding the Most Common Beginner Mistakes
The biggest mistake beginners make is neglecting the windscreen. Even indoors, mouth noise—plosives and breath sounds—can be surprisingly loud through a condenser microphone. A windscreen (the foam cover) dramatically reduces these sounds without affecting audio quality. Use it, and your recordings sound more professional immediately. Another common error is recording in an untreated room. You don't need a fancy studio—just choose a smaller room with soft furnishings. A bedroom works better than an empty living room. Clothes, curtains, and carpet absorb sound reflections and make your voice sound clearer.
A third frequent mistake is using the microphone at maximum gain in your recording software. If your levels are constantly in the red or distorting, move the microphone closer, turn your voice up slightly, but keep recording gain reasonable. Distortion during recording is permanent and unfixable later. Better a slightly quiet recording that sounds clean than a distorted mess.
Many beginners also fail to do test recordings before important sessions. Do a quick 30-second test, play it back, and make sure everything sounds right. It takes 90 seconds and prevents disaster. Finally, avoid winding the cable too tightly around the microphone or stand. Tight cables transmit mechanical vibration to the microphone, adding handling noise to your recordings.
Recording Software That Works With Zoom Mics
You have excellent free options: Audacity is powerful and available on Mac, Windows, and Linux. Voice Memo apps work for simple recordings. OBS is perfect if you're streaming or doing video content. All of these recognise your Zoom mic immediately. For podcast editing, check out Adobe Audition or Reaper if you want professional-grade software. The key is that your Zoom mic works with literally everything. Don't overthink the software choice—start with whatever is free and already on your computer.
Basic Levels and Gain Setting
In your recording software, check the input level before you start. Speak at normal volume into the microphone. The level meter should move into the green range, not maxing out in red. If levels are too hot (constantly in the red), reduce the input gain in your software. If they're too quiet, move closer to the microphone or speak a bit louder. The goal is consistent levels that stay mostly in the green, with occasional peaks into yellow. Never let it stay in red—that means distortion and ruined recordings.
Cable Care and Longevity
Your USB cable is important—it carries both audio and power. Use the included cable or a quality replacement. Avoid wrapping the cable too tightly, and store your microphone without the cable wound around it. A cable that's kinked or bent repeatedly fails prematurely. Also, if you're recording in a location with electronic noise (near computer fans, power supplies, or radio frequencies), use shorter cable runs where possible. Longer cables can pick up more interference.
Your First Real Recording Session
Here's the process that works: First, position your microphone and do a one-minute test recording. Play it back and listen carefully. Does your voice sound clear? Is there background noise you didn't notice? Are your levels consistent? Only after you're happy with the test, do your real recording. Speak naturally, maintain your microphone distance, and pause intentionally between thoughts—it makes editing easier later. When you're finished, stop recording, save the file, and let yourself feel proud. You've just made professional-quality audio.
Moving Beyond Basics
Once you're comfortable with basic recording, you might want to explore windscreen options, shock mounts that isolate vibration, or pop filters for extra plosive reduction. You might experiment with recording in different rooms to hear how they affect tone. These aren't essential—they're refinements that come naturally as you gain experience. Most beginners create professional-sounding content long before they need to explore these advanced options.
Getting started with Zoom mics is genuinely straightforward. Position it correctly, record your first test, listen with honest ears, and adjust as needed. Avoid the common beginner pitfalls, be patient with yourself, and you'll be producing audio that sounds professional and polished. For comprehensive information on zoom mics and everything they can do, explore our complete guide to Zoom mics.


Comments