


Microphone for Amp article
Microphone For Amp for Beginners: A Complete Guide
Miking an amplifier can seem intimidating, but it's straightforward once you know the basics. This guide walks you through your first recording session with just a microphone and an amp.
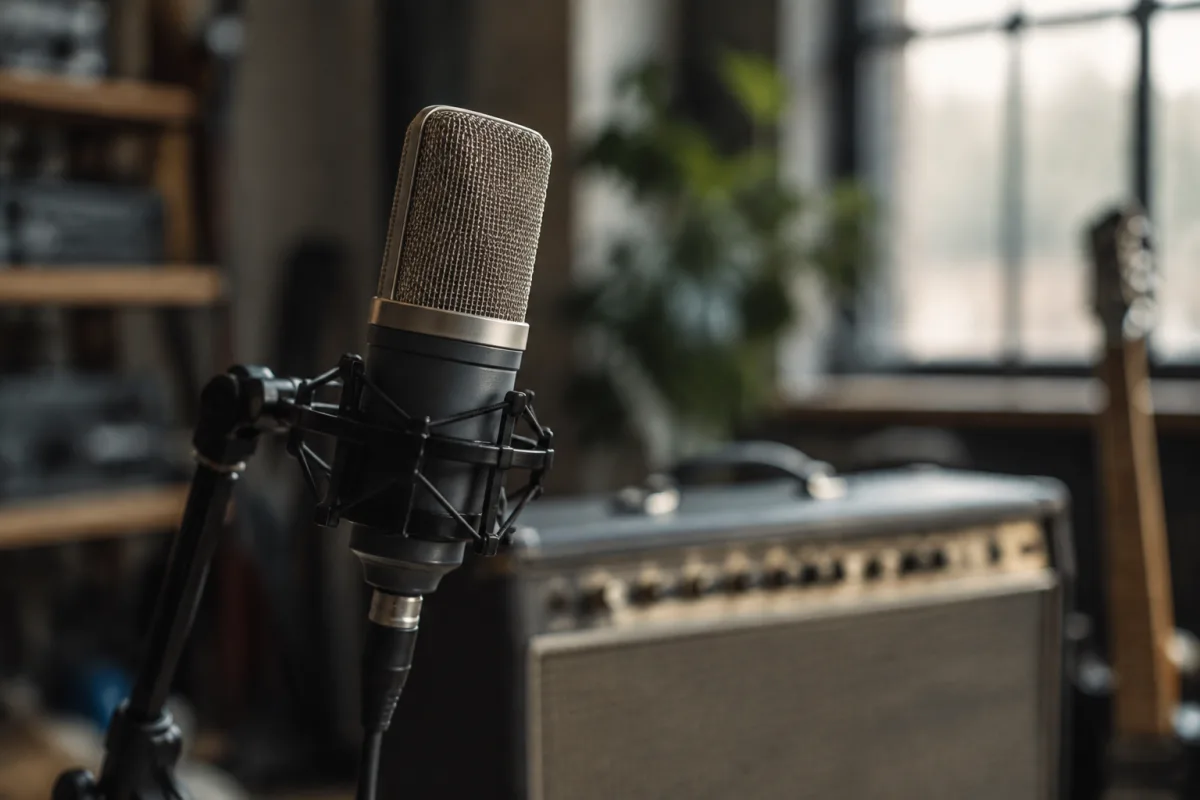
Miking up an amplifier can seem like an intimidating skill reserved for studio professionals, but it's actually one of the most straightforward techniques you can master. With just a microphone and a basic understanding of placement, you can capture professional-sounding recordings of your amp at home. This beginner's guide strips away the mystery and walks you through your first successful mic'd recording, step by step.
Why Mic Your Amp?
Before diving into technique, let's answer the obvious question: why bother miking an amp? If you're recording music, a microphone for your amp lets you capture the character of your amplifier as it truly sounds in the room. Direct-to-interface recordings sound clinical and hollow by comparison. A miked-up amp captures the room ambience, the speaker's natural breakup, and the warmth that makes an amp worth owning. It's the difference between a thin, digital recording and one that sounds like a real guitar played through a real amp.
The best part? You need surprisingly little gear to get started. A single decent microphone, a cable, and ten minutes of setup is enough.
The Microphone for Your Amp: What Do You Need?
The ideal microphone for amp recording doesn't have to be expensive or exotic. Here's what matters:
Microphone Type
A dynamic microphone — the kind with a moving coil — is the traditional choice for amp miking. Shure SM57 is the gold standard, copied by dozens of budget alternatives (AKG D40, Behringer XM8500, and others). Dynamic mics are affordable, rugged, and designed to handle the loud sound pressure levels that amplifiers produce. Most home recordists start with a dynamic mic because they're forgiving and sound great.
Condenser microphones (studio-style, with a thin diaphragm) can also work, but they're more sensitive and require a preamp with phantom power. Save condensers for later when you've mastered the basics.
Frequency Response
You don't need to understand frequency response in detail. Just know this: a microphone for amp recording should have a presence peak in the midrange (around 2–5 kHz). This is what gives electric guitar its snap and cut. Most microphones marketed for amp miking already have this built in. Don't overthink it; if it's billed as an amp mic, it will work.
Budget Guidance
Entry-level microphone for amp work starts around £40–60 for clones or budget alternatives. A proper Shure SM57 costs around £90–120. You don't need more than this to start. Anything under £200 will teach you what you need to know.
Your First Amp Miking Setup
Here's the simplest possible path to a recorded amp:
- Position your amp. Place your amplifier in a corner of a room (not dead centre). Corners reinforce bass frequencies naturally, giving you fuller tone with less effort.
- Mount your microphone. Use a microphone stand (cost: £15–30) or even a sturdy tripod aimed at your amp's speaker. The mic should be 15–30 cm (6–12 inches) from the speaker grille.
- Angle the microphone. Aim it directly at the speaker cone (on-axis), or angle it slightly off-axis. On-axis gives brighter, more direct tone; off-axis sounds warmer and less harsh. Start on-axis and adjust by ear.
- Connect the mic to your interface. Plug the XLR cable from your microphone into your audio interface's mic input. Set the gain (input level) so the signal peaks around –6dB on your meter when you play.
- Record a test take. Play something simple through your amp for 30 seconds. Listen back. If it sounds too bright, angle the mic off-axis slightly. If it sounds dull, move it closer.
That is genuinely all there is to amp miking at entry level. You're done.
Microphone Placement: The Secret Sauce
Once you understand the basics, microphone placement becomes your creative tool. Here are the three positions you'll use most:
On-Axis (Directly at the Speaker Cone)
This gives you bright, punchy tone with maximum detail. The sound is crisp and cuts through a mix. Most rock and metal recordings use on-axis placement. It's the safest starting point because it sounds good immediately.
Off-Axis (Angled Slightly to the Side)
Moving the mic 15–30 degrees off the speaker cone warms up the tone and softens harshness. This is where you go if on-axis sounds too aggressive or biting. Many blues and classic rock recordings use slight off-axis placement.
Back of the Speaker Cone
This is rare but interesting: some recordists mic the rear of the speaker for a darker, more ambience-heavy tone. This is an experiment for later, not a beginner starting point.
Distance from the Speaker: How Close Should You Get?
Microphone distance changes the tone dramatically:
- 3 cm (1 inch): You're right on the speaker. This picks up maximum detail and can sound harsh. Use this if your amp sounds dull and needs brightness.
- 15 cm (6 inches): This is the sweet spot for most beginners. You get clarity and detail without harshness. Start here.
- 30 cm (12 inches): The mic pulls back and picks up more room ambience. The tone is warmer, less direct. Use this if on-axis sounds too aggressive.
- 60+ cm (2+ feet): The microphone is capturing the room as much as the amp itself. This is a room recording, not an amp recording. Avoid for your first take.
When in doubt, start at 15 cm and adjust from there. Your ears will guide you.
Common Beginner Mistakes
Mistake 1: Not Setting Proper Gain
The microphone preamp input needs to be adjusted so the signal peaks around –6dB, not clipping at 0dB and not so quiet you can barely hear it. A weak signal forces you to boost it in software, adding noise. A clipped signal ruins the take. Get the gain right, and everything downstream is easier.
Mistake 2: Recording Too Quietly
Beginners often turn their amp down to record, worried about noise or neighbours. But a quiet amp sounds thin. If you need to record quietly, do it, but turn the amp up enough that it's actually pushing some air. The microphone needs real sound to work with.
Mistake 3: Using the Wrong Microphone
A condenser microphone meant for vocals can work on an amp, but it's more finicky and the frequency response isn't optimised. A dynamic microphone for amp recording is your friend. It's a small investment that pays off immediately.
Mistake 4: Miking the Wrong Part of the Speaker
The speaker cone has different tones depending on where the mic points. Dead centre (the apex) is brightest and most detailed. The edge (near the surround) is warmer and thinner. The dust cap (the small dome in the middle) sounds weird. Stick to the flat part of the cone (anywhere from centre to 5 cm off-centre) and you're golden.
Troubleshooting: What If It Doesn't Sound Good?
If your first recording sounds wrong, here's your debug checklist:
Too Bright / Harsh
Angle the microphone off-axis by 20–30 degrees. Move it back to 30 cm from the speaker. If still too harsh, your amp's tone knob might be set too bright; turn down the treble on the amp itself.
Too Dull / Thin
Angle the microphone directly at the speaker (on-axis). Move it closer, to 10 cm. Check the input gain; weak signals sound thinner. Boost the midrange on your amp slightly.
Rumble or Hum at Low Frequencies
Your microphone is picking up room noise or electrical hum. Move the mic away from cables and power supplies. Use a microphone preamp with a high-pass filter (if your interface has one), or roll off frequencies below 100 Hz in your recording software.
Sound Is Distorted or Clipping
Your input gain is too high. Turn it down until the peaks sit comfortably around –6dB instead of clipping at 0dB.
Going Deeper: Dual Miking and Room Mics
Once you're comfortable with a single microphone, you can explore dual miking (two mics on the same amp, positioned differently) or adding a room microphone to capture ambience. But that's a future skill. For now, master the single-mic setup. It's the foundation everything else builds on.
For a comprehensive exploration of amp miking techniques, speaker characteristics, and advanced multi-mic setups, the complete guide to microphones for amps covers the full landscape.



Comments