


Microphone and Amplifier article
Microphone And Amplifier for Beginners: A Complete Guide
Understanding microphones and amplifiers doesn't have to be technical. This guide takes you through your first steps, explains what matters, and helps you avoid common beginner mistakes.
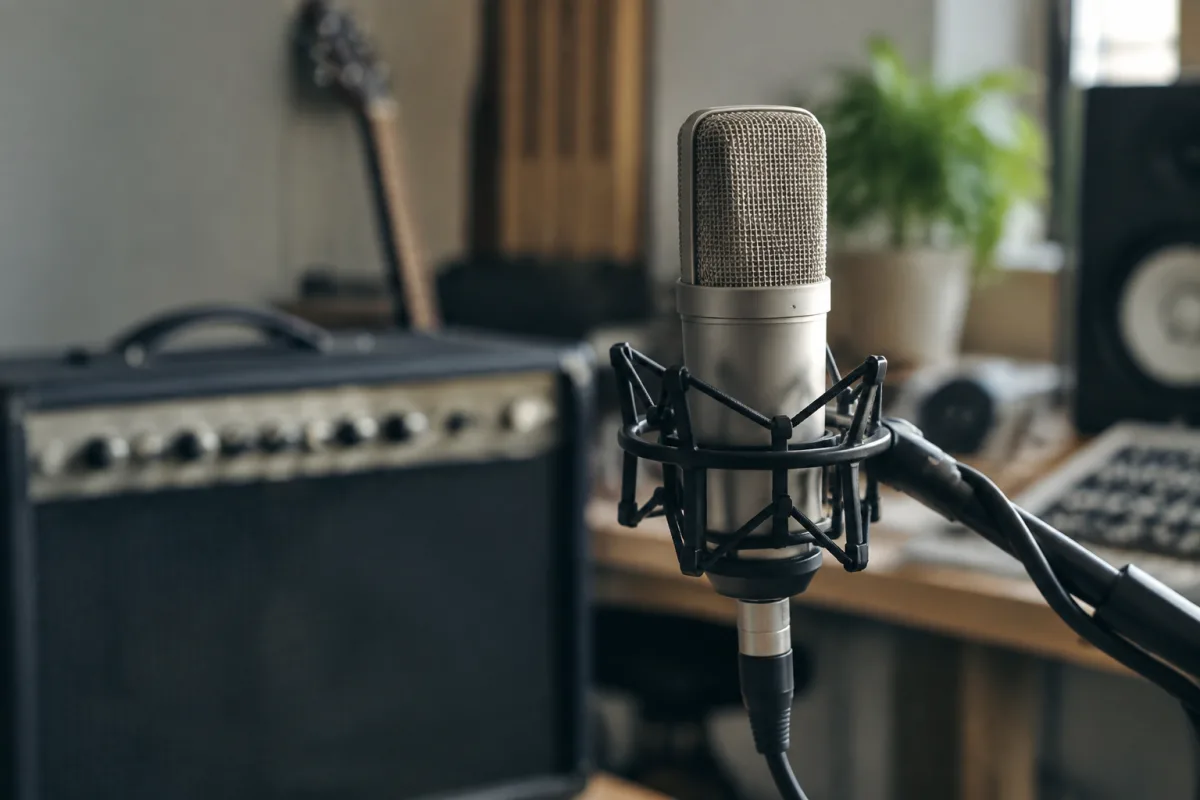
If you're just starting out in recording, the relationship between your microphone and amplifier can seem mysteriously technical. You hear buzz, hum, or muddiness and wonder what went wrong. The good news is that understanding microphones and amplifiers isn't rocket science—it's just about matching the right tool to the task and learning a few basic principles. This guide takes you through your first steps without jargon overload.
Start with One Microphone and One Amplifier
Your first instinct might be to buy three microphones, a preamp, and a mixer. Resist that urge. Begin with a single dynamic microphone (like a Shure SM7B or Rode Procaster) and a simple audio interface. Learn how this basic setup works before adding complexity. Once you understand how to position a microphone in front of a speaker, how to manage levels, and how to record without noise, then expand.
This simple approach does two things: it saves money, and it forces you to learn the fundamentals. You'll discover that a £50 microphone placed correctly sounds better than a £500 microphone placed carelessly.
The Microphone-to-Amplifier Connection: It's Simpler Than You Think
A microphone captures sound waves and converts them into electrical signals. Your amplifier amplifies those signals so you can record or hear them clearly. The microphone sits in front of the amplifier speaker, picking up the sound being produced. That's genuinely the core concept.
The main thing to understand is distance and angle. A microphone placed directly in front of an amplifier grille captures the speaker's full output. Move it a few inches, and the tone changes. Move it to the side, and you capture less bass and more treble. This isn't complicated; you can experiment and listen to the difference in real time.
Your First Recording Checklist
Before hitting record, check these five things: Is the microphone plugged in? Is the audio interface powered on? Are your levels set so the input doesn't clip (go red in your DAW)? Is the microphone positioned in front of the amplifier, not on top of it? Are you recording to a new audio track, not overwriting something you've already done?
These basics stop 90 percent of beginner problems. If you remember this checklist for your first ten sessions, you'll avoid most frustrations.
Common First-Timer Mistakes (and How to Avoid Them)
Many beginners record too quietly, then try to boost the volume later. This introduces noise and reduces clarity. Record at a healthy level—aim for peaks between -12dB and -6dB on your meter. It feels loud, but it's correct. You can always turn it down after recording.
Another common error is placing the microphone too close to the amplifier speaker, which causes distortion and harshness. Start at 6–12 inches away. If the sound is still too harsh, move back to 12–18 inches. If it's too dull, move closer. Your ear is the guide.
Finally, beginners often ignore background noise and hum. Electrical hum (a 50Hz or 60Hz buzz from power cables) is nearly invisible when you're focused on recording, but it's there. Keep microphone cables away from power cables. Keep the microphone away from transformers and power supplies. This simple discipline prevents hours of frustration later.
Microphone Types: Start with Dynamic
There are three main microphone types: dynamic, condenser, and ribbon. As a beginner, start with dynamic. Dynamic microphones are forgiving, cheap, durable, and work well for recording amplifiers. Condenser microphones are sensitive and capture detail, but they're fussy about placement and susceptible to feedback. Ribbon microphones are fragile and expensive.
Once you've mastered recording with a dynamic microphone, experiment with condenser if you want more detail. But honestly, dynamic microphones do the job beautifully for learning.
Amplifier Types Matter Too
A guitar amplifier, keyboard amplifier, and vocal amplifier all sound different because they're designed for different purposes. A guitar amp emphasises certain frequencies that suit guitar tone. A keyboard amp is flatter and clearer. A vocal amp is often more forgiving.
You don't need to understand the technical reasons why—just know that what you're recording (guitar, vocals, keys) affects how you'll want to position and treat the microphone. Record a guitar amp differently than a keyboard amp, and you'll get better results.
Building Confidence Through Small Experiments
Don't try to record a perfect performance yet. Instead, spend a session experimenting with microphone placement. Move it inch by inch and listen to how the tone changes. Get bored with your current position, then try another. This exploration teaches you more about microphone technique than reading a dozen guides.
Record short clips—10 to 30 seconds—and listen back. Notice how the microphone captured the sound. Was it too bright? Too dull? Too quiet? Each observation teaches you something for the next attempt.
Your Path Forward
Your first week, focus solely on getting a clean, noise-free recording at a healthy level. Your second week, experiment with microphone placement and angle. Your third week, try recording multiple passes and stacking them. Your fourth week, add a second microphone if you want.
This gradual approach prevents overwhelm and builds genuine understanding. You're not just following steps; you're learning why each step matters.
For a comprehensive overview of microphone and amplifier technology, applications, and different types of equipment, see our complete guide to microphone and amplifier.
The Confidence You're Building
Within a month of consistent experimentation, you'll understand your microphone and amplifier well enough to record in almost any situation. That confidence comes from hands-on learning, not theory. Your ears will trust your judgment about placement and tone because you've trained them through repetition.
The best microphone-and-amplifier setup is the one you understand and use consistently. Master the basics with simple equipment, and you'll be far ahead of someone with expensive gear who's guessing at technique.


Comments