


Behringer Microphone article
Behringer Microphone for Beginners: A Complete Guide
If you're recording for the first time and worried about microphone choices, Behringer equipment is designed for you. This beginner guide covers setup, placement, and the simple steps to your first professional-quality recording.
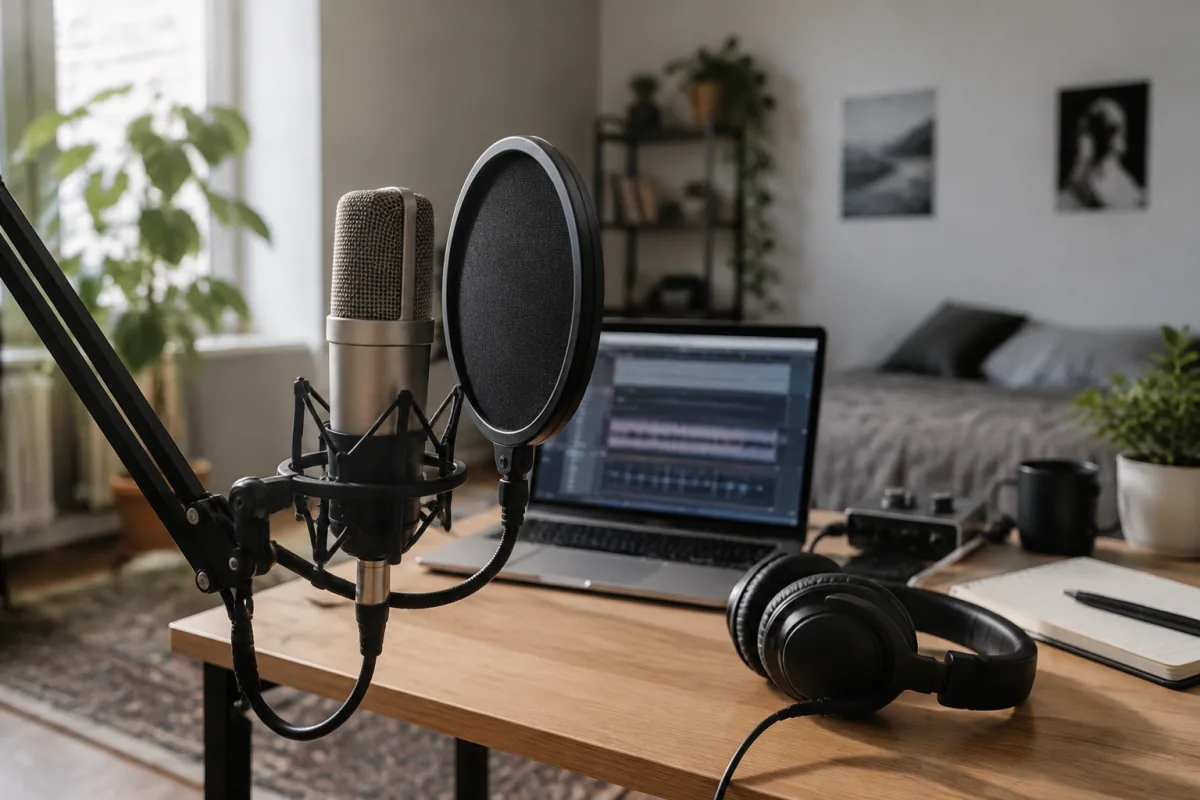
If you've just decided to record your first vocal take or instrument and you're feeling a bit overwhelmed by microphone options, you're in exactly the right place. Behringer microphones are specifically designed to give you professional-quality results without requiring years of audio engineering experience. This guide walks you through your first microphone purchase with reassurance and practical steps that actually make sense.
Starting Simple: You Don't Need Fancy Specs
The biggest mistake beginners make is obsessing over specifications that sound important but don't actually matter for your first recordings. Microphone frequency response, impedance, and polar patterns sound technical because they are, but here's the reassuring truth: Behringer has already handled the complex engineering. Your job is simply to plug it in and use it.
What actually matters for your first microphone? Three things: can it hear you clearly, does it sound good, and will it work with your equipment? A decent Behringer microphone answers yes to all three. The USB models are especially beginner-friendly because they skip the confusing audio interface step—plug the microphone directly into your computer and start recording immediately.
Don't let anyone convince you that you need to spend hundreds of pounds before you can make decent recordings. Behringer makes microphones specifically for people in your situation, and they genuinely work well. Professional musicians use Behringer equipment in studios and on stage, which means when you use a Behringer microphone, you're using gear trusted by experienced professionals.
Your Easiest First Microphone Choices
The Behringer USB microphones represent your simplest entry path. These units handle their own audio processing, connect directly to your computer via USB, and work immediately without any configuration. The learning curve is basically nonexistent. You record better-quality audio than your built-in computer microphone provides, and you maintain complete simplicity.
If you're using Behringer with an audio interface (perhaps someone recommended this setup), don't panic. The process is straightforward: microphone connects to the interface with an XLR cable, the interface connects to your computer, and you select the interface as your input device. Slightly more steps than USB, but still entirely manageable for your first time.
Here's what your first recording session actually looks like: connect your microphone, open your recording software, set the recording level so the metres stay in the green (a few clicks on a slider), press record, and speak or play. That's genuinely all there is. The first time takes longer because you're figuring it out. Your second recording session is five minutes from setup to finished.
Common First-Timer Mistakes and How to Avoid Them
The absolute most frequent beginner error is placing the microphone too far away. You think you're being subtle and natural, but actually microphones are directional. Close enough to speak in a conversational voice—roughly 15-20 centimetres away—produces vastly better results than standing back like you're worried the microphone will bite you. Behringer microphones handle close placement beautifully without sounding harsh or distorted.
Beginners often leave recording levels too high, which causes distortion that no amount of later editing can fix. The software should show green peaks with occasional yellow. If you're seeing constant red, reduce the volume. This one adjustment probably improves your recordings more than anything else.
Don't record facing away from the microphone. It seems obvious when you read it, but audio anxiety makes people do odd things. Face the microphone like you're having a conversation with it. Seriously, that's the professional technique—just face it and speak naturally.
Avoid recording directly against hard walls. The wall reflects your voice and creates an echo or hollow sound. Even stepping one metre away from the wall improves the recording noticeably. If you're recording vocals, point the back of the microphone toward the wall, and position yourself between the microphone and the wall.
Setting Up Your First System: Step by Step
For absolute beginner simplicity, go with a USB Behringer microphone. Plug it into your computer's USB port (use a port on the computer itself rather than a hub—it's more reliable). Download Audacity, which is free, open-source audio software that every beginner should know. Launch Audacity, click the device dropdown where it currently says "Built-in Microphone" and select your Behringer microphone. Press the Record button. Start talking. Press Stop when you're finished. That's a complete recording workflow.
Save your recording as an MP3 or WAV file. Upload it somewhere you can listen on headphones. This is the magical moment—hearing your own voice or instrument in professional quality for the first time. It's genuinely exciting, and it proves immediately that you've done something real and worthwhile.
If your first recording doesn't sound quite right, resist the urge to blame the microphone. Ninety percent of beginner audio issues come from placement, distance, or recording level, not from the microphone itself. Adjust one variable at a time and record a new test. Move closer to the microphone. Reduce the recording level slightly. Position yourself differently in the room. Each adjustment teaches you something useful.
What Happens Next
After a few recording sessions, you'll have solid instincts about microphone distance and placement. You'll understand your recording software without thinking about it. You'll know whether you want to explore more advanced equipment or whether your Behringer setup handles everything you need perfectly well.
Many beginners discover they're genuinely happy with their initial setup. They make recordings they're proud of, they develop skills, and they realise the expensive gear upgrade path was never necessary. Other beginners get excited and want to explore fancier options. Both paths are completely valid, but knowing your starting point removes anxiety from the decision.
For a comprehensive overview of the full range of Behringer microphone options available, the complete guide to Behringer microphones covers models and use cases in greater depth. But honestly, you don't need that yet. Use your Behringer microphone for a few weeks, get comfortable, and explore that guide when you're curious rather than nervous.
Your First Recording Awaits
You're going to be fine. Behringer microphones are designed for situations exactly like yours. They work, they sound good, and they don't require you to master a PhD's worth of audio theory before making your first recording. Set it up, plug it in, and trust that the engineering has been done for you. The barrier to making professional-quality recordings has never been lower than it is right now, and your first recording session is genuinely just a few minutes away.



Comments