


Measurement Microphone Buying guide
Measurement Microphone: A Complete Buyer's Guide
A measurement microphone reveals your room's true acoustics. This guide covers key specs, price ranges, types, and how to choose the right measurement microphone for your studio.
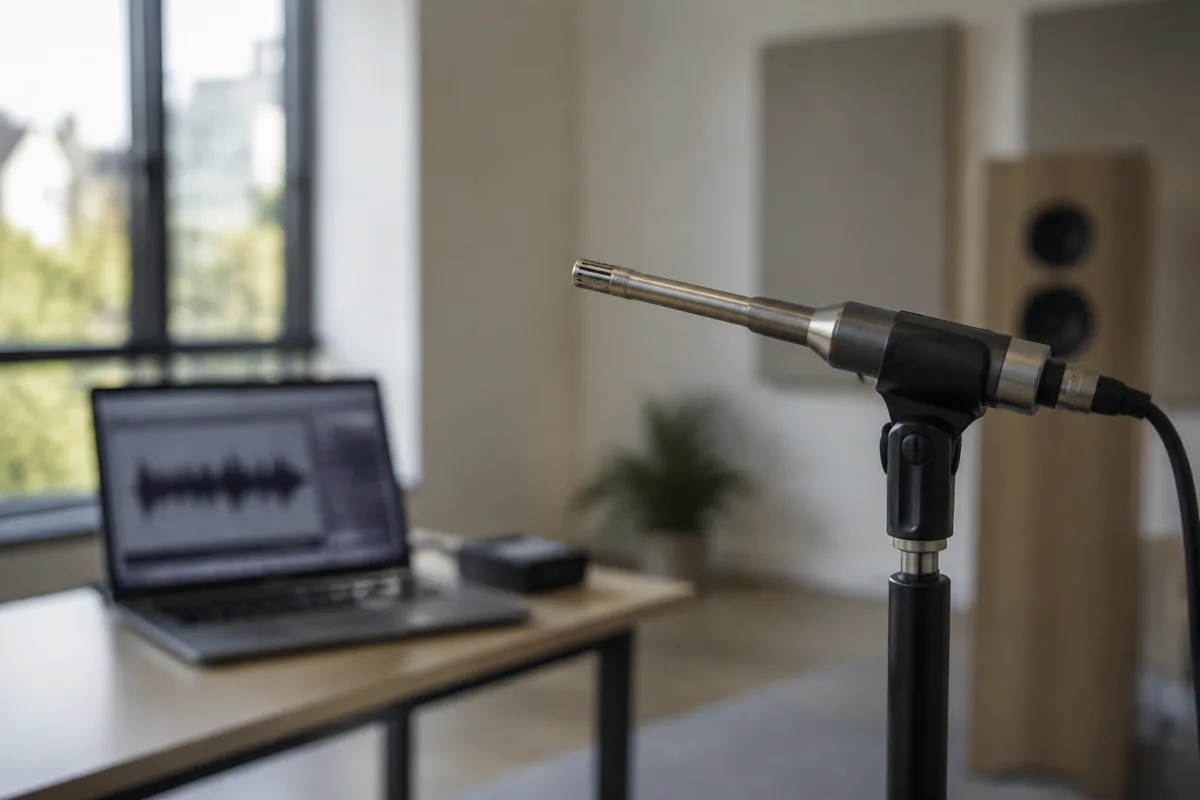
A measurement microphone captures accurate data about your room's acoustics, revealing how sound actually behaves rather than how you perceive it. Whether you're treating a studio, tuning speakers, or diagnosing acoustic problems, a measurement microphone paired with appropriate software is invaluable. But which measurement microphone should you buy? This guide walks you through specifications, trade-offs, common mistakes, and price tiers so you can choose confidently.
What a Measurement Microphone Does
A measurement microphone is designed for accuracy, not musicality. It captures a flat frequency response (ideally within ±3–5 dB across the audible range) and works with software like Room EQ Wizard, REW, or professional packages to analyse your room's response, identify peaks and dips, and measure acoustic parameters like reverberation time. Unlike a recording microphone that colours sound creatively, a measurement microphone tells you the truth.
Key Specs When Buying a Measurement Microphone
Focus on these specifications:
- Frequency response: This is paramount. A measurement microphone should measure flat (±3 dB or better) from at least 20 Hz to 20 kHz. Check the manufacturer's frequency response curve—it should be nearly horizontal. Budget models may drift outside this range, compromising accuracy.
- Omnidirectional polar pattern: Most measurement microphones are omnidirectional, capturing sound equally from all directions. This is essential for room analysis. Avoid directional patterns unless you have a specific use case.
- Sensitivity and dynamic range: Sensitivity tells you how much output the measurement microphone produces for a given sound level. Dynamic range indicates how quiet and loud it can measure. For studio work, -30 to +130 dB SPL is typical and sufficient.
- Output impedance: Measurement microphones output via XLR (balanced) or USB. XLR is standard; USB is convenient if you're using a computer for analysis. Check compatibility with your measurement software and interface.
- Calibration data: The best measurement microphones include a factory calibration file or calibration details. This allows software to apply corrections and improve accuracy. Without it, you lose precision.
- Connector type: Most measurement microphones use XLR connectors. Some include USB adapters or wireless options. Verify compatibility with your analysis software and equipment.
- Wind protection and mounting: A measurement microphone should come with a mic stand adapter and ideally a foam windscreen. These protect the mic and allow consistent placement during measurements.
- Stability over time: Microphones drift with age and temperature. Choose a measurement microphone from a reputable maker known for stability. Avoid ultra-cheap options that may become unreliable after months of use.
Types of Measurement Microphones
- 1-inch condenser measurement microphone: The industry standard. Most professional measurement microphones are 1-inch diameter condensers. They offer excellent accuracy and are compatible with nearly all software and room analysis tools.
- 1/2-inch measurement microphone: Slightly smaller, used in some professional kits and portable systems. Accuracy is comparable to 1-inch models, but options are fewer and compatibility may be limited.
- USB measurement microphone: Plugs directly into a computer. Convenient for quick room analysis and DIY projects, but often less accurate than XLR-based models. Ideal for beginners; professional studios prefer XLR.
- Stereo measurement microphone: Rare but useful for stereo imaging work. Two measurement microphones in one housing. Expensive and needed only for specialised work.
Price Tiers and What You Get
- Budget (£40–150): USB measurement microphones or cheap XLR-based options. Adequate for rough room analysis and learning. Accuracy is moderate; calibration data may be missing. Best for hobbyists and learners.
- Mid-range (£150–500): Solid 1-inch condenser measurement microphones with good frequency response flatness and calibration data. This tier suits serious home studios and semi-professional work. Excellent value and reliability.
- Professional (£500–2,000): High-end measurement microphones with exceptional accuracy, stable calibration, and comprehensive documentation. Used by acousticians and professional studios. Worth the investment if accuracy is critical.
- Premium/Reference (£2,000+): Lab-grade measurement microphones with absolute accuracy and long-term stability. Used by acoustic engineers and for research. Overkill for most studios.
Common Mistakes When Buying a Measurement Microphone
Avoid these pitfalls:
- Confusing measurement microphones with recording microphones: They look similar but serve different purposes. A recording microphone prioritises musicality; a measurement microphone prioritises accuracy. Don't mix them up.
- Ignoring calibration data: A measurement microphone without calibration information is less reliable. Always check whether calibration data is included or available from the manufacturer.
- Assuming cheap USB measurement microphones are equivalent to XLR models: They're not. USB options are convenient but sacrifice accuracy. If precision matters, invest in a proper XLR measurement microphone.
- Neglecting software compatibility: Before buying, verify that your chosen measurement microphone is compatible with Room EQ Wizard, REW, or whatever software you plan to use. Some budget options have compatibility issues.
- Buying without understanding your use case: If you're just treating one home studio room, a mid-range option suffices. If you're analysing multiple spaces professionally, invest in a premium model. Match the purchase to your actual need.
- Forgetting about replacements and repairs: Measurement microphones can be damaged or drift over time. Check whether the manufacturer offers recalibration services or replacement sensors. This matters for long-term reliability.
- Placing the measurement microphone incorrectly: Measurement placement matters enormously. Position the mic at ear level in the middle of the listening area, away from walls and obstacles. Even the best measurement microphone gives poor data if placed carelessly.
Comparing Popular Measurement Microphone Options
| Category | Typical Price | Best For | Key Limitation |
|---|---|---|---|
| USB budget measurement microphone | £40–100 | Hobbyists, learning | Moderate accuracy, limited software support |
| XLR mid-range measurement microphone | £150–400 | Home studios, semi-pro work | Good accuracy, excellent value |
| Professional 1-inch condenser | £400–1,000 | Professional studios, serious analysis | Higher cost, overkill for casual work |
| Lab-grade reference measurement microphone | £1,000+ | Acoustic engineering, research | Expensive, unnecessary for studios |
Essential Accessories and Software
A measurement microphone works best as part of a kit. You'll need:
- Analysis software: Room EQ Wizard (free) is excellent for beginners. REW (affordable, ~£100) offers more features. Professional packages like Smaart are pricier but industry-standard.
- Microphone stand and clip: Most measurement microphones include these, but verify before buying.
- XLR cables: Good-quality balanced cables reduce noise during measurement. Budget a few pounds for reliable cables.
- Windscreen or foam cover: Protects the measurement microphone and reduces wind noise (important if using it near HVAC systems or fans).
- Preamp or interface: An XLR measurement microphone needs a preamp or audio interface to connect to your computer. USB models are simpler in this regard.
Integration Into Your Workflow
Once you have a measurement microphone, use it to characterise your room before and after acoustic treatment, verify speaker placement, and diagnose problems. Measure at multiple points in the room (not just your listening position) for a comprehensive view. Remember: a measurement microphone tells you what's wrong; your ear and judgement determine how to fix it.
For more detailed technical information about measurement microphone principles, how to interpret frequency response curves, and advanced acoustic analysis techniques, see our comprehensive measurement microphone guide.
Bottom Line
A good measurement microphone reveals your room's true acoustic character. Choose a mid-range 1-inch condenser (£150–400) for home studio work, verify calibration data and software compatibility, and avoid ultra-cheap USB options if accuracy matters. Pair your measurement microphone with free software like Room EQ Wizard, measure carefully, and use the data to inform your acoustic treatment decisions. The right measurement microphone pays dividends through better recordings and smarter studio investments.



Comments