


Bass Drum Microphone Buying guide
Bass Drum Microphone: A Complete Buyer's Guide
Selecting the right bass drum microphone requires understanding polar patterns, frequency response, and SPL ratings. This buying guide walks you through every specification that matters, common pitfalls to avoid, and what to expect at every price point.
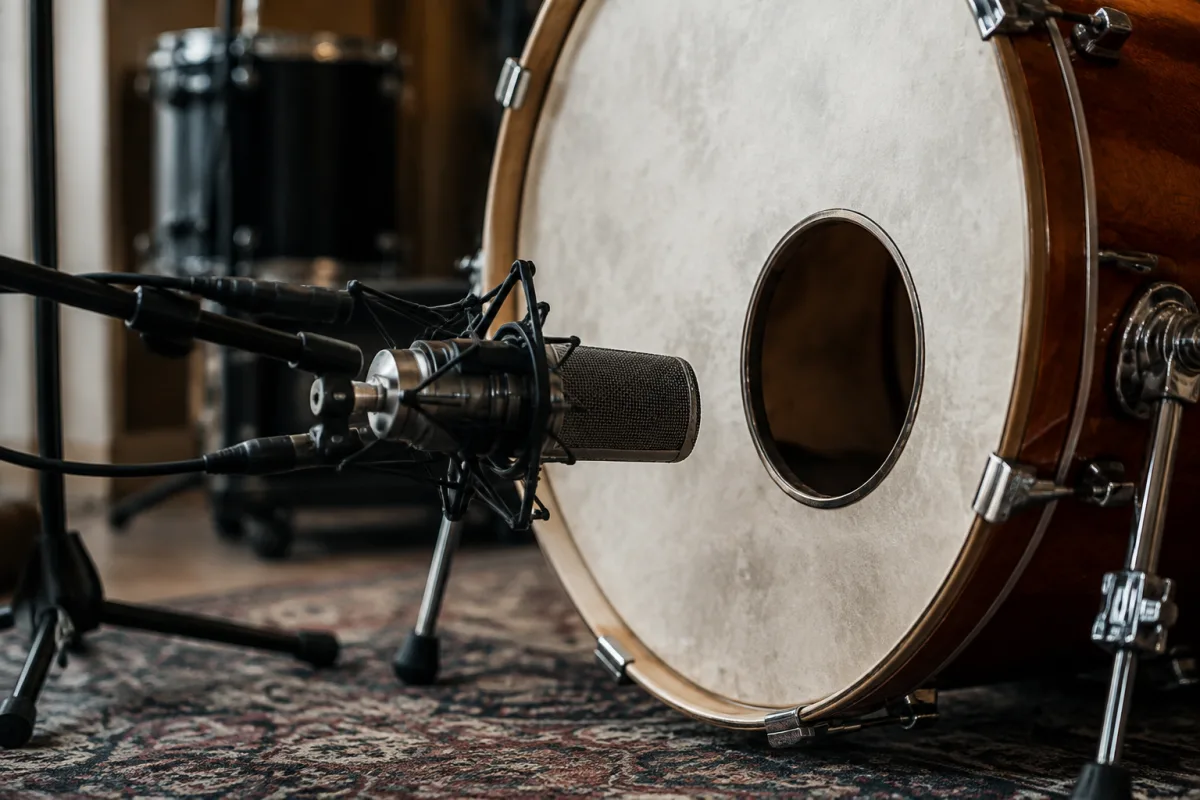
Choosing a bass drum microphone feels like navigating a minefield of options and jargon. Yet the stakes are real—the wrong microphone either captures boomy mud or anaemic low-end that needs hours of mixing to salvage. This buying guide cuts through the confusion and shows you exactly which specifications matter, what to listen for, the pitfalls to avoid, and what you can realistically expect at every price point.
Polar Pattern: The First Real Choice
Polar pattern determines what the microphone hears and from which directions. For bass drum recording, cardioid and supercardioid patterns dominate for good reason. Cardioid picks up sound primarily from the front, rejecting side and rear noise—ideal for live recordings where you want the kick isolated. Supercardioid is even more focused, perfect when you're recording a drum kit and need minimal cymbal bleed into your kick track. Omnidirectional patterns capture from all directions and generally aren't recommended for bass drum work unless you're intentionally recording the drum's natural acoustic space. Your choice here shapes everything else—start with cardioid unless you have a specific reason to go tighter.
Frequency Response: Knowing What to Look For
This is where most people get overwhelmed, but the principle is straightforward. Bass drum microphones must handle low frequencies cleanly. Look for a response that extends down to at least 50 Hz; sub-50 Hz rumble generally adds mud without musical benefit. More important is how the microphone handles the range from 100 Hz to 500 Hz, which is where the bass drum's fundamental tone lives. A presence peak somewhere in the 2-4 kHz range adds attack and lets the kick cut through a dense mix. Check if the presence peak is gentle or aggressive—aggressive peaks sound great in isolation but can quickly become fatiguing in a full mix. Read frequency response charts carefully. A flat response isn't always better; sometimes a gentle presence peak is musically superior to clinically flat.
Sensitivity and Dynamic Range
Sensitivity measures how much electrical output the microphone produces for a given sound pressure level. Higher sensitivity means you need less preamp gain, which can mean cleaner recordings with less noise. For bass drum recording, look for microphones with sensitivity in the -35 to -40 dBV/Pa range. Too sensitive and you'll constantly fight preamp levels; too insensitive and you're fighting noise. Check the maximum SPL (sound pressure level) the microphone can handle. Bass drums produce aggressive transients that can be surprisingly loud. A microphone rated for 130 dB SPL or higher ensures you won't clip on hard hits. This matters more than people realize—clipping a bass drum microphone is audible and unfixable in post-production.
Condenser Versus Dynamic: Real Advantages and Trade-Offs
Dynamic microphones are the traditional choice for bass drum recording. They're rugged, handle high SPL naturally, and produce warm, punchy tone. They're also affordable and need no phantom power supply. Most studio and live recordings use dynamics on kick drum for these reasons. Condenser microphones offer superior frequency response detail, faster transient response, and generally capture more of the drum's natural character. They're more expensive, require phantom power, and are more fragile. For recording, condensers can sound spectacular on bass drum. For live sound reinforcement, dynamics are safer. Consider your primary use before deciding.
Proximity and Presence Peaks
Proximity effect is the bass boost that happens when you place a directional microphone very close to a sound source. This can work beautifully for bass drum—moving the microphone closer adds thickness and weight. However, this varies dramatically between microphone models. Some have pronounced proximity effect; others are relatively flat. If you plan to mic the kick up close (inside the drum or right at the head), proximity effect matters. Test the specific model if you can, or read user reviews describing how proximity affects tone in real recording situations.
Connector Type and Cable Considerations
Almost all professional bass drum microphones use XLR connectors—the three-pin standard in recording. Some budget models use 3.5mm connectors instead. XLR is more professional, less prone to interference, and connects to every audio interface and mixing console. If you see 3.5mm on a microphone you otherwise like, know that you'll need adapters and may deal with noise issues in long cable runs. Always budget for quality XLR cables—cheap cables introduce hum and RF interference that's impossible to eliminate during mixing.
Mounting and Isolation Considerations
How do you mount the microphone in or near the kick drum? Some kits come with dedicated drum mic clips and stands; others require separate purchases. In a dense drum kit environment, the microphone vibrates sympathetically with the entire kit, not just the kick. A good microphone stand with isolation is worth the investment. Some engineers use shockmounts (which decouple the microphone from mechanical vibration) and find they hear less cymbal bleed and more focused kick tone. Others find the difference minimal. This is area where experimentation beats theory—try different mounting approaches if you can.
Price Tiers and What You Actually Get
Under £50: Budget options are tempting, but quality is inconsistent. Some sound acceptable for bedroom recording; others introduce unwanted noise and colour tone unpredictably. Skip this tier unless you're on an extremely tight budget. £50-150: Entry-level professional microphones offer reliable performance and good sound. Expect decent frequency response and SPL handling, though presence peaks may be slightly aggressive. Popular choices at this price sound warm and punchy. £150-350: Mid-range bass drum microphones offer superior build quality, flatter frequency response, faster transients, and better specifications overall. This tier offers excellent value—most working engineers own at least one in this range. £350-600: Premium options provide hand-crafted attention to detail, superior materials, and often more neutral frequency response. You're paying for reliability, consistency, and the certainty that the microphone will perform identically to its specification. Above £600: Boutique microphones with specialist designs for specific drum sounds. You're paying for a particular character and the reputation of the manufacturer.
Common Pitfalls When Buying
Choosing based on frequency response chart alone is a trap. Charts are useful but don't tell you everything. A microphone with a chart that looks perfect can sound unpleasant in your room with your kit. Always listen to demo recordings if possible. Specifications don't capture the full picture. Ignoring SPL ratings is another common mistake. Recording a hard-hitting drummer through an undersized microphone results in clipping that sounds hard and unmusical. Choosing a microphone primarily because it's cheap usually means regret later. The difference between a £60 microphone and a £150 microphone is substantial in real recording situations. Buying without considering your actual workflow is the final pitfall. If you're recording in a bedroom with a small drum kit, an expensive microphone designed for large live venues may be overkill. Honest assessment of your needs saves money and frustration.
How to Audition Before Buying
Listen to demo videos of the microphone you're considering, but pay attention to the setup. A bass drum microphone that sounds perfect on a studio recording in an acoustically treated room may sound completely different in a typical home studio. Read reviews from recording engineers who work on similar projects to yours—bedroom recording reviews may not apply if you're recording in a professional studio. If you can, borrow or rent the microphone for a day or two. The £15-20 rental cost is insurance against buying something unsuitable. Your ears in your environment matter far more than specifications or reviews.
Building Your Microphone Collection
Most working audio engineers own multiple bass drum microphones because different mics suit different drums, different recording styles, and different mixing needs. Starting with one good mid-range option is sensible. A cardioid dynamic microphone in the £100-200 range will serve 90% of your bass drum recording needs. As your work evolves, you might add a condenser for detailed recording or a tighter polar pattern for isolation. This approach is more economical and lets you learn each microphone thoroughly before expanding your collection.
Buying a bass drum microphone is actually straightforward once you understand these core principles: know your polar pattern needs, respect the specifications that matter (SPL and frequency response), choose dynamic or condenser based on your use, and audition before committing. Avoid the common pitfalls, stay within a realistic budget for your work, and you'll walk away with a microphone that captures the kick drum sound you hear in your head. For more comprehensive information on bass drum microphones, explore our complete guide to bass drum microphones.


Comments