


Focusrite One article
Focusrite One for Beginners: A Complete Guide
The Focusrite One makes home recording accessible for complete beginners. Discover how to set up your interface, understand its controls, record your first vocal or instrument, and avoid common first-time mistakes.
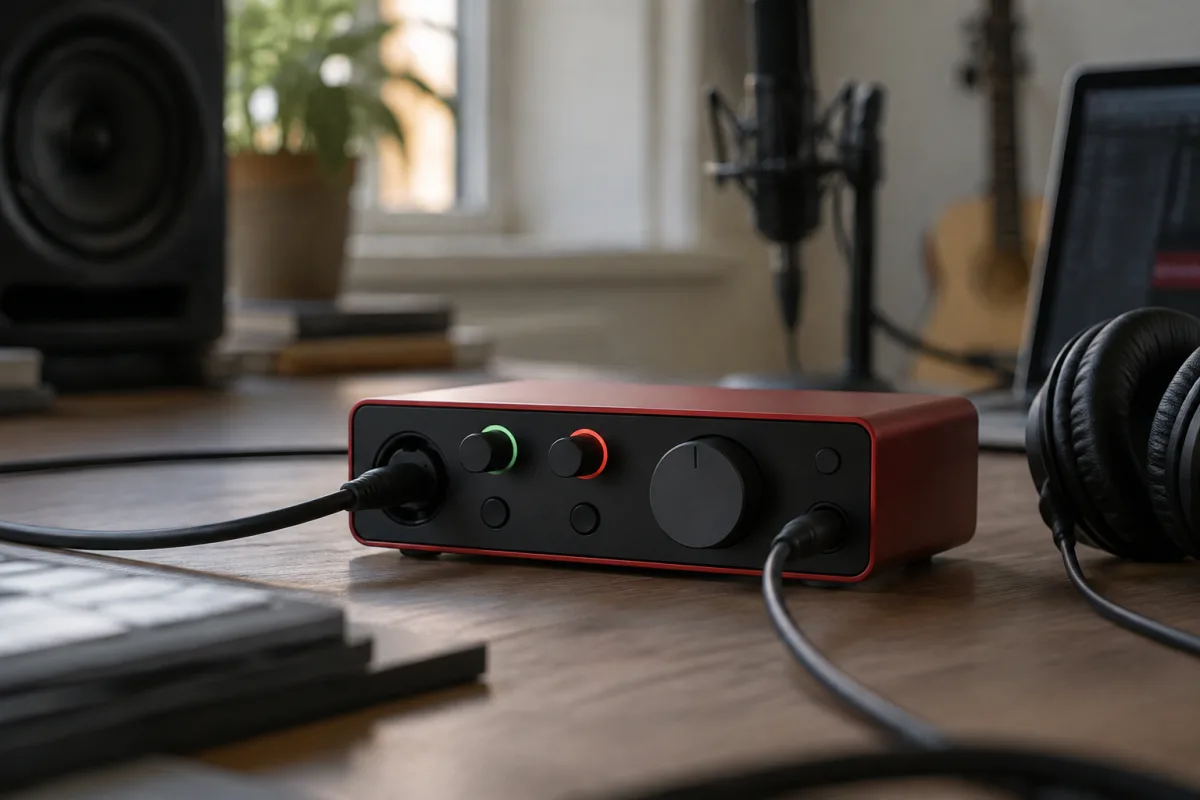
Setting up a home recording studio feels daunting when you're starting out, but the Focusrite One removes most of the mystery. This compact audio interface connects your microphone, instruments, and headphones to your computer, transforming your bedroom into a legitimate recording space. Even if you've never recorded anything before, the Focusrite One's straightforward design and reliable performance make it possible to capture professional-quality vocals and instruments immediately.
Why the Focusrite One Is Perfect for Recording Beginners
Focusrite built a reputation over decades making interfaces that work reliably without requiring an engineering degree. The One distils this philosophy into a single, elegant product: two microphone inputs, USB connection to your computer, and headphone monitoring. That's it. No overwhelming feature lists, no confusing switches, no layers of menu-diving. You plug it in, download drivers, and you're recording within minutes.
The sound quality is professional-grade, meaning your recordings won't sound thin or cheap. Many successful bedroom producers and professional touring musicians use the Focusrite One specifically because reliability and sound quality matter infinitely more than complexity. You're learning on real tools, not training wheels you'll immediately outgrow.
Unboxing and Your First 30 Minutes
Inside the box you'll find the Focusrite One interface, a USB cable, and a quick-start guide. You might see microphone cables—these come in different formats depending on which Focusrite bundle you purchased.
The setup process is refreshingly simple: plug the USB cable into both the Focusrite One and your computer, then download the latest driver from Focusrite's website. This takes five minutes. Windows and Mac are both supported equally well. Next, connect a microphone to one of the two XLR inputs on the back. The XLR connector—the three-pin professional cable socket—is the standard for quality microphones. Plug in your headphones to the headphone jack on the front, and you're ready to make your first recording.
Understanding the Essential Controls
The Focusrite One keeps controls minimal and accessible:
- Channel 1 and 2 Gain Knobs: These control how loud the incoming signal is from your microphone or instrument. Set them so the red peak lights occasionally touch during loud singing or playing, but never light continuously. This prevents distortion—the digital equivalent of pushing your amplifier too hard until it sounds broken.
- Headphone Volume: This controls how loud your headphones play without affecting your recording levels. Many beginners confuse headphone volume with recording level—they're independent. You can record quietly whilst monitoring loudly through headphones.
- Direct Monitoring Switch: This button lets you hear yourself through the headphones with virtually no delay. This is essential for confident singing and playing—hearing yourself with lag creates psychological havoc and makes performances sound wrong to your ears.
- Input Selector: Choose whether Channel 1 or Channel 2 you're actively recording. Leave it on Channel 1 until you're comfortable managing multiple inputs simultaneously.
Your First Recording: A Simple Exercise
Rather than overthinking, let's record something immediately. This builds confidence and teaches you how the interface responds:
- Open your DAW (Digital Audio Workstation)—free options like Audacity or GarageBand work perfectly for learning. Set it to record from the Focusrite One as your input device.
- Plug in a microphone and position it about 15cm (6 inches) from your mouth, slightly off to the side to avoid plosives—those harsh "P" and "B" sounds.
- Put on your headphones and enable direct monitoring on the Focusrite One. Sing a few lines and listen to yourself. This immediate feedback is reassuring—you're hearing exactly what you sound like.
- Press Record in your DAW and sing the same lines again. Stop and listen back. That's your first recording. Celebrate it.
- Try recording an acoustic guitar. The same principles apply—position the microphone 30cm away, hit Record, and play.
That exercise proves you've mastered the fundamental workflow. Every recording session from here onwards follows identical steps. Confidence comes immediately from recognising this simplicity.
Connecting Your Instruments
The Focusrite One accepts two simultaneous inputs. Channel 1 typically handles your microphone. Channel 2 can connect either another microphone or a line-level instrument through the XLR input. Many beginners ask about connecting guitars directly—use a high-impedance instrument cable or get a direct box converter (roughly £20) to match the impedance. Without this matching, your guitar signal sounds thin and weak.
For keyboards and drum machines with stereo outputs, you'll need a splitter cable to combine the left and right outputs into a single Channel 2 input. This limitation is fine for learning—upgrade to interfaces with more inputs only after outgrowing stereo mixing.
Common First-Timer Mistakes to Avoid
Learning from others' stumbles accelerates your progress:
- Confusing Headphone Volume with Recording Level: Most beginners set headphone volume too loud, then record at weak levels because they think they're loud enough. The gain knobs control recording volume, not headphone volume. These are independent systems.
- Ignoring the Gain Knob Sweet Spot: Too low and your recording sounds thin. Too high and it distorts. Aim for occasional red peak lights during loud moments—this "cooking" the signal at optimal levels is the professional standard.
- Forgetting Direct Monitoring: Recording yourself with delayed headphone feedback creates psychological confusion—you'll perform worse and feel disconnected from your own voice or instrument. Always enable direct monitoring to hear yourself with no lag.
- Connecting Instruments Wrong: Connecting a guitar directly without impedance matching produces thin, weak tone. Get the right adapter cable or direct box immediately.
- Overlooking Microphone Placement: A good microphone positioned poorly sounds worse than an adequate microphone positioned expertly. Experiment with distance and angle. Move the mic 5cm closer or further and listen for the difference.
- Not Updating Drivers: Focusrite releases driver updates regularly. Outdated drivers cause crackling, latency issues, and dropout problems. Update drivers monthly.
Your Learning Path Forward
Week one: Record vocals, acoustic guitar, and acoustic piano separately. Get comfortable with the workflow. Week two: Try recording yourself singing whilst a backing track plays. Week three: Record multiple instruments simultaneously on different channels and experiment with mixing levels. By week four, you'll have genuine recording confidence.
The Focusrite One deliberately avoids feature creep. It does one job—converting sound between your microphone and computer—and does it brilliantly. This focused philosophy is exactly what beginners need: no distraction, just reliable recording capability. For deeper exploration of studio recording techniques and how the Focusrite One integrates into different setups, our complete guide to the Focusrite One covers advanced techniques and workflow optimisation.
You're genuinely closer to producing professional recordings than you realise. The Focusrite One is the bridge—trustworthy, approachable, and proven by thousands of successful producers. Trust the interface, trust the process, and your recordings will sound better than you imagined.



Comments