


Focusrite Control article
Focusrite Control for Beginners: A Complete Guide
Master Focusrite Control's essentials: discover how to download, set input levels, monitor in real time, and configure your interface for confident, professional recording.
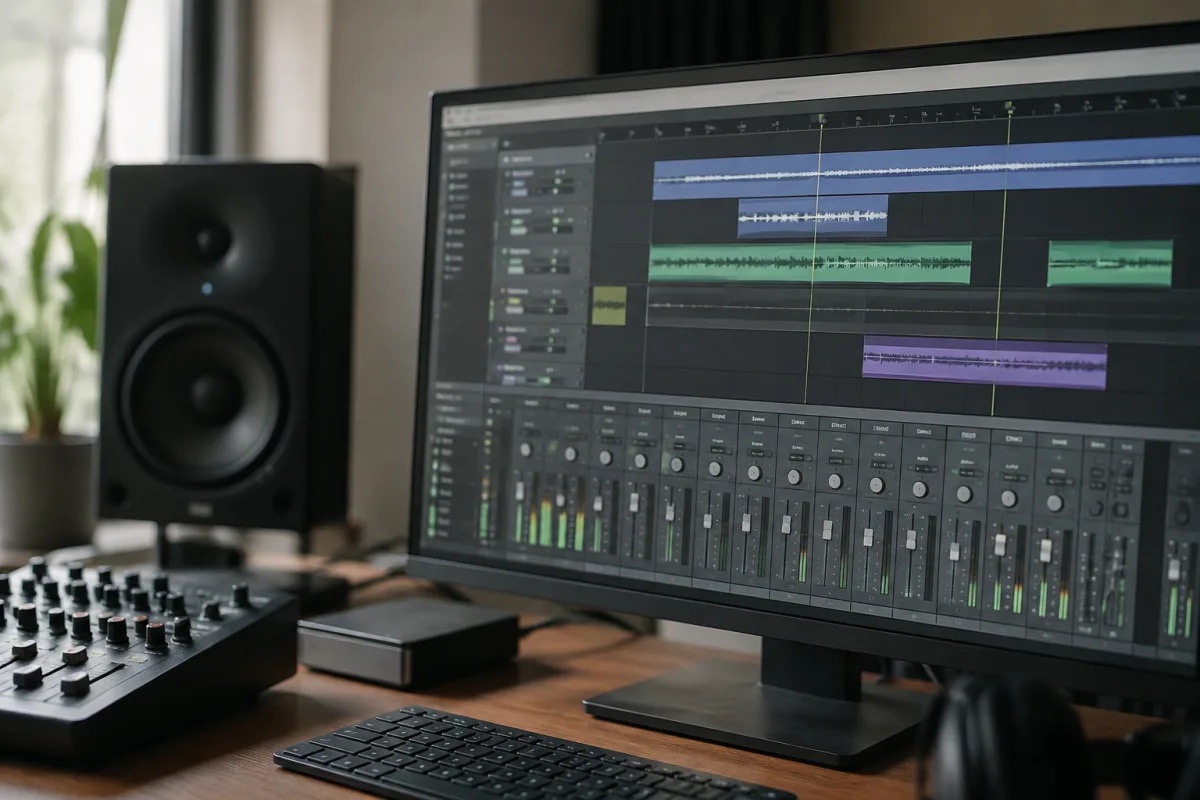
If you've just bought a Focusrite audio interface, you'll soon encounter Focusrite Control—the software that manages your hardware. For newcomers to recording, Focusrite Control can look intimidating with its various sliders, meters, and routing options. The truth is simpler: it's your interface's control centre, and learning to use it properly will immediately improve your recording workflow. This guide demystifies Focusrite Control and shows you exactly what you need to know as a beginner.
What Focusrite Control Actually Is
Focusrite Control is software that sits between your computer and your Focusrite audio interface. It lets you adjust input and output levels, monitor your signal in real time, route audio between different destinations, and access any onboard processing your interface offers. Think of it as the remote control for your interface's hardware settings. Instead of fiddling with tiny buttons on the interface itself (though those exist too), Focusrite Control gives you a clear, organised interface to manage everything from your computer screen.
Most Focusrite interfaces—Scarlett, Clarett, Red, ISA series—come with Focusrite Control. It's free software and essential for getting the most from your interface. Ignore it and you'll miss features, struggle with monitoring, and leave performance on the table. Learn it and you'll record smoothly and confidently.
Downloading and Installing Focusrite Control
If Focusrite Control didn't come pre-installed with your interface, getting it is straightforward:
- Visit the Focusrite website and navigate to the support section.
- Find your interface model and download the latest version of Focusrite Control for your operating system (Windows or Mac).
- Install it by following the standard installer steps.
- Plug in your Focusrite interface via USB.
- Launch Focusrite Control. It should automatically detect your interface.
That's genuinely it. Most of the time, it just works. If your interface isn't detected immediately, restart your computer and try again—usually that solves it.
The Main Window Explained: What You're Actually Looking At
When you open Focusrite Control, you'll see your interface's inputs on the left side and outputs on the right. Across the top are tabs for different sections—Mixing, Processes, or other settings depending on your interface model. Here's what matters for beginners:
Input Section (Left Side): Shows each input channel on your interface—typically Line 1, Line 2, Mic 3, Mic 4, etc. Each input displays a level meter showing the strength of the incoming signal. You adjust input gain here before it reaches your DAW (Digital Audio Workstation).
Output Section (Right Side): Shows your outputs—usually Stereo Out (Main L/R), Headphone Out, and possibly other outputs. Master faders control the overall levels leaving your interface. Level meters show what's being sent to your speakers or headphones.
Metering: Those vertical bars climbing up and down are signal strength meters. They should sit comfortably in the green zone, reaching into the yellow occasionally. Red means clipping—distortion—and should be avoided. This visual feedback is invaluable for setting correct levels.
Getting Your Input Levels Right: The Most Important Step
This is where Focusrite Control earns its place in your workflow. Before recording anything, you need to set proper input levels. Here's how:
- Plug a microphone or instrument into an input on your interface.
- Play or sing into the mic at a normal volume (the level you'll use during actual recording).
- Look at the input meter in Focusrite Control for that channel.
- Adjust the input gain (usually a slider next to the channel name) so the meter peaks are around -6dB to -3dB. This leaves headroom to avoid clipping.
- Stop playing and check that the meter returns to silence (zero dB). If it doesn't, you may have gain cranked too high.
Getting this right is crucial. Too-quiet input means you'll have to amplify later, adding noise. Too-loud input causes clipping and distortion that can't be fixed in post-production. Focusrite Control's meters make this process obvious and visual.
Monitoring: Hearing Your Input in Real Time
Monitoring means hearing your input signal coming back through your speakers or headphones while you record. This is essential for staying in time and hearing yourself sing or play.
In Focusrite Control, locate the "Monitor" or "Direct Monitor" option (exact labels vary by interface model). This lets you mix the direct signal from your input with the DAW playback. Toggle monitoring on and you should hear your mic or instrument feeding through your headphones.
The beauty of Focusrite interfaces is that this happens with minimal latency—practically zero delay. This means you hear yourself naturally, without the lag that makes recording feel awkward or out of time.
Common Beginner Questions About Focusrite Control
Can I control input levels in my DAW instead of Focusrite Control? Not really. Your DAW can adjust levels after recording, but Focusrite Control manages the hardware gain—the strength of the signal reaching your DAW. These are different things. Set gain in Focusrite Control, then leave faders in your DAW at unity (zero dB) while recording.
What if my interface isn't showing up in Focusrite Control? First, check that your interface is powered on and plugged in via USB. Then restart both your interface and computer. If still missing, check Focusrite's website for driver updates. Sometimes a driver reinstall solves it.
Should I adjust levels in Focusrite Control during recording? No. Set your levels before you hit record, then leave Focusrite Control alone during the take. Changing levels mid-take will ruin your recording. If levels are wrong, stop, adjust, and do another take.
Can I use Focusrite Control's DSP processing while recording? Yes—many Focusrite interfaces have onboard DSP like compression, EQ, and reverb that you can apply to inputs. Focusrite Control manages these effects. They're useful for monitoring (hearing yourself with reverb while recording) but remember that these settings don't record permanently—they're just for your monitoring mix.
The Basics You Need: A Quick Workflow
Here's a practical, beginner-friendly workflow using Focusrite Control:
- Plug in your mic or instrument.
- Open Focusrite Control and check that your interface appears.
- Set input gain so the level peaks around -6dB to -3dB.
- Enable monitoring so you hear yourself.
- Open your DAW and record-arm your track.
- Hit record and perform.
- Stop recording, review the take, and adjust levels if needed for the next take.
That's the cycle. Repeat as needed. As you become comfortable with these basics, you can explore advanced features like routing, DSP, and multi-channel processing. But for now, these fundamentals are enough to record professionally.
Where to Find Help and Deeper Information
Focusrite Control has built-in tooltips—hover over buttons and labels, and explanations appear. Your interface's manual also covers Focusrite Control specifics. If you want a comprehensive deep-dive into your Focusrite interface's capabilities, including advanced routing and processing options, explore the complete guide to Focusrite Control. But the level knowledge you've just learned—input gain, metering, and monitoring—will serve you well for months of recording.
Building Confidence with Your Interface
Focusrite Control is actually quite forgiving. There's no "wrong" setting that damages your interface or computer—it's all reversible. Spend time exploring, adjusting sliders, and listening to the results. You'll quickly develop an intuition for how each control affects your sound. Before you know it, Focusrite Control will feel like a natural extension of your recording workflow, and you'll be recording with confidence and clarity.


Comments