


Acoustic Diffusers article
Everything You Need to Know About Acoustic Diffusers Diy
Acoustic diffusers scatter sound reflections to improve room acoustics whilst maintaining natural liveliness. Discover how they work, how to build them cheaply, and where to place them.
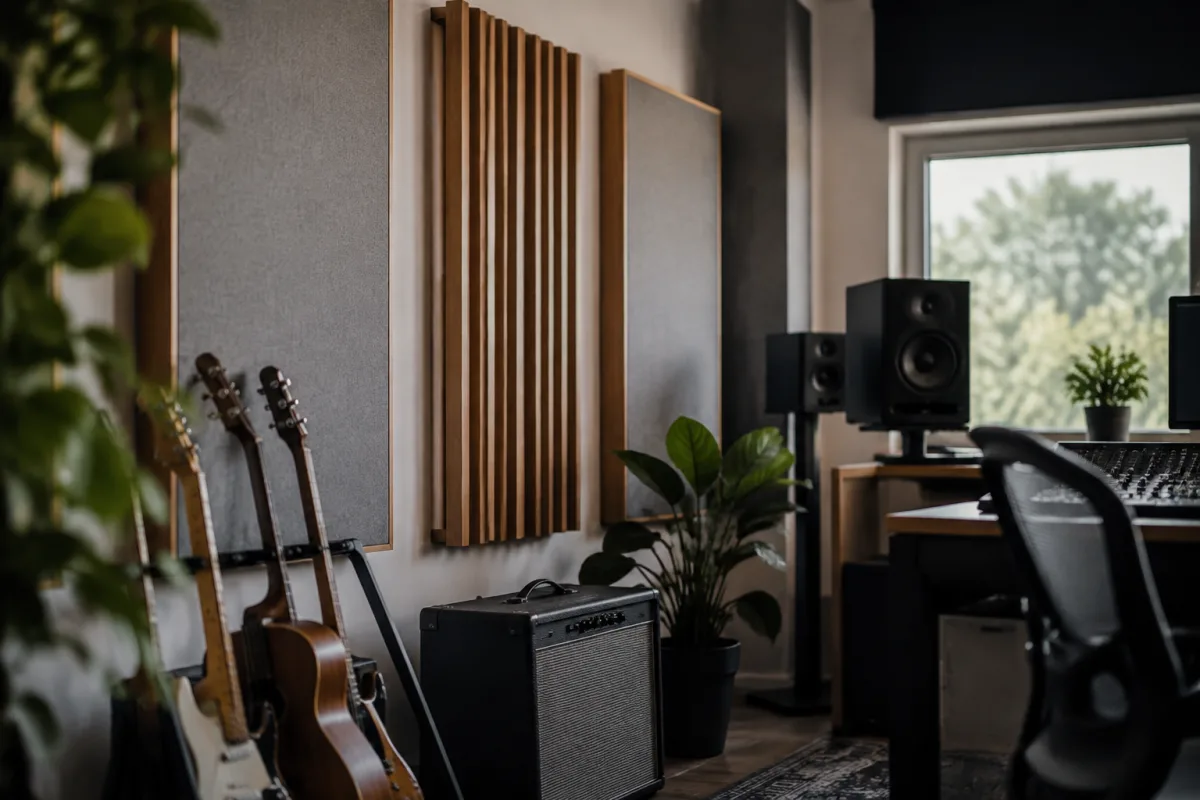
Acoustic diffusers are essential for controlling sound reflection and improving room acoustics without the dead, dampened feel of traditional absorption. Unlike sound-absorbing panels that convert sound energy into heat, these devices scatter sound waves in multiple directions, maintaining a lively acoustic space whilst reducing harsh echoes and standing waves. Understanding how to build them can transform your sonic environment at a fraction of commercial prices.
What Are Acoustic Diffusers and How Do They Work?
An acoustic diffuser is a surface treatment designed to scatter sound waves rather than absorb or reflect them. When sound strikes a hard, flat surface like a wall or window, it bounces straight back, creating flutter echo and muddy reflections. A diffuser's irregular surface breaks up these reflections, sending them in different directions. This scattering prevents problematic echo whilst retaining the natural acoustic liveliness of a room.
The most common type is the Quadratic Residue Diffuser (QRD), a mathematical design that uses wells of varying depths to achieve professional-grade diffusion across a specific frequency range. Understanding this science helps you build or choose acoustic diffusers that target your room's specific needs.
The Difference Between Absorption, Reflection and Diffusion
These three acoustic strategies handle sound differently, and you often need all three for best results:
- Absorption: Soft materials (foam, fibreglass, rockwool) convert sound energy into heat. Absorbers kill reflections but can make a room feel dead and dull if overused.
- Reflection: Hard, flat surfaces (bare walls, glass) bounce sound straight back, creating problems like flutter echo and standing waves.
- Diffusion: Irregularly shaped surfaces scatter sound evenly, reducing harsh reflections whilst maintaining acoustic energy and liveliness.
A balanced room uses absorption in some areas, diffusion on others, and accepts some reflection for natural acoustics.
Key Benefits
Adding diffusion to your space offers several concrete advantages:
Maintains liveliness: Unlike absorption, these devices preserve the room's natural character. A treated studio still sounds open and spacious rather than like a dead recording booth.
Reduces echo and flutter: By scattering reflections, these devices eliminate the harsh bouncing that plagues untreated rooms, particularly between parallel walls.
Improves mix translation: A room with balanced acoustics lets you hear what's actually in your recording rather than fighting the room's character.
Cost-effective: Building or purchasing these devices is often cheaper than treating an entire room with absorption, especially if you target strategic reflection points.
DIY Construction
Building your own acoustic diffusers is straightforward and saves significant money. Here's how to approach a simple QRD-inspired design:
Materials You'll Need
For a basic DIY diffuser, gather: plywood or MDF backing board (3/4 inch thick), wooden dowels or strips of varying lengths, wood screws, and wood filler. A circular saw or table saw is helpful for cutting materials to size.
Step-by-Step Construction
First, create your backing board—typically 2 feet square or rectangular. Mark a grid pattern on the front, dividing it into equal wells (7-well or 13-well patterns are common). Cut wooden dowels or blocks to depths that follow your chosen QRD sequence (these sequences are freely available online). Glue or screw the dowels into the backing board following the pattern. Sand smooth, apply finish (paint works fine), and mount on your wall.
The key is precision in the depth sequence—even small errors reduce diffusion effectiveness. Measure twice, cut once, and use a depth guide to ensure accuracy.
When to Use Diffusion Vs. Absorption
Not every acoustic problem requires this treatment. Choose wisely:
Use diffusion when: You have flutter echo between parallel walls, reflective surfaces creating harsh sound, or you want to preserve room liveliness whilst controlling reflections.
Use absorption when: You have excessive reverb tail, standing waves in corners, or a room that needs significant dampening for recording or rehearsal.
Best practice: Most rooms benefit from a combination—absorbers in corners and behind speakers to kill low-frequency buildup, diffusion on back and side walls to scatter midrange and treble reflections.
Placement and Strategic Positioning
Placement matters enormously:
- Back wall: The most impactful location; these devices scatter reflections away from the listening position.
- Side walls: Early reflections from the sides muddy stereo imaging; diffusion here significantly improves clarity.
- Ceiling: First reflections from above create a sense of uncontrolled space; some ceiling diffusion or absorption helps tremendously.
- Avoid corners: Corners trap low-frequency energy; absorption (bass traps) works better here than diffusion.
Commercial Vs. DIY Diffusers
Professional diffusers from manufacturers like GIK Acoustics, RPG Diffuser Systems, or Primacoustic offer precision engineering and optimised performance across wide frequency ranges. They're expensive—often £300–800 per unit.
DIY options cost £30–100 in materials per unit and can match commercial performance if you're careful with construction and use proven QRD sequences. The trade-off: commercial units look finished and integrate seamlessly into professional studios, whilst DIY versions require painting and finishing to look intentional.
Measuring Results and Fine-Tuning
After installation, trust your ears first. Listen to music you know well, record voice or instruments, and move around the room. You should hear clearer imaging, reduced echo, and a more balanced space.
For serious measurement, tools like REW (Room EQ Wizard—free software) and a calibrated microphone let you visualise the acoustic change, showing how these devices flatten frequency response peaks caused by standing waves and reflections.
Common Mistakes to Avoid
When implementing this treatment:
- Don't use diffusion alone. Most rooms need absorption too, particularly for low frequencies and excessive reverb.
- Avoid cheap imitations. Surface treatments that aren't properly designed won't actually scatter sound; they'll just look decorative.
- Don't assume bigger is better. One well-placed device beats a dozen badly positioned ones.
- Never neglect corners. That's where acoustic problems concentrate; leaving corners untreated undermines everything else.
Application in Different Spaces
Different room types benefit from different strategies:
Home studios: Treatment on the back wall and strategically on sides, combined with bass traps in corners and absorption behind speakers, creates a balanced mix environment.
Rehearsal spaces: Generous diffusion helps performers hear each other clearly whilst absorption around walls controls overall volume.
Listening rooms: Balanced diffusion and absorption maintain natural acoustics whilst taming problematic reflections, letting you hear recordings as intended.
The Bottom Line
Strategic diffusion is a sophisticated, cost-effective way to improve room acoustics without the dead dampness of pure absorption. Whether you build your own using QRD designs or invest in commercial units, this approach transforms a typical room into a space where you can hear clearly, mix accurately, and enjoy music properly. Start with a single device on your back wall, listen to the difference, and build from there.




Comments