


Acoustic Diffusers article
Acoustic Diffusers for Beginners: A Complete Guide
Acoustic diffusers scatter sound reflections to make your recordings clearer and more natural. This beginner guide explains what they do, where to position them, and how to start treating your room without guesswork.
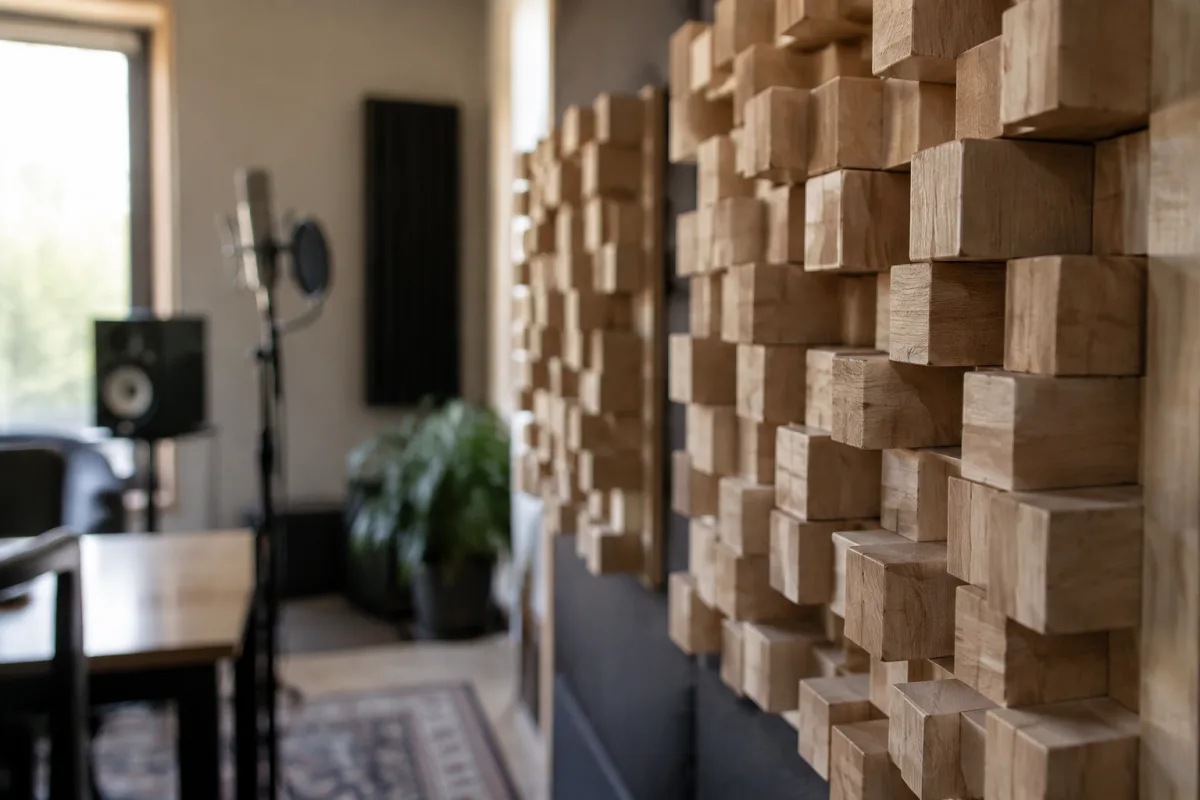
If you've recorded anything at home—a podcast, a guitar part, a vocal line—you've probably noticed the room sounds "boxy." That's where acoustic diffusers come in, yet they can seem mysterious to beginners. The good news is that understanding and using acoustic diffusers isn't complicated; it's just a matter of knowing what they do, why they help, and where to put them. This beginner's guide demystifies acoustic diffusers and gets you on the path to better-sounding recordings.
What Acoustic Diffusers Do (In Plain English)
Sound bounces around a room in two main ways: it either gets absorbed (soaked up) or reflected (bounced back). Acoustic diffusers scatter reflected sound in different directions rather than bouncing it straight back at your microphone. Think of it like this: a hard wall bounces sound like a ball off a flat surface. Acoustic diffusers scatter it like throwing a ball at a bumpy wall—it bounces off in unpredictable directions and loses energy, leaving your recording clearer and less "roomy."
This difference matters because when sound bounces back into your microphone, it creates an echo-y, hollow effect. Diffusers reduce that effect without completely deadening the room, which means your recording sounds natural, not like you recorded it in a padded closet.
Diffusers vs. Absorbers: Do You Need Both?
Here's where many beginners get confused. Absorbers soak up sound; diffusers scatter it. Both are useful, but for different jobs:
- Absorbers (foam panels, blankets, bass traps) dampen sound energy overall. They're great for controlling loud, boomy low frequencies and reducing overall noise.
- Acoustic diffusers scatter mid and high frequencies, keeping the room feeling natural and spacious rather than muffled.
For a beginner's home setup, you may only need diffusers at first. They're less aggressive than absorbers and work well in smaller rooms. As you advance, you might combine both for more precise control, but start simple.
Where to Place Acoustic Diffusers
Placement is half the battle. Here's where to begin:
- The wall behind your microphone: This is your priority. If sound is bouncing off the wall behind the mic and back into it, you'll hear that echo in every recording. Place acoustic diffusers on this wall first.
- Side walls: Once you've treated the back wall, consider the sides. Reflections from side walls are often less noticeable but still affect overall room tone.
- The ceiling: High-frequency reflections from the ceiling can add unwanted brightness and harshness. Add acoustic diffusers to the ceiling if you have space and budget.
- Avoid over-treating: Beginners often panic and cover every wall. Start with the back wall, record a test, and then add more only if you hear a difference.
Types of Acoustic Diffusers for Beginners
You have options at every budget level:
- Manufactured diffusers: Purpose-built acoustic diffusers (often with foam or wooden designs) are the easiest to install and most reliable. Expect to pay £30–100 per unit depending on size and quality.
- DIY diffusers: You can make rough acoustic diffusers from materials like stacked books, 3D-printed panels, or wooden slats. They're cheaper and teach you the principle, but may be less effective than purpose-built versions.
- Hybrid approach: Start with one or two commercial acoustic diffusers where they matter most (behind the microphone), then experiment with DIY solutions on side walls.
Whichever you choose, consistency matters more than perfection. Three acoustic diffusers placed thoughtfully beat one expensive option gathering dust.
Common Beginner Mistakes
Avoid these pitfalls and you'll save time and money:
- Treating too much too soon: Covering every wall with acoustic diffusers can make your room sound dead and unnatural. Start minimal and add as needed.
- Confusing diffusers with absorbers: Buying foam absorbers when you need acoustic diffusers (or vice versa) won't give you the results you want. Know the difference before you buy.
- Ignoring the floor: Hard floors reflect sound heavily. A rug or carpet under your recording area is one of the easiest, cheapest improvements beginners can make alongside acoustic diffusers.
- Placing them randomly: Acoustic diffusers work best when strategically positioned. Don't just hang them wherever there's wall space.
- Expecting instant perfection: Acoustic diffusers are a tool, not a cure-all. They help, but good microphone technique, speaking clearly, and proper levels matter equally.
Your First Steps
Here's a simple action plan for the beginner:
- Record a test clip in your current room. Listen back and identify where the echo or boxiness bothers you most.
- Position one or two acoustic diffusers on the wall behind your microphone.
- Record the same test again and compare. You'll hear the difference immediately.
- If satisfied, stop. If not, add acoustic diffusers to the side walls or consider a rug.
- Never guess—always test and listen before buying more.
Budget-Friendly Tips
Acoustic treatment doesn't have to break the bank. Start with a single commercial acoustic diffuser panel (£30–50), then explore inexpensive additions: a rug, some shelves with books, or even stacked foam you've shaped yourself. Many pro recordings have been made in rooms treated with a mix of commercial and improvised solutions. Your ear, not your budget, is the final judge.
Next Steps: Learning More
Once you're comfortable with basic acoustic diffusers and placement, explore our comprehensive guide to acoustic diffusers for deeper technical knowledge, advanced placement strategies, and DIY projects. For now, focus on the fundamentals: understand what acoustic diffusers do, place them thoughtfully behind your microphone, and listen critically to how your room sounds.
The Bottom Line
Acoustic diffusers scatter sound reflections, making your recordings clearer and more natural. They're straightforward to understand and easy to use, especially when you start simple and test before expanding. Begin with one or two diffusers behind your microphone, listen to the results, and build from there. You don't need to treat an entire room to make a meaningful difference—just treat the spots that matter most.


Comments