


Stream Mixer article
Stream Mixer for Beginners: A Complete Guide
Starting with a stream mixer doesn't require technical mastery. This guide reassures first-timers by focusing on essential controls, simple setup steps, and common worries that hold beginners back.
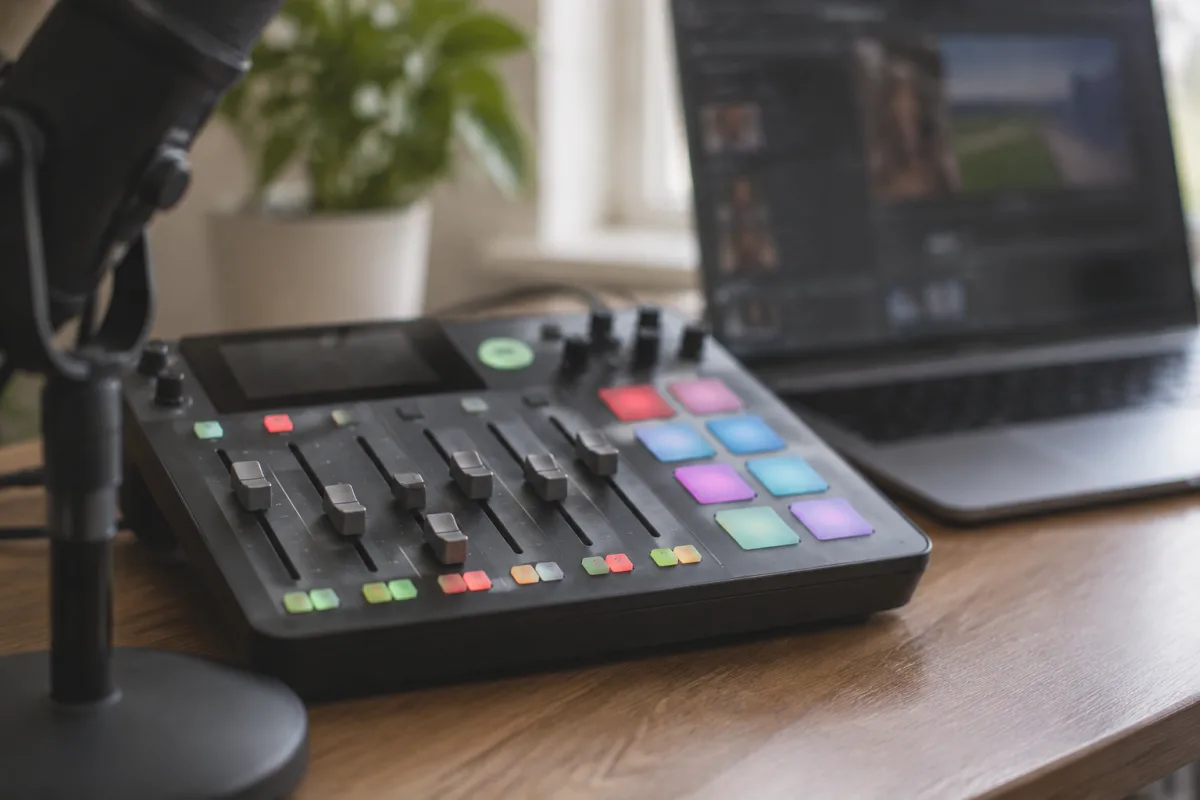
Setting up a stream mixer for the first time feels overwhelming—endless knobs, buttons, and cable ports seem designed to confuse. The truth is gentler: most beginning streamers only need a fraction of what a professional mixer offers, and the core concepts take perhaps an afternoon to grasp. This guide walks you through your first experience with a stream mixer, highlighting the simplest path forward and addressing the common worries that make beginners hesitant.
You Probably Don't Need That Many Channels
Professional musicians browse 24-channel mixers; you'll likely start with four to eight channels maximum. One channel for your microphone, one or two for background music, perhaps one for game audio or video playback—that covers most streaming scenarios. Resist the temptation to purchase a 16-channel mixer "for future use." A smaller, simpler mixer teaches you fundamentals faster, takes less desk space, and keeps costs manageable whilst you learn. You can upgrade later once you've experienced exactly what you need.
The Three Knobs You Actually Touch
Stream mixers include volume controls (faders or knobs), a master output level, and often an input gain dial per channel. On your first day, focus exclusively on these three: adjusting your microphone volume so you're audible without distorting, setting background music loud enough to hear but quiet enough that listeners can understand your voice, and controlling the master volume so your stream output sits at a professional loudness level. Everything else—tone controls, effects, auxiliary buses—can wait weeks or months until you're comfortable with these fundamentals. Don't open the manual to the effects section; that's a rabbit hole.
Plugging In Without Panic
The rear of a mixer displays many connectors. For your first stream, you need only two: a microphone input (typically XLR or USB) and a main output (USB to your computer, or 3.5mm headphone jack). Nothing else is mandatory. RCA connectors, auxiliary sends, and insert points exist for advanced workflows you won't encounter in your first month. Label any cables you do connect with a small piece of tape—"Mic," "Main Out"—so a cable disconnect doesn't leave you guessing during a live stream.
Levels: The Most Important Skill
Learning to read and set levels is the single most valuable skill for a beginner. Most mixers display tiny LED meter bars showing whether your audio is too quiet, just right, or clipping (distorting). Aim for the green zone, avoiding the red. Speak into your microphone at normal talking volume; adjust the input gain knob until your voice sits comfortably in the green. Repeat this process for background music or other audio sources. This one habit—checking levels before every stream—prevents 90% of beginner audio disasters. Watch a 3-minute YouTube tutorial on reading mixer levels; it pays dividends immediately.
Why Your Headphones Matter (Even If You Ignore Everything Else)
Plug headphones into your mixer's monitor or headphone output. This lets you hear exactly what your stream audience hears before going live. Beginners often stream for an hour before realizing their microphone isn't actually plugged in, or their audio is distorting terribly. Headphones catch these problems in the first thirty seconds. Allocate a decent pair of headphones—not expensive, just reliable—as part of your streaming setup. They're as essential as the mixer itself.
Start Simple, Avoid Advanced Features
Your mixer includes buttons for phantom power, polarity inversion, high-pass filters, and EQ curves. Ignore all of these initially. These features solve specific problems that you won't encounter until you've streamed for weeks or months. Pursuing them now creates confusion without benefit. Master basic volume control, channel selection, and level monitoring first. Advanced mixing techniques will feel natural once the fundamentals are solid.
The Mistake of Chasing Perfection on Day One
Beginners often spend hours tweaking tone controls, adding reverb effects, or adjusting subtle dynamics to sound "professional." The reality: your audience cares far more about audible, intelligible audio than pristine engineering. Spend fifteen minutes setting levels, ten minutes testing your stream setup, and fifty minutes creating content. A clean voice with a slightly muddy background mix beats perfect mixing with nothing to say. Perfection comes with streaming experience, not pre-stream preparation.
Testing Before Your First Live Stream
Before streaming to your audience, conduct a personal test run. Plug in your mixer, speak into the microphone, and listen through your headphones. Record a thirty-second clip to your computer. Play it back and listen carefully: Is your voice clear? Is the level appropriate? Does background audio sit at the right volume? This simple dry run prevents broadcasting problems that confuse or alienate viewers. Many streaming platforms allow private test streams—use them.
Common First-Timer Anxiety (And Why It's Unfounded)
New streamers worry they'll break the mixer, plug cables in wrong, or press a mysterious button that ruins their stream. Mixers are robust: plugging cables in "wrong" typically just produces silence, not damage. Wrong button presses are easily reversed. Approaching your first mixer experience with curiosity rather than fear makes learning faster and enjoyable. If something unexpected happens, mute all channels and check connections—ninety per cent of perceived problems resolve that way.
When to Move Beyond Your First Mixer
After eight to twelve weeks of regular streaming, you'll have clear sense of what you need next. Perhaps you want more channels for simultaneous audio sources. Maybe you crave advanced features like automated mixing or multi-channel recording. Possibly you've discovered that your current mixer handles your workflow perfectly and needs no upgrade. This experience—knowing exactly what you want and why—means your second mixer choice is deliberate and satisfying rather than speculative and wasteful.
Learning More About Stream Mixing
For a comprehensive overview of stream mixers, including technical details and professional workflows, consult our complete guide to stream mixers. That resource covers mixer types, feature comparisons, and use cases across different streaming scenarios.
Your First Stream Starts Now
Stream mixers seem intimidating until you spend an afternoon with one. Begin with basic volume control, practice reading levels, and conduct a quick test before going live. You'll be surprised how quickly comfort with your mixer develops. The goal isn't mastery on day one—it's building confidence and establishing a foundation for improvement. Your audience will appreciate clear, audible audio far more than perfect engineering, so start streaming and learn as you go.



Comments