


Nektar MIDI Keyboard article
Nektar Midi Keyboard for Beginners: A Complete Guide
If you're new to music production and looking for an affordable MIDI keyboard that works reliably, a Nektar MIDI keyboard is a popular choice. This guide explains what these keyboards do, why beginners choose them, and how to pick the right model for your needs.
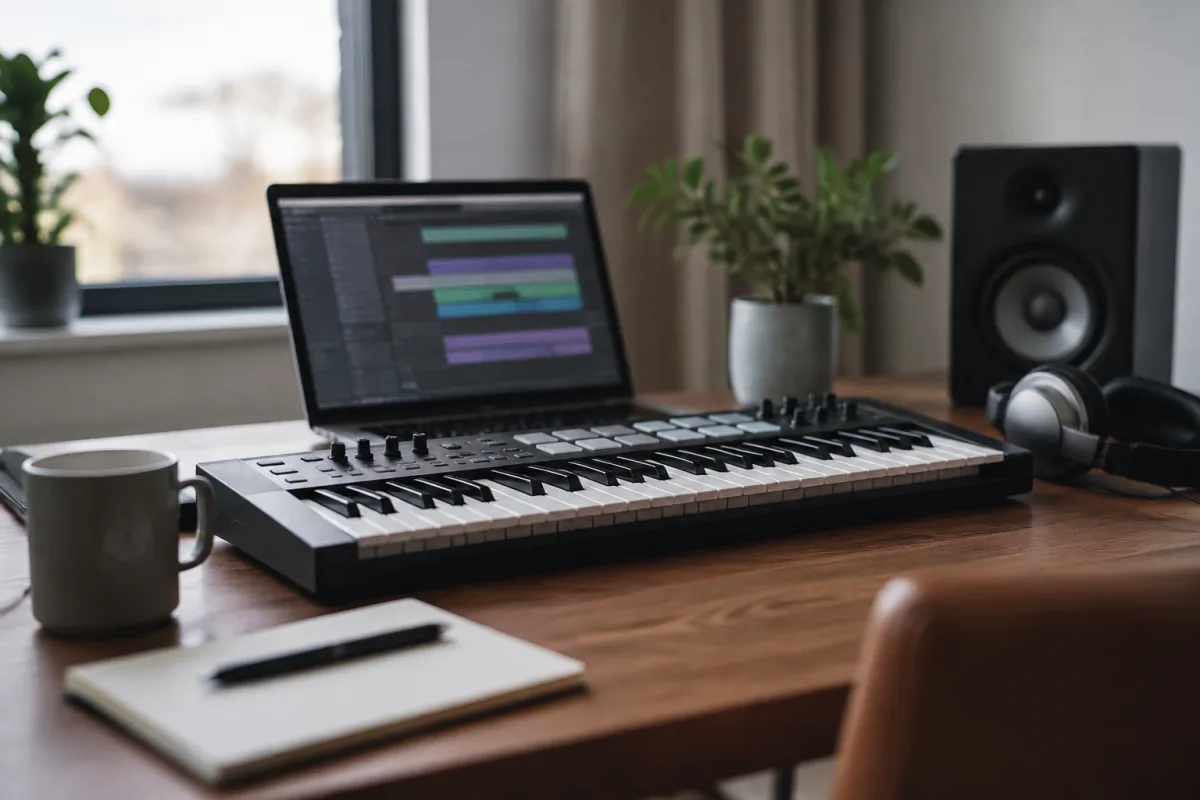
If you're new to music production and looking for a MIDI keyboard that won't overwhelm you with complexity, a Nektar MIDI keyboard offers a straightforward, affordable entry point. You don't need to understand what makes one brand different from another when you're starting out—what you need is something that works reliably, connects easily to your computer, and lets you focus on learning rather than fighting with technology. This guide walks you through what this keyboard actually does, why beginners choose them, and how to pick the right model for where you are right now.
Why Beginners Often Choose Nektar
Nektar makes MIDI keyboards specifically designed for beginners and budget-conscious producers. These aren't the cheapest option, but they hit a sweet spot: reliable, well-built, and priced between £50 and £300 depending on the model. A Nektar MIDI keyboard works. It connects to your DAW without drama. The keys respond well. You won't outgrow it in three months, and you won't regret the purchase if you realise music production isn't for you.
The other reason beginners often choose this option is because the company actually includes quality software and integrations. Many cheaper keyboards feel like hardware orphans—you buy them and then they sit there doing nothing without the right cables and drivers. A Nektar MIDI keyboard comes ready to work with most popular DAWs immediately. That removes one barrier for someone trying to make their first song.
What a MIDI Keyboard Actually Does
Before you worry about the brand, understand what you're actually buying. A MIDI keyboard is a controller. It doesn't make sound by itself. What it does is send performance data—which notes you play, how hard you hit them, how long you hold them—to your computer and your DAW. Your DAW then uses that information to trigger virtual instruments and create sound.
Think of it like this: the keyboard is a translator between your hands and your software. You play a note. The keyboard says "hey, middle C was just pressed at medium velocity and held for 2 seconds." Your DAW hears that and tells a virtual piano or synth to play that note. You're controlling the sound with your hands, but the actual sound comes from software on your computer.
Nektar Models: Where to Start
Nektar makes several keyboard ranges in different sizes and feature sets. For a beginner choosing a Nektar MIDI keyboard, you're mostly interested in two things: size and budget. The Nektar Impact series is their entry-level range—compact, affordable keyboards in 25, 49, and 61-key versions. The Nektar Panorama series is more expensive but adds more controls and better build quality. For your first purchase, start with the Impact series unless you specifically need the extra features.
Size matters. A 25-key keyboard is tiny—great if desk space is limited, but you'll feel cramped if you want to play full chords or melodies. A 49-key is a solid compromise: small enough to fit in most setups, big enough to play normally. A 61-key feels like a real keyboard, but takes up real space. If you're genuinely unsure, go with 49 keys.
Keyboard Action: What's Important
Some keyboards have weighted keys that feel like a real piano. Others have unweighted, spring-loaded keys that feel lighter and snappier. Most Nektar MIDI keyboard models use unweighted keys, which is fine for most producers. Weighted keys are better if you plan to play expressive piano music, but they cost more and feel heavier to play fast electronic patterns. As a beginner, unweighted is perfectly adequate and doesn't need to limit what you make.
What matters more is that the keys feel responsive and the velocity (how hard you hit a key) registers reliably. Play one in a shop if you can. Hit some keys at different speeds and listen to the velocity change. A good keyboard responds smoothly to gentle and hard playing. A cheap one feels like you're hitting a brick wall no matter what you do.
How Many Keys Do You Actually Need?
A full keyboard has 88 keys—the range of a real piano. A Nektar gives you fewer, usually 25, 49, or 61. This sounds limiting, but it's genuinely not. You're not trying to play Rachmaninoff on your MIDI keyboard. You're programming notes, playing melodies, and making beats. Most electronic music is created on keyboards with far fewer than 88 keys. Many professionals use 49-key or even 25-key controllers because the size and portability matter more than having every single possible note.
Pads and Knobs: Do You Need Them?
Beyond the piano keys, some Nektar MIDI keyboard models include pads (small pressure-sensitive squares), knobs, and sliders. These let you trigger drums, adjust sound parameters in real-time, and control effects without touching your mouse. These extras are genuinely useful for making music more expressive and interactive. But they also add cost and complexity. For your first purchase, decide: do you want to play drums and control effects hands-on, or are you happy using your mouse and keyboard for that stuff? If the former, look for a model with pads. If the latter, keys only is cheaper and perfectly fine.
Connectivity: How It Talks to Your Computer
Every Nektar MIDI keyboard connects via USB. You plug it in, your computer recognises it, and it works—usually without needing extra drivers because most modern operating systems already know what to do with a standard MIDI keyboard. That simplicity is one of the reasons beginners often choose this brand. No mysterious connection protocol. No special cable that cost £40. Just USB.
Some keyboards also have MIDI in and out via DIN connectors, which let you connect to hardware synths or other gear. As a beginner, you almost certainly won't need this. Ignore it.
Software Included: What Comes in the Box
Nektar keyboards often come with software—sometimes a lite version of a popular DAW, sometimes MIDI tools, sometimes sound libraries. Check what comes with the specific model you're looking at. This "free" software can save you money if you were planning to buy it anyway. But don't let included software be your main reason for choosing a keyboard. It's a bonus, not the main event.
Budget and Value: What to Actually Spend
For a beginner, expect to spend £50–150 on a Nektar MIDI keyboard. A £50 model will work fine—it'll play notes, respond to velocity, integrate with your DAW. A £150 option will probably feel slightly better built and might include more controls. The difference matters less than you think. A £100 keyboard with good lessons will teach you more than a £300 one without guidance.
Avoid the temptation to "future-proof" by buying an expensive model with tons of features you won't use. You'll discover what you actually need as you make music. Start simple, add complexity later.
New Versus Used: Buying a Nektar MIDI Keyboard
Nektar MIDI keyboard models hold up well over time. A used one can be excellent value if it's not damaged. Check that all keys respond, the USB connection works, and it's been well treated. But buying new from a reputable retailer means you get a warranty—if something breaks in the first year, you can return it. For a beginner unsure if music production is for them, that peace of mind is worth a bit of extra cost.
Getting Started: Your First Hour
Plug it in. Open your DAW. Create a MIDI track. Click the keyboard in your DAW to select it as the input. Play some notes on your keyboard. You'll hear sound. That's it—you've just made your first MIDI performance. The technical part is over. Now you're free to focus on the creative part: what sounds do you want to make?
For more background on MIDI keyboards and how they fit into your setup, see the complete guide to Nektar MIDI keyboards.
Conclusion
A Nektar keyboard is a practical first choice for a beginner because it removes technical headaches and lets you focus on making music. Pick a size that feels comfortable, a model within your budget, and start playing. You won't need to overthink this—Nektar keyboards are designed to work reliably and integrate smoothly with your DAW. Plug it in, make some noise, and see where it takes you. That's genuinely all that matters.



Comments