


Korg MIDI Keyboard article
Korg Midi Keyboard for Beginners: A Complete Guide
A Korg MIDI keyboard lets beginners explore synthesis and production without noise or expense. Here's how to set up, what software to use, and how to avoid common pitfalls.
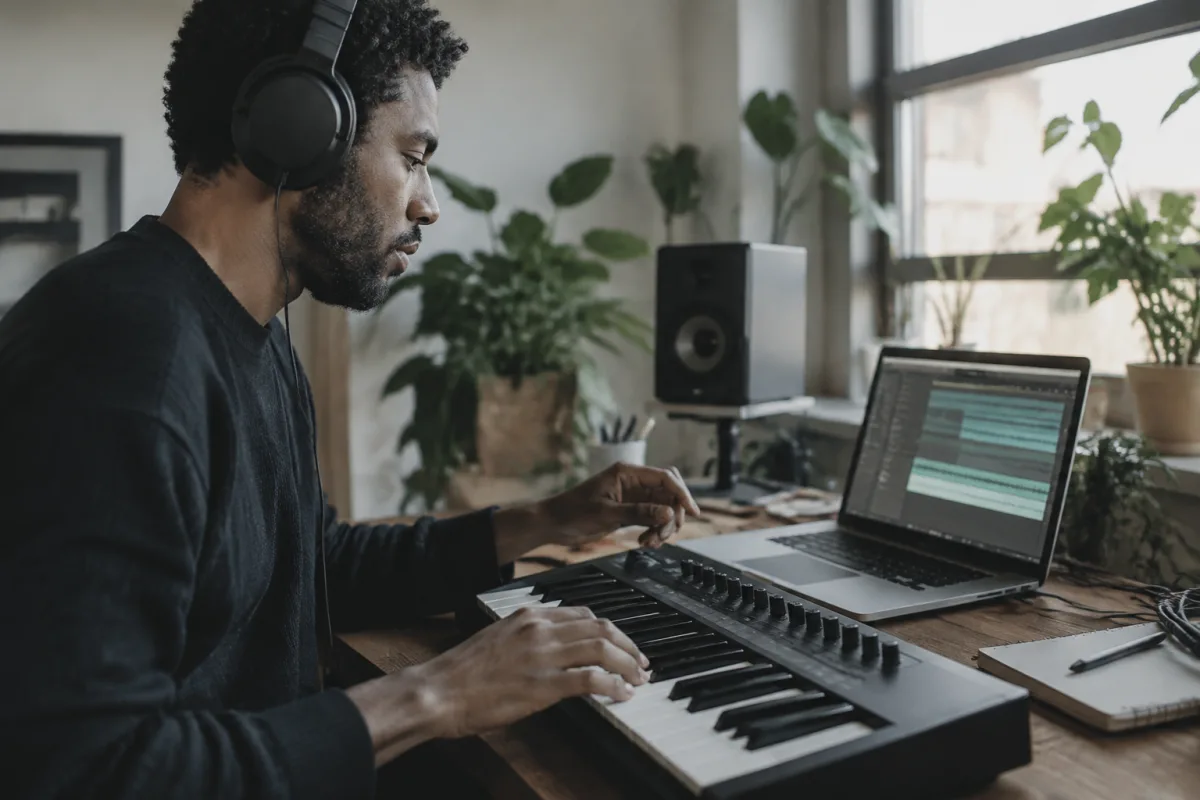
A Korg MIDI keyboard is your gateway to music production and synthesis, combining genuine weighted or semi-weighted keys with straightforward controls, making it welcoming for beginners who want to explore beyond acoustic piano sounds. If the idea of triggering synths, controlling drum machines, and recording your playing into software excites you more than classical training, a Korg MIDI keyboard is an excellent starting point.
What a Korg MIDI Keyboard Actually Does
MIDI stands for Musical Instrument Digital Interface—essentially, a language that lets your keyboard tell your computer which keys you're pressing, how hard, and when. A Korg MIDI keyboard is hardware that sends MIDI data to software instruments, synthesizers, and recording programs. It's not a standalone instrument with built-in sounds (unless you buy a specific model that includes them), but rather a creative tool that controls whatever is running on your computer.
Think of it like a paintbrush. The computer is the palette and canvas; the keyboard is the tool you use to paint. As a beginner, you'll be learning how to use the keyboard to unlock sounds and control music production software.
First Steps: The Beginner's Path
Step 1: Understand what you actually need
Korg makes MIDI keyboards in many sizes. For a complete beginner, ask: "Do I want to learn piano technique, or do I want to explore synthesis and production?" If it's piano technique, choose a weighted 88-key Korg MIDI keyboard. If it's production and experimentation, a 49–61 key controller is fine and more portable. Most beginners split the difference with a 61-key weighted model, which balances learning capability with portability.
Step 2: Get free or affordable software first
Before buying a Korg MIDI keyboard, download free software so you understand what you're controlling. Ableton Live Lite (free with many Korg keyboards), GarageBand (free on Mac), or Cakewalk (free on Windows) are excellent starting points. Plug in the keyboard and play with synth sounds, drum kits, and recording features. You'll develop an intuition for what MIDI does before spending serious money.
Step 3: Sit down and explore without pressure
A Korg MIDI keyboard with headphones and a DAW (Digital Audio Workstation) is an incredibly low-pressure learning environment. You can play badly, tweak sounds, record and delete, start again—all silently and instantly. This freedom is magical if you've been intimidated by acoustic pianos. Use it. Make weird sounds. Experiment. Curiosity is the best teacher at this stage.
Step 4: Learn one small feature at a time
Korg keyboards have tons of buttons, knobs, and modes. Resist the urge to learn everything immediately. Pick one: "This week I'll learn how to record a piano loop." Next week: "Now I'll layer a drum beat over it." Bite-sized learning prevents overwhelm and builds real competence.
Step 5: Watch tutorials, but play more than you watch
YouTube has thousands of tutorials for Korg keyboards and MIDI production. They're useful. But watching tutorials is passive; playing is active learning. A 20-minute tutorial followed by an hour of experimentation is better than five hours of watching. Try things. Break things. Undo and try again.
Common Beginner Mistakes to Avoid
Mistake 1: Buying too many expensive plugins before learning the basics. Your Korg MIDI keyboard will eventually be amazing when paired with great software instruments, but a beginner doesn't need them yet. Free plugins (the ones Korg bundles, plus freeware like Helm, Dexed, or the default GarageBand sounds) are more than enough to learn with. Upgrade software once you know what you want.
Mistake 2: Ignoring proper posture just because you're "just" producing. Even at a desk with a MIDI controller, sit with your arms supported, back straight, and shoulders relaxed. Bad posture at the keyboard compounds across hours of work and leads to RSI (repetitive strain injury). Professional producers guard their ergonomics carefully.
Mistake 3: Using the Korg MIDI keyboard only to trigger drum machines. Korg keyboards excel at playing melodic synth sounds, bass, strings, and pads. Beginners sometimes get stuck triggering preset drum loops and never explore the melodic possibilities. Spend half your time on drums, half on playing notes. You'll develop real musicianship faster.
Mistake 4: Letting the software overwhelm the playing. MIDI software is powerful and seductive. You can add effects, automate parameters, layer sounds endlessly. Beginners sometimes spend all their energy tweaking settings and never actually play anything substantial. The best producers play well first, tweak second.
Mistake 5: Not backing up your work. This isn't specific to Korg keyboards, but beginners often don't save projects or back them up. A computer crash or corrupted file is devastating when you've spent hours creating something. Establish a backup habit immediately—cloud storage, external drives, whatever—and stick to it.
Making the Most of Your First Month
Week 1: Set up and explore
Install your DAW, plug in your Korg MIDI keyboard, and spend time playing with different sounds. Don't try to create anything finished; just get comfortable with how pressing keys triggers sounds and how the software responds.
Week 2: Record a simple loop
Pick a synth sound you like and record a 4–8 bar melodic phrase. Repeat it three times. Listen back. Does the feel work? Did you play in time? This trains your ear and introduces the record/playback cycle that's central to music production.
Week 3: Add drums
Layer a drum beat under your melody loop from week 2. Most DAWs have built-in drums or link to free drum plugins. Now you have a tiny arrangement—something that sounds more like a finished piece.
Week 4: Experiment freely
Try a different genre, plug in a synthesizer that sounds completely different from what you've been using, break the rules you learned in weeks 1–3. Get comfortable with experimentation and happy accidents.
Choosing Between Korg Models as a Beginner
Korg microKEY2 (25–37 keys): Compact and affordable (£80–150). Unweighted keys. Best for producers in tiny spaces who want a secondary controller. Don't start here unless space is desperately limited.
Korg microKEY Air (49–61 keys): Wireless connectivity, semi-weighted keys (£150–300). Good for learners who like portability. Solid beginner choice.
Korg Monotron or monotron Delay: Tiny synth with built-in sounds (£100–150). Fun for experimentation, not a full keyboard. Good as a second or third instrument, not a first.
Korg tinyKEY or USB keyboard controllers (88 keys, weighted): Full piano range, weighted keys, MIDI control (£300–600). Best choice for serious beginners who want to learn real technique plus production capability.
Setting Up Your First Studio
You need:
- A Korg MIDI keyboard (your choice based on size/budget).
- A computer (Mac or Windows—almost any reasonably modern laptop works).
- A DAW: Ableton Live, Logic Pro, Reaper, Pro Tools, or free options like Cakewalk or Ardour.
- Headphones or monitor speakers (your ears need to hear what you're making).
- A USB cable (usually included with the keyboard).
- Optional: a microphone if you want to record vocals; an audio interface if you need low-latency monitoring.
Total beginner budget: £500–800 including the keyboard, software (many DAWs have free or affordable versions), and decent headphones. You don't need anything fancier at the start.
The Real Beginner's Advantage
Learning music production with a Korg MIDI keyboard is genuinely easier than learning acoustic piano in many ways: zero noise complaints, infinite undo, endless free experiments, and instant feedback. If you're excited by electronic sounds, synthesis, and the idea of creating complete arrangements yourself, this is your path.
The catch: it's easy to get lost in software rather than learning to play well. Resist that temptation. Spend time playing melodies, learning timing, listening carefully to what sounds good and what doesn't. The software is there to help you realise your musical ideas, not to replace them.
For a complete exploration of Korg MIDI keyboards, how they work, and the technology inside, see our full guide.


Comments