


Behringer C2 Mic article
Behringer C2 Mic for Beginners: A Complete Guide
The Behringer C2 is an affordable, beginner-friendly condenser microphone. This guide walks you through unboxing, setup, phantom power, gain staging, and your first recording session—with confidence, no jargon.
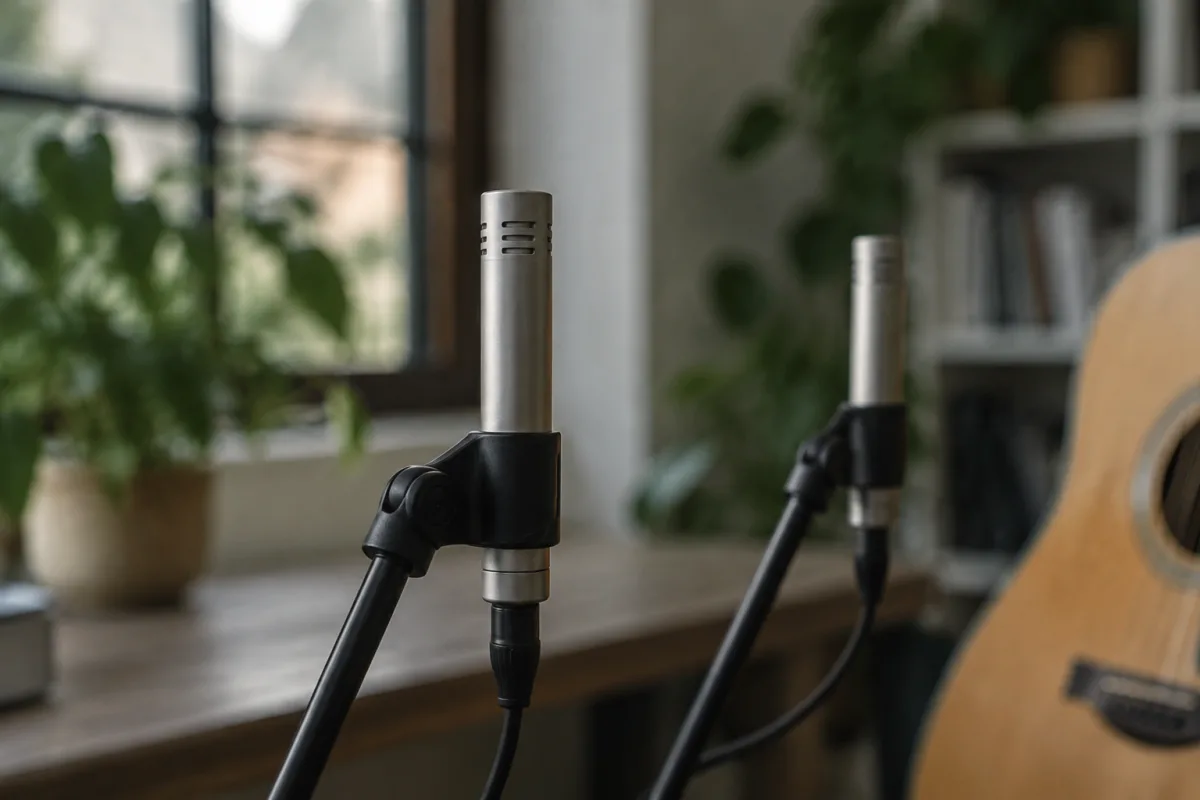
Starting your first day with a condenser microphone can feel intimidating if you've only used dynamic mics before. The Behringer C2 is a fantastic beginner-friendly choice—it's affordable, sounds great, and won't frustrate you with overly technical complications. This guide is written specifically for someone like you: picking up a Behringer C2 for the first time and wanting to get it working confidently within the first hour. We'll walk through every first step, explain the basics without jargon, and help you avoid the common mistakes that trip up newcomers.
Why the Behringer C2 Makes Sense for Your First Condenser Mic
If you're wondering why a condenser mic instead of the dynamic microphones you might already own, here's the simple version: condensers are more sensitive, which means they pick up softer details and nuances. The Behringer C2 is small and light, making it perfect for close-up recording of acoustic instruments, drums, and vocals. It costs around £30–50, which means you can experiment without breaking the bank. Behringer, despite their budget reputation, makes solid beginner gear that actually sounds professional. You're not buying a toy—you're buying a microphone that'll work reliably as you learn.
Unboxing and First Setup: What You Actually Need
When your Behringer C2 arrives, you'll find the microphone itself, a stand adapter, and sometimes a foam windscreen. Here's what you need to get working: an XLR cable (buy one if it didn't come with the mic), a microphone stand or boom arm, and an audio interface or mixer with a microphone input. If you're recording into your computer, you need an interface with at least one XLR input. This is crucial—the Behringer C2 requires a proper XLR connection. Don't try to plug it into a USB port or a guitar input jack. It won't work, and you'll waste an hour troubleshooting before realising the cable type is the issue.
Start simple: condenser mic → XLR cable → interface → computer. That's it. Resist the temptation to add extra gear until you understand what each piece does.
The Phantom Power Mystery (It's Simpler Than It Sounds)
Here's where most beginners panic: condensers need phantom power to work. But honestly, it's not complicated. Phantom power is 48 volts of electricity sent down the XLR cable to power the microphone's internal electronics. Your interface or mixer has a button labeled "48V" or "Phantom Power"—you just need to turn it on. That's it. Press the button, and your Behringer C2 springs to life. If you forget to enable phantom power, the mic won't produce any sound. But this is actually useful—it's a clear signal that something needs adjusting. Don't be embarrassed if you spend ten minutes troubleshooting only to discover you'd forgotten to flip that switch. Every recording engineer has been there.
One reassurance: phantom power won't damage your dynamic microphones or most passive equipment. So leaving the 48V switch on all the time is fine if you're forgetful. Many professionals do this. The Behringer C2 will happily work whenever phantom power is available.
Mounting Your Mic: Stable and Pointed the Right Way
The Behringer C2 comes with a stand adapter (a clip that holds the mic). Screw it onto a standard microphone stand or boom arm. Nothing fancy needed—a basic £15 stand works perfectly. Here's the critical part: microphone orientation matters. The Behringer C2 is a side-address microphone, meaning it picks up sound best from the side, not the end. Look for a small label or arrow on the mic body—it shows the pickup side. Point that side toward whatever you're recording. If you're recording a vocal, the singer stands to the side of the microphone. For drum overheads, mount it above the drums with the pickup side pointing down. Getting this wrong is a common beginner mistake and results in thin, distant-sounding recordings.
Keep the mic a reasonable distance from your sound source. For vocals and instruments, 15–30 centimetres is a good starting point. Closer gives you more direct signal and presence; further away captures room tone. Experiment once you've got a working setup, but don't overthink it on day one.
Gain Staging: The First Real Setting You'll Adjust
Your audio interface or mixer has a gain knob (sometimes called "input level" or "trim"). This controls how hot the signal comes into your recording device. Here's what to do: start with the gain knob at the lowest position. Press record and make sound near the microphone—speak, sing, or tap a drum. Slowly turn up the gain until you see a healthy signal on your interface's meters (usually a green bar or digital display). You want the signal peaking around −6dB to −12dB below the maximum. If the meters hit the very top or go red, you've got too much gain—turn it down. Too little gain, and your recording will be quiet and hissy. This balancing act is called gain staging, and it's one of the most important skills in recording. Spend a few minutes getting it right, and your recordings will sound ten times better.
Common Beginner Mistakes with the Behringer C2
- Forgetting Phantom Power: You've already learned this isn't the end of the world. Just a quick flip of a switch.
- Pointing the Mic the Wrong Way: Condenser mics are directional. Check your manual or look for orientation marks. Side-address mics must be oriented correctly.
- Holding or Bumping the Mic During Recording: Condensers pick up vibration more than dynamic mics. Handle the mic gently and use a stand rather than hand-holding it.
- Setting Gain Too Loud: A hot signal sounds great in your headphones but distorts your recordings. Keep some headroom. Peak at −12dB or lower.
- Not Using an XLR Cable: USB adapters and cheap cables are tempting but introduce noise and latency issues. Invest £10 in a decent 3-metre XLR cable. It makes a real difference.
- Recording Without a Pop Filter: Plosives (hard "P" and "B" sounds) and breath noise will surprise you when you play back the recording. A simple foam windscreen or pop filter (£5–10) fixes this instantly.
Your First Recording Session: Practical Steps
Now that you've got everything connected, here's exactly what to do. First, check levels. Speak or play into the mic and adjust the gain so you see a solid signal around −12dB. Second, hit record. Third, do your thing—sing, play, speak—and don't stop until you've finished. Fourth, stop recording. Fifth, listen back. If the sound quality disappoints you, it's probably one of three things: gain too low (sounds quiet and thin), gain too high (sounds distorted), or the microphone is pointed the wrong way (sounds hollow or distant). Adjust that one thing and try again. Recording is iterative. Your first take doesn't need to be perfect; you just need to hear what you've got and make small tweaks.
Protecting Your Investment: Basic Care Tips
The Behringer C2 is robust, but a few precautions keep it working for years. Don't drop it—it's metal and glass inside, and impacts can crack the diaphragm. Store it in a case or box when you're not using it. Keep it away from extreme heat, cold, and moisture. If you're recording in a humid environment (outdoors, near a window, or in a steamy room), let the mic warm up indoors for 20 minutes before use to prevent condensation inside the capsule. These are simple habits that protect your gear without fuss.
What Comes Next: Growing Beyond Day One
Once you've made your first recording with the Behringer C2, you've crossed the biggest hurdle. The next steps are experimenting—try the mic in different positions, on different sources, at different distances. Record a vocal, then an acoustic guitar, then drum overheads. Each source teaches you something about how the mic behaves. If you find it too bright or thin (a common characteristic of budget condensers), a high-cut EQ or a basic pop filter helps. If it's too quiet, you already know to check the gain. For more detailed techniques and comparisons with other microphones, check our complete guide to the Behringer C2, which covers advanced techniques and frequency response details.
The Behringer C2 is a forgiving microphone. You can't break it by learning on it, and it sounds genuinely professional in the right hands. Your first hour might feel technical, but once you've got phantom power switched on and your levels set, the mic disappears—you're just recording sound. That's when it gets fun. Be patient with yourself, trust that the process works, and you'll have confidence and recordings to be proud of within your first week.


Comments