


Stem Splitter article
Stem Splitter for Beginners: A Complete Guide
Stem splitter software separates any song into isolated vocals, drums, bass, and instruments. This beginner's guide covers everything from what you need to get started to practical tips and common mistakes to avoid.
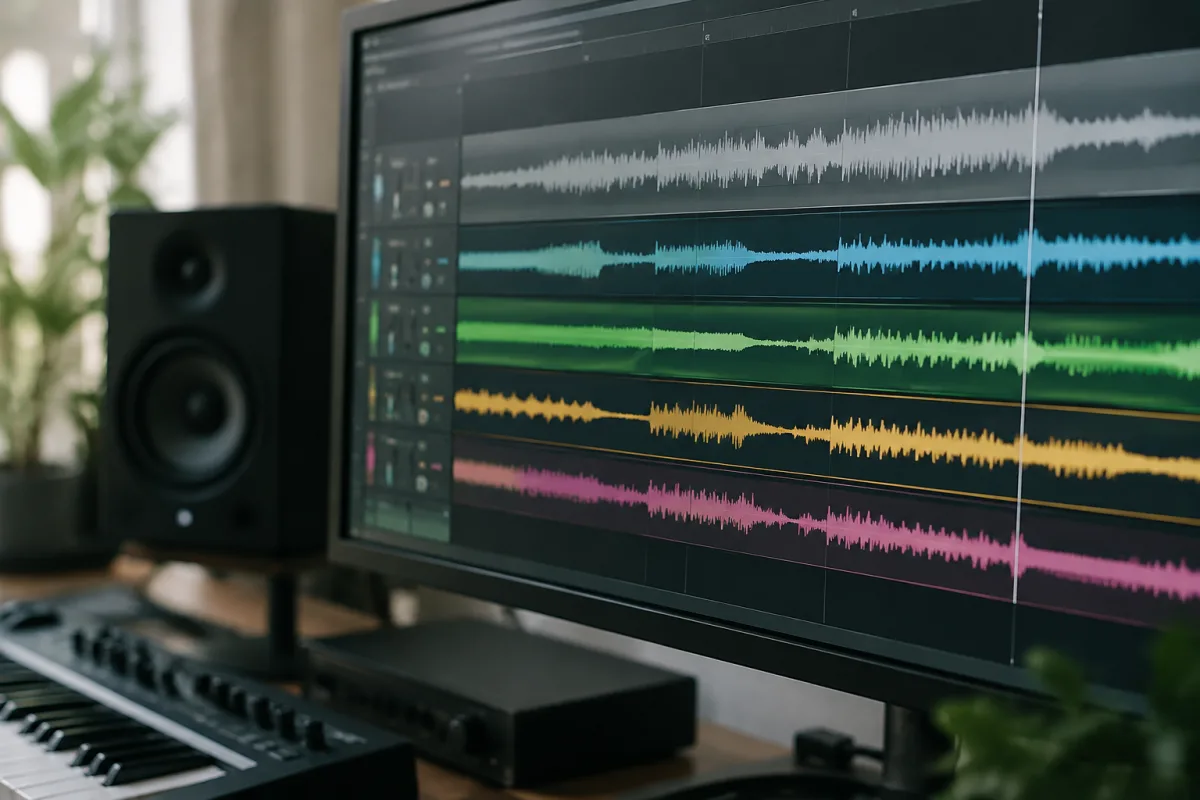
The moment you discover stem splitter software, something clicks. Suddenly, that favourite song you've wanted to remix, practise along to, or sample becomes malleable. A stem splitter separates any audio track into its separate musical components—vocals, drums, bass, and instruments—with surprising accuracy. If you're a beginner musician, producer, or someone who's ever thought "I wish I could isolate just the drums from this track," you've found the answer. Don't worry if you're not sure how to use it yet; that's exactly what this guide covers. Before diving deeper, check out our ultimate guide to stem splitter technology, which explores the science and advanced techniques behind these tools.
Why Beginners Love Stem Splitter Tools
The appeal of a stem splitter for beginners is straightforward: it opens doors. You can now learn music by isolating instrument parts. You can create backing tracks to practise singing against. You can practise your drums over a song without the original drum track. You can sample from commercially released music legally, since you're working with isolated stems rather than the final mix. For producers, a stem splitter lets you reimagine existing music without fighting against an inseparable blend. For learners, it's a teaching tool disguised as software. None of this requires a degree in music production or audio engineering—just curiosity and willingness to experiment.
What You Need Before Starting
Here's the genuinely minimal setup required to use stem splitter software:
- A computer: Most stem splitters run on Windows, Mac, or both. Check the system requirements, but even modest machines from the past five years will work.
- An internet connection (usually): Many modern stem splitters process files in the cloud rather than locally, so you'll need bandwidth. Offline options exist but are typically slower or lower quality.
- Audio files to split: MP3s, WAVs, or other common formats. You probably have these already. Quality matters—a poorly compressed MP3 will split less cleanly than a high-bitrate file.
- Headphones or speakers: You'll want to hear what you've isolated, especially when checking whether the vocals are truly isolated or if the bass bled through.
- Storage space: Each song you split will generate four separate files (vocals, drums, bass, instruments). A typical three-minute song might result in 50-100 MB of new files. This adds up quickly if you're ambitious.
That's genuinely all you need. No audio interface, no DAW, no MIDI keyboard. Just a computer and curiosity.
Five Common Beginner Mistakes with Stem Splitters
1. Using poor-quality source material. If you feed a stem splitter a heavily compressed, badly mixed MP3, the stems will reflect that compromise. Start with the highest-quality version of a track you can find. If you're choosing between a YouTube audio and a Spotify stream, choose Spotify. If you can find a lossless file, even better.
2. Expecting perfect isolation. Stem splitters use artificial intelligence trained on thousands of songs, but they're not miracles. A vocal will often include some bleed from adjacent instruments, and the bass might carry traces of drum kick. This is normal. Professional stem splitters fail the same way. Accept the imperfection and work with it, rather than expecting pristine separation.
3. Processing the same track repeatedly. You don't need to separate the same song in five different stem splitter applications to find the "best" one. Pick one, process it once, and move forward. The differences between tools are subtle, and overanalysing them will waste hours.
4. Ignoring copyright concerns even when you shouldn't. Separating someone's song for personal learning is uncontroversial. Publishing your remix of Taylor Swift's vocals over a different beat is not. Know where that line lies for your use case. If you're in doubt, don't publish without permissions.
5. Not labelling or organising your stems.** After processing ten songs, you'll have 40 separate stem files. Without clear naming—such as "Artist_Song_Vocals.wav" versus just "Vocals.wav"—you'll spend precious time hunting for the files you actually want.
Types of Stem Splitter Software for Beginners
You have three main options, each suited to different needs:
| Type | How It Works | Pros for Beginners | Cons |
|---|---|---|---|
| Web-based (cloud) | Upload your file to a website; download stems when ready | No installation, works on any device, usually free or low-cost | Slower, file size limits, privacy concerns, requires internet |
| Desktop software | Install on your computer; process files locally or via cloud | Faster workflow, no upload limits, professional features | Costs money, requires installation, variable quality |
| DAW plugin | Integrates into your music production software | Seamless workflow if you already use a DAW, works with live sessions | Requires a DAW, often expensive, limited to that ecosystem |
Your First Stem Split: A Practical Walkthrough
Here's how to actually do it:
Choose your tool. Start with a free web-based option. It's faster to evaluate and costs nothing. Websites like Splitter.ai or similar services are beginner-friendly. Upload a song you love—something personal that you're genuinely excited to explore. Don't pick something you're indifferent about; the motivation matters.
Upload and wait. The processing typically takes minutes to an hour, depending on the track length and the service's load. Use that time to read about the song, think about how you'd use the isolated stems, or simply relax. Don't babysit the upload.
Download and listen. When stems are ready, download all four files. Open the vocals stem first. Listen to it in full. You'll immediately hear what the stem splitter found. This is where you develop an ear for what the tool can and can't do.
Experiment freely. Play the vocal stem against a different backing track. Layer it with a drum beat you've created. Slow it down. Pitch-shift it. This is experimentation, not production yet. You're learning what's possible.
Repeat with intention. Once you've explored one track, pick another. This time, choose it because you have a specific idea (like "I want to sing along to the instrumental of this song"). Intention creates skill faster than random exploration.
What to Do After Your First Stem Split
You've successfully separated a song. What now? Here's the natural progression for beginners:
Week two: Experiment with combining your isolated stems in new ways. Layer the vocals from one song with the drums from another. This teaches you how different instruments work together and sounds genuinely creative.
Week three: If you play an instrument, use isolated drums or instruments as backing tracks. Practise your instrument against real recordings. This is how professional musicians learn; you're doing it too.
Week four onwards: If stem splitting has genuinely captured your interest, consider a paid tool offering better quality or integration into a DAW. But don't upgrade until you're certain you'll use the advanced features. Many beginners download powerful tools and never move beyond the free versions because the free versions do the job.
The Beginner's Mindset
Stem splitter software removes one barrier to musical creativity: needing to own the original stems or recordings. You can now learn from, interact with, and remix music in ways that were previously impossible without professional connections. Start with free tools, process one song you genuinely love, and listen carefully to what you get. Every use teaches you something about music structure, arrangement, and the capabilities of the technology itself. You're not just splitting stems; you're training your ear and expanding what you think is possible. That's a genuinely valuable beginning.


Comments