


Multiband Compressor Plugin article
Multiband Compressor Plugin for Beginners: A Complete Guide
Your first attempt at using a multiband compressor plugin might feel intimidating. This beginner's guide removes the mystery and shows you how to start using multiband compression practically.
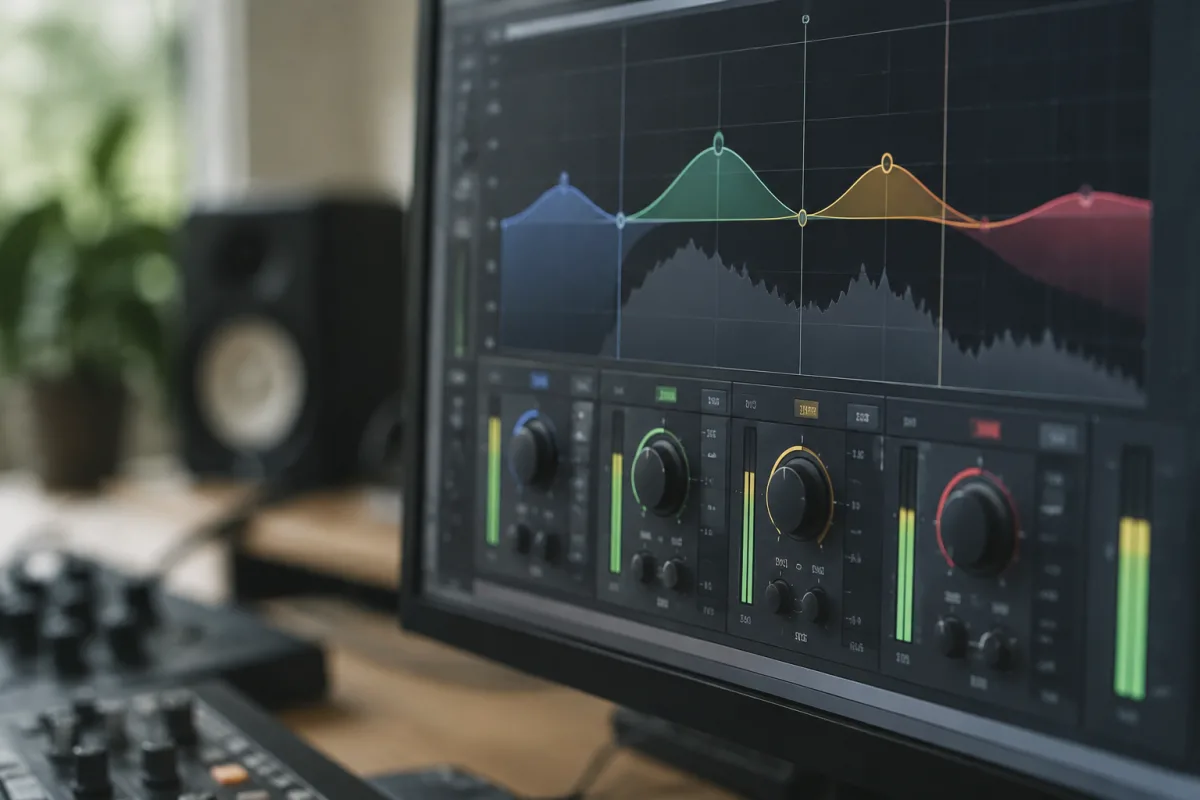
Your first attempt at using a multiband compressor plugin might feel intimidating, but this tool deserves the learning effort. Rather than controlling compression across your entire frequency spectrum uniformly, a multiband compressor plugin lets you target specific frequency ranges independently. This beginner's guide removes the mystery and shows you how to start using multiband compression practically and confidently.
Why Learn Multiband Compression First
Before worrying about multiband compressor plugin specifics, understand why learning this skill matters. Imagine compressing a vocal recording. A standard compressor reduces all frequencies equally when the vocalist gets loud. But often, only the bass frequencies need taming—the mid-range sounds fine and the high frequencies shouldn't compress at all. A multiband compressor plugin lets you compress only the problematic bass while leaving the rest untouched. This precision transforms your mixing capabilities without requiring expensive outboard gear. Starting with multiband compression teaches you how frequency-specific processing works, a skill that applies far beyond compression.
Start with Just Two Bands
Most multiband compressor plugins divide the audio spectrum into 3-5 frequency bands. Don't feel pressured to use all of them initially. Start with just two bands: one handling low frequencies and one handling everything else. This simplicity lets you focus on compression principles rather than overwhelming yourself with band configuration. Once you're comfortable compressing two frequency ranges, expand to more bands. Many professional engineers deliberately use fewer bands than available, recognising that restraint produces better results than complexity.
Understanding the Frequency Crossover
The points where frequency bands divide are called crossovers. A multiband compressor plugin commonly crosses over around 200Hz (separating bass from mids) and 2kHz (separating mids from highs). Initially, don't obsess over precise crossover frequencies. Set them roughly where they intuitively feel right and focus on compression ratios. As you gain confidence, experiment with small crossover adjustments. You'll discover that moving a crossover point by 100Hz sometimes dramatically improves results. This tweaking comes later—master basic compression first.
Your First Practical Exercise
Insert a multiband compressor plugin on a vocal track. Set up just the low-frequency band, leaving other bands uncompressed (zero ratio or bypass). Set the low band's crossover to 200Hz, creating a band handling everything below 200Hz. Now increase the compression ratio to 4:1. Adjust the threshold until the compressor engages during the loudest vocal passages. Listen to how the low-end compression affects your vocal. The bass becomes controlled without affecting the vocal character. This single experience teaches you more than reading specs. Try this exercise repeatedly with different sources—drums, full mixes, bass guitar. Each teaches you how multiband compression responds differently.
Setting Compression Ratio for Beginners
Compression ratio describes how hard the compressor works. A 2:1 ratio provides subtle control, whilst 4:1 sounds noticeably compressed. A multiband compressor plugin doesn't need aggressive ratios—often 2:1 to 3:1 provides excellent results. Start conservatively, listening carefully to what changes in your audio. You can always increase ratio if the effect seems too subtle. Aggressive compression (8:1 and higher) often sounds artificial in multiband applications. Most professional uses employ gentle to moderate ratios.
Attack and Release Times: Start Simple
Attack time determines how quickly compression engages after loud audio arrives. Release time determines how quickly compression stops after audio becomes quiet again. A multiband compressor plugin often defaults to sensible attack and release times. Resist changing these immediately. Use the defaults for your first ten sessions. Once you're hearing results, then experiment with different settings. Faster attacks control transients better but can sound unnatural. Slower attacks preserve character but control less effectively. Again, start simple and add complexity gradually as you understand cause and effect.
Bypass Comparisons: Your Learning Tool
The most valuable learning technique is switching your multiband compressor plugin on and off repeatedly. Listen carefully to the difference. If you can't hear compression working, something's wrong—either the threshold is too high to engage or the ratio is too gentle. Make that multiband compressor plugin's effect obvious during learning. Once you understand how it's working, you can dial in subtler settings that sit naturally in your mix. This bypass comparison method teaches your ears faster than reading explanations.
Common Beginner Mistakes to Avoid
Beginning multiband compressor plugin users commonly over-compress because they see the compressor engaging and assume "more is better." Resist this impulse. Gentle compression sounds better and more professional than heavy-handed compression. Another common mistake is configuring too many bands simultaneously. Work with one band at a time. Get comfortable compressing bass frequencies before adding mid-range compression. This sequential approach builds understanding. Finally, don't abandon a multiband compressor plugin after one failed attempt. Different audio sources respond differently. A setting destroying one vocal might perfect another. Experimentation is normal.
Practical Starting Settings
Here's a beginner-friendly multiband compressor plugin starting template: Low band (below 200Hz): 2.5:1 ratio, -15dB threshold, 10ms attack, 100ms release. Mid band (200Hz to 3kHz): bypass or minimal compression. High band (above 3kHz): bypass or minimal compression. These settings tame low-end muddiness without obvious compression. Start here, then modify based on your ears, not because some mixing rule says you should.
When Multiband Compression Helps Most
As a beginner, deploy multiband compression on sources with inconsistent frequency response. Bass guitar tracks often improve dramatically—the low end can be wildly variable, creating "muddiness" that precise low-frequency compression eliminates. Vocal tracks benefit similarly. Kick drums often improve from targeting the low frequencies separately. Full mixes rarely need multiband compression as a first tool, though professional mixing engineers use it frequently. Start with individual instruments, building confidence before applying multiband compression to complex mixes.
Moving Beyond Beginner Settings
After a few weeks of experimenting with multiband compression, you'll develop intuition about how frequency-targeted compression works. At this point, start reading the plugin-alliance multiband compressor guide for more advanced techniques and professional applications. Your beginner foundation makes that advanced material suddenly comprehensible. You understand why certain frequency ranges need different treatment and why precision matters. This progression from simple to complex builds genuine skill rather than copying settings blindly.
Your Learning Roadmap
Week one: Use only the low-frequency band on vocal and bass tracks. Week two: Experiment with different ratios and thresholds on the same sources. Week three: Add mid-frequency band compression to tracks where it helps. Week four: Try multiband compression on drums and full mixes. By month two, you'll have developed practical experience that makes advanced techniques comprehensible. This gradual progression builds confidence and genuine understanding rather than frustration from trying everything simultaneously.


Comments