


Metering Plugin article
Metering Plugin for Beginners: A Complete Guide
An introductory guide to metering plugins and audio level monitoring, covering essential metering types, practical setup, clipping prevention, and professional loudness standards.
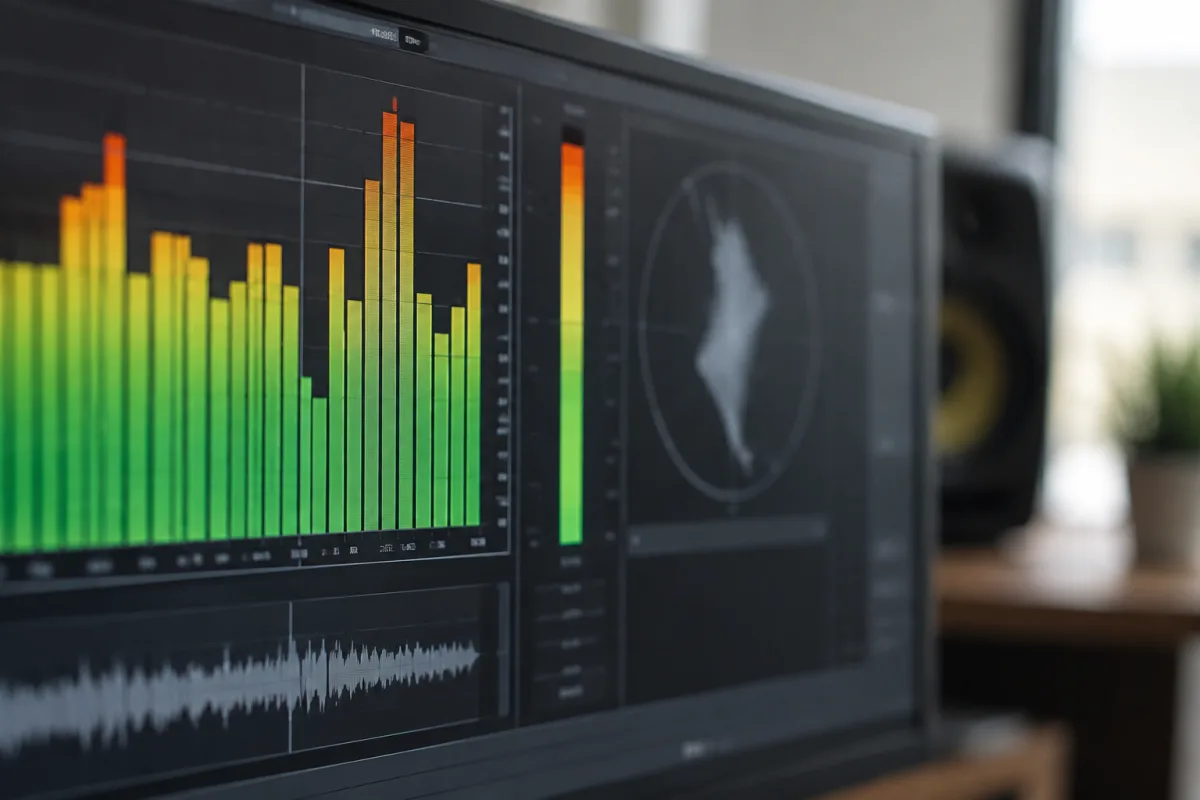
Metering plugins measure audio levels, displaying visual representations of volume, frequency balance, and loudness throughout your recording and mixing process. Beginners often overlook metering, trusting their ears alone—yet metering reveals problems imperceptible through headphones or speakers and prevents mix disasters like clipping, imbalanced frequency content, or loudness that pales alongside professional releases. This guide demystifies metering for nervous newcomers, explaining essential concepts and practical application.
What Metering Plugins Do and Why They Matter
A metering plugin displays real-time information about your audio: how loud individual elements measure, whether audio is clipping (distorting through excessive volume), frequency distribution balance, and overall perceived loudness. Think of metering as objective feedback complementing subjective listening: your ears hear pleasant sound, metering verifies technical correctness.
Common metering applications include monitoring recording levels (ensuring input audio never clips), checking mix balance (confirming kick, bass, and vocals sit at appropriate levels), verifying frequency balance (detecting excessive harshness or muddiness), and confirming final mix loudness matches professional standards. Professional studios employ comprehensive metering throughout mixing; hobbyists without metering often discover problems only after final release when comparison with professional references reveals imbalances.
Quality metering doesn't require expensive specialist software. Your DAW's bundled level meters suffice initially; affordable plugins like Slate Digital VMS Five, Nugen Audio Visualizer, or free options like SPAN provide measurable improvements with minimal learning curve.
Essential Metering Types for Beginners
Various metering approaches serve different purposes. Peak meters display maximum instantaneous audio levels—essential for preventing clipping during recording. If your peak meter ever reaches 0 dB or higher, audio is clipping, distorting, and ruining recording quality. Record levels ensuring peaks stay between -6 and -3 dB, leaving comfortable safety margin.
RMS (root mean square) meters display average loudness, reflecting how listeners perceive volume more accurately than peak meters. Mixing decisions based solely on peak metering ignore RMS characteristics, potentially creating mixes where quiet passages feel uncomfortably dynamic or loud sections feel unexpectedly soft.
Loudness meters measure perceived loudness in LUFS (loudness units relative to full scale), with industry standards varying by application: streaming music targets -14 LUFS loudness, broadcast content uses -24 LUFS, film uses -31 LUFS. Metering in LUFS prevents submitting mixes that sound quiet alongside professional releases, a problem plaguing beginner productions.
Spectral metering displays frequency distribution, showing whether audio emphasises particular frequency ranges excessively. Beginner mixing often produces mixes with excessive low-midrange mud or harsh presence peak. Spectral metering identifies these problems visually, guiding corrective EQ decisions.
Setting Up Your First Metering Plugin
Install your metering plugin of choice—most DAWs include basic metering; investing in dedicated metering plugins proves worthwhile around £30-80 for substantial capability increases. Place the metering plugin on a master bus output, processing your entire mix. This placement reveals overall mix characteristics: total loudness, peak levels, and frequency balance across your complete production.
Configure your metering plugin for LUFS measurement, enabling loudness standards comparison. Most plugins default to customisable standards; select your intended platform. Streaming platforms (Spotify, YouTube, Apple Music) typically use -14 LUFS; broadcast uses higher loudness standards; film requires -31 LUFS.
Familiarise yourself with reference material: load a professional recording in your meter, noting its LUFS, peak levels, and spectral characteristics. Your own mixes should approximate these measurements, providing concrete targets rather than vague mixing goals.
Preventing Clipping: The Most Critical Beginner Application
Recording vocals, guitars, or other instruments without proper level monitoring invites disaster: recording at excessive levels causes clipping distortion, permanently damaging audio. Most clipping proves inaudible during recording, discovered only during mixing when the ruined audio cannot be fixed.
Prevent clipping by monitoring recording levels carefully: watch your input level meter, adjusting microphone placement or preamp gain to maintain peaks 6-12 dB below clipping threshold (the point where audio distorts). Maintain consistent monitoring throughout recording sessions. If you suspect clipping occurred, stop, review the recording carefully for distortion, and re-record at lower levels if necessary.
This single habit—careful input level monitoring—prevents more beginner recording disasters than any other practice. Metering plugin placement on your input channel makes clipping prevention trivial: if your peak meter shows red, your levels are too high.
Mix Balance Through Metering
After completing basic recording and arrangement, use metering to evaluate mix balance. Play through your song, watching overall loudness meters. Professional mixes maintain consistent loudness throughout songs, typically between -12 and -6 LUFS. If your verse metering shows -20 LUFS whilst the chorus peaks at -8 LUFS, the dynamic range is excessive, requiring dynamic range compression or level automation.
Watch spectral metering across your mix. Excessive presence peak (around 3-5 kHz) causes listener fatigue and harshness; too much proximity bass (below 200 Hz) creates muddiness. Reference metering on professional recordings guides corrective EQ decisions. If your mix's spectral display looks radically different from reference tracks, adjustments are likely necessary.
Common beginner mistake: focusing exclusively on individual instrument levels and ignoring overall mix characteristics. Metering reveals these problems: a mix sounding balanced through individual channel monitoring might measure poorly overall. Switching perspective between individual instrument metering and master bus metering develops comprehensive mixing competence.
Reference Material Selection and Comparison
Establish metering reference benchmarks by loading professional recordings—preferably within your genre and similar to your mix's intended character. Examine their LUFS loudness, peak levels, and spectral characteristics. These measurements become your mixing targets.
Critically, reference material should match your mix's genre and production style. Jazz standards measure differently from electronic dance music; intimate acoustic music differs from stadium rock. Selecting inappropriate reference material guides mixing decisions toward incorrect targets. Choose references matching your production's intended character.
Most DAWs enable A/B comparison between your mix and reference material through side-by-side metering. This comparison reveals mix shortcomings immediately: if your spectral meter shows excessive low-midrange mud compared to reference, EQ adjustments become obvious. Metering transforms mixing from subjective guesswork to objective problem-solving.
Avoiding Common Metering Mistakes
Beginners often mistake metering accuracy for mixing skill, over-relying on numbers at the expense of listening. Metering provides guidance; your ears remain the ultimate arbiter. A mix measuring perfectly to LUFS standards yet sounding uncomfortable through your speakers requires adjustment. Balance metering information with critical listening.
Many beginners misinterpret spectral metering, attempting to achieve perfectly flat frequency response. Professional mixes deliberately deviate from flatness, emphasising characteristics matching their genre and aesthetic. Classical chamber music measures differently from hip-hop; neither is "correct" universally. Use spectral metering to identify extreme imbalances, not to achieve artificial flatness.
Avoid obsessive metering focus during initial creative recording and arrangement. Metering proves most useful during mixing refinement; creative recording benefits from intuitive, ear-focused listening. Monitor input levels during recording; defer comprehensive mixing metering until later in the production process.
Metering Resources for Deeper Learning
For comprehensive information about metering principles, advanced techniques, and professional mixing applications, review our complete guide to metering plugins and audio measurement, covering loudness standards, spectral analysis, and workflow integration across professional studios.
Gaining Confidence Through Metering
Metering plugins transform mixing from uncertain guesswork to measured, informed decision-making. Start with basic input level monitoring to prevent clipping, then expand to overall mix loudness verification in LUFS. Reference your mix against professional recordings, using metering to identify and address imbalances. Within a few mixing projects, metering becomes intuitive, guiding decisions naturally. Your initial nervousness yields to confidence: you understand precisely how your mix measures and where refinement improves technical quality.


Comments