


Brass VST article
Brass Vst for Beginners: A Complete Guide
Nervous about using a brass VST for the first time? This beginner's guide walks you through your first 30 minutes, explains what all those controls actually do, and reassures you that every mistake is completely fixable.
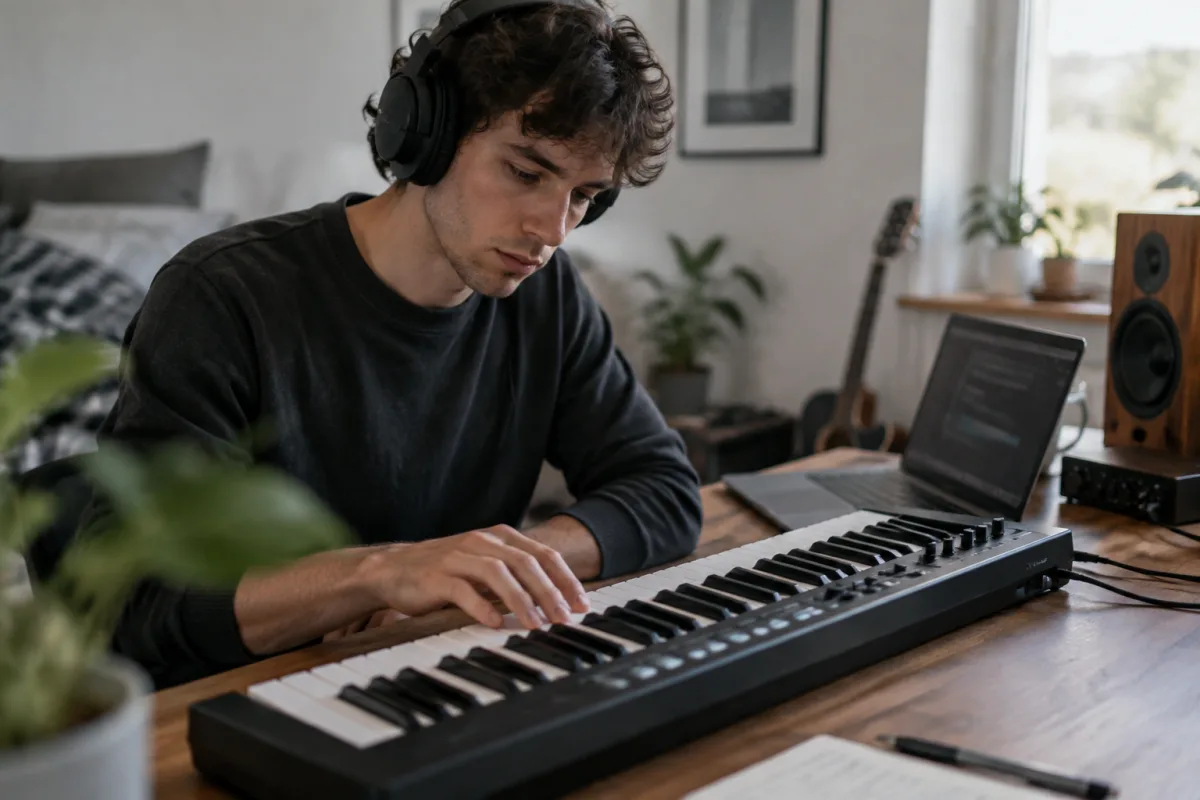
Using a brass VST for the first time can feel intimidating—rows of knobs, mysterious settings, and that nagging worry that you'll accidentally press something that breaks everything. But here's the truth: brass VSTs are actually quite forgiving, and within 30 minutes you'll have impressive trumpet, trombone, or saxophone sounds in your music. This beginner's guide walks you through your first steps, shows you the easiest path to great-sounding brass, and reassures you that the mistakes you're worried about making are completely normal and easily fixed.
What You'll Actually Do With a Brass VST
First, let's demystify what a brass VST does. It's a virtual instrument that recreates the sound of brass instruments—trumpets, trombones, saxophones, French horns. When you play a note on your keyboard (or draw notes into your DAW), the brass VST makes a brass sound. That's genuinely all there is to it at the beginner stage. You're not recording a real instrument, not dealing with complex synthesis, not required to know music theory. You press keys, brass sounds come out, and you add those sounds to your song.
As a beginner, your job is simple: learn how to play notes, adjust a few basic controls (volume, note length), and layer brass VST sounds into your music. Everything else is bonus learning for later.
Your First 30 Minutes: Getting Started Fearlessly
Step one: open your DAW and insert a new track. Add your chosen brass VST as a plugin. If you're using free software like Studio One Sphere or BandLab, brass VSTs are often included; if you're using a paid DAW, check what comes pre-installed before buying anything.
Step two: press a few keys on your MIDI keyboard (or use your computer keyboard to trigger notes). You should hear brass sounds. Congratulations—you're now using a brass VST. That's the hardest part done.
Step three: experiment with playing melodies. Don't worry about perfect timing or pitch accuracy; just get comfortable with the idea that your keyboard controls the brass sound. If it sounds wrong, you haven't broken anything—you're just learning what notes and keyboard techniques produce different results.
Step four: adjust the volume slider so you can hear your brass VST proportionally with your drums and bass. You've now used the three most important controls: on/off, keyboard play, and volume. You already know more than you think you do.
Understanding What All Those Controls Actually Do
Brass VSTs display many controls that seem complicated but mostly do simple, intuitive things. Here's what the common ones mean, and how much you actually need to know about each:
- Volume/output level: Makes the brass louder or quieter. You'll use this constantly. Master this one first.
- Attack time: How quickly the brass sound fades in when you press a key. Fast attack = immediate sound, slow attack = gradual fade-in. Both sound good; choose based on what feels right to your ear.
- Release time: How long the sound continues after you release the keyboard key. Long release = lingering tail, short release = abrupt stop. Experiment and see what you prefer.
- Brightness/cutoff: Adjusts how dark or bright the brass sounds. Bright sounds more energetic; dark sounds more mellow. There's no wrong setting—listen and adjust to taste.
- Vibrato/modulation: Adds a subtle wobble or variation to the note. Real brass players do this with their breath; the VST recreates it. Turn it on and listen—you'll hear what it does immediately.
- Reverb/effects: Adds space and echo to the brass sound. Most beginners leave this on default (often OFF) initially, then add it as they learn more.
That's genuinely enough to know. Every other control exists for deep sound design that you don't need as a beginner. You'll discover them naturally as you spend time with the brass VST.
Choosing an Instrument and Preset
Most brass VSTs include different instruments: trumpets, trombones, saxophones, French horns. Start with trumpet or saxophone—they're the most forgiving for beginners because they sound good almost immediately.
Next, browse presets (often called "patches" or "programs"). Presets are pre-configured sounds created by someone else. Flip through them by pressing Next/Previous buttons, and listen to what each one sounds like when you play a note. Choose whichever sounds best to you—there's no "correct" preset for beginners. You're learning which sounds appeal to your ear, which is valuable information.
Common First-Timer Mistakes (and Why They're Fine)
Every beginner brass VST user makes predictable mistakes. Here's what they are, and why none of them matter:
Playing without enough velocity (very quietly): You'll think you're playing notes, but nothing happens, or the sound barely audible. This usually means your MIDI keyboard (or virtual keyboard) isn't transmitting velocity data (the force with which you press each key). Solution: play harder, or adjust the velocity in your DAW settings. This problem vanishes after three practice sessions.
Triggering long, blurry sounds when you wanted short, punchy ones: The release time is too long. Adjust the release slider down (lower numbers = shorter tail). If you overshoot and sounds cut off abruptly, adjust it back up. You'll get the hang of this within a week.
The brass VST sounds harsh or too bright: Reduce the brightness/cutoff control, or add a tiny bit of reverb to soften the attack. Harsh sounds usually mean either too much high-frequency content or a setting that doesn't match your taste. Adjusting one control fixes this instantly.
Not being able to trigger new notes (keys seem stuck or delayed): The release time is so long that notes overlap and mess up polyphony (how many simultaneous notes the VST can play). Reduce release time or leave more space between notes. Again, this teaches you what's happening and fixes itself quickly.
First Projects: Simple Ideas to Build Confidence
Your first brass VST project should be simple. Pick a song you know well. Record a basic drum pattern. Then play a simple melody on top using your brass VST—just four to eight notes repeating. Listen back. You've now made a song with a brass VST. That's a success.
Don't try complex counterpoint, intricate rhythms, or perfection on your first project. Just get brass sounds into music and experience how they sit alongside other instruments. This is how you build instinct and confidence.
Second project: use a different brass instrument (saxophone instead of trumpet, for example) and notice how the different timbre changes the overall feel of your song. This teaches you how instrument choice shapes emotional impact.
When You're Ready to Go Deeper
After two to four weeks of regular brass VST use, you'll naturally start wondering about more advanced features: velocity sensitivity, humanisation (slight note-timing randomisation to sound less robotic), articulation switching (playing different brass techniques), and advanced effects. When curiosity strikes, you're ready to learn.
Until then, resist the temptation to dive into every control and setting. Limitation breeds creativity. The best learning path is: play, listen, adjust, play again. That cycle teaches more than reading manuals ever could.
Encouragement and Next Steps
You're about to discover that brass VSTs are far less intimidating than they first appear. Within three hours of use, you'll feel genuinely comfortable. Within a week, you'll stop thinking about "how the VST works" and just think about "what I want the brass to sound like in this part of my song." That's when the magic starts.
Don't compare your work to professional productions. Those makers have used brass VSTs for years. Your job right now is to get comfortable with the tool and enjoy making music with it. Every professional brass VST user started exactly where you are, feeling nervous, making mistakes, learning.
For more comprehensive information on brass instruments and VST techniques, explore our complete brass VST guide, which covers intermediate and advanced topics once you're ready.
Your first brass VST note is coming. Press that key with confidence.


Comments