


Analogue Mixing Console article
Analogue Mixing Console for Beginners: A Complete Guide
An analogue mixing console looks complicated but follows straightforward principles. This beginner's guide explains signal flow, channel controls, and the simple techniques that let you start mixing confidently immediately.
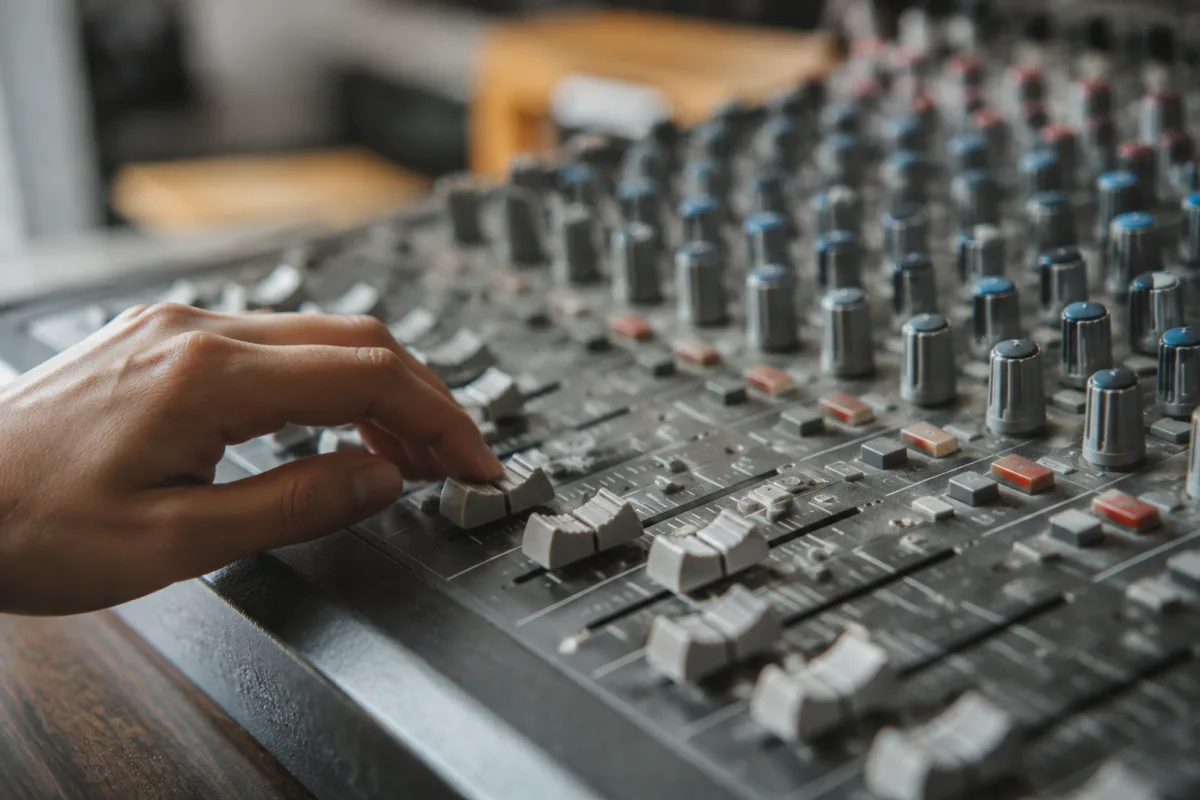
An analogue mixing console looks complicated, with rows of sliders, knobs, and switches. If you're new to live sound or studio recording, the sheer number of controls can feel overwhelming. But here's the honest truth: an analogue mixing console follows logical, straightforward principles. Once you understand the basic signal flow, you can operate a mixing console confidently, and every additional feature simply extends what's already intuitive. This guide walks you through those principles without overwhelming you with technical jargon.
The Basic Signal Flow: From Input to Output
An analogue mixing console does one core job: it takes audio from multiple inputs, lets you control the level of each input, and sends the mixed result to an output. That's genuinely the complete principle. Audio comes in on the left side (input channels), gets mixed in the middle (the mixer), and goes out on the right side (output or master). Every additional feature works within this simple framework.
Each channel on a mixing console represents one input source: a microphone, a guitar, a keyboard, whatever. The vertical fader (slider) on each channel controls that input's volume level. Push the fader up—the input gets louder. Push it down—the input gets quieter. That's the fundamental control that makes mixing possible.
The master fader controls the overall volume of everything mixed together. If all your individual channels sound balanced but too quiet overall, you raise the master fader. If everything sounds too loud, you lower the master fader. This master control makes sense immediately once you understand it, and it's genuinely one of the most important controls on the console.
Getting Comfortable With Channel Controls
Beyond the fader, each channel has a few essential controls. The trim or input level knob at the top of the channel controls how loud the incoming signal is before it reaches the fader. Think of it like this: the trim is the throttle, the fader is the volume control. You set the trim for adequate signal strength, then use the fader to balance levels between channels.
The mute button silences that channel instantly. It's useful when you want to remove a source from the mix without adjusting its fader. Press the mute button, that channel disappears from the mix. Release it, and the channel is back at whatever fader level you'd set.
The solo button lets you hear just that one channel in isolation. This is invaluable for checking individual channel quality without hearing everything else. A microphone might sound excellent on its own but might have problems you couldn't hear in the full mix. Solo lets you isolate and diagnose.
Understanding Levels and Meters
Every mixing console has a meter that shows the overall level of your mix. This meter is genuinely important because it tells you whether your mix is too loud, too quiet, or perfectly balanced. The meter typically has a green zone (good level), a yellow zone (getting loud), and a red zone (too loud, causing distortion).
Your goal is keeping the meter mostly in the green zone with occasional yellow peaks. If the meter is constantly in the red, you have too much level and need to lower either individual channel faders or the master fader. If the meter is constantly in the green and never peaks into yellow, you likely have inadequate level and should raise your master fader slightly.
The input level for each channel also matters. If you're getting red distortion on a single channel whilst other channels are fine, that channel's input level (trim) is too high. Reduce the trim, not the fader. The trim controls input strength, and setting it correctly prevents distortion from the start.
Pan and Basic Mixing Techniques
The pan knob on each channel positions that input left or right in the stereo image. Pan hard left, and the channel comes out only the left speaker. Pan hard right, and it comes out only the right speaker. Pan to centre, and it comes out both speakers equally. This isn't critical when you're learning, but once you understand it, panning becomes an essential tool for organising your mix.
A basic mixing principle is: level equals presence. If you want a voice to stand out, raise its fader. If you want drums to feel punchy, raise the drum faders. If you want strings subtle, lower the string faders. This simple relationship between level and mix presence makes sense immediately and handles most mixing scenarios.
Mixing is fundamentally about balance. Start with all faders at roughly the same level, then listen critically. What stands out? What's buried? Adjust faders to create the balance you want. It's genuinely an art, but the mechanical process is straightforward.
Understanding Signal Flow Visually
Most mixing consoles include channel strips arranged vertically. Look at one channel from top to bottom: input connector at top, trim knob, fader, pan knob, mute and solo buttons, then output at the bottom. This arrangement literally shows the signal flow—audio enters at the top and exits at the bottom.
The master section at the end of the console follows the same logic: all channel outputs come in, the master fader controls overall level, and the final output goes to your speakers or recording device. This visual arrangement makes signal flow obvious once you understand it.
Some mixing consoles have an auxiliary section for creating effects sends or monitor mixes. This is more advanced and not essential for your first mixing experiences. Master the basic channel and master fader controls first.
Common Beginner Worries Addressed
Beginners fear that too many controls means they'll damage something by adjusting the wrong knob. Here's the honest answer: nothing on a mixing console is "dangerous" in the sense of causing permanent damage. Adjusting a knob incorrectly just produces unwanted audio. Turn off power if something's really wrong, and everything resets to nothing dangerous. Mixing consoles are robust and forgiving.
People worry about making mistakes during live events. The simple truth: every live mixing engineer makes mistakes continuously. The art is catching them quickly and adjusting. You'll accidentally push a fader too high, unmute something that should be muted, or pan something to an unexpected side. This is normal. Notice the mistake, fix it, and move on. The audience rarely notices these momentary errors.
Beginners assume they need to understand every feature to start mixing. You don't. Master the input faders, the master fader, the mute and solo buttons, and the level meter. Everything else is additional capability you'll learn when you need it. Start simple, and the console becomes less intimidating as you learn it piece by piece.
People worry that "analogue" means outdated or inferior. Analogue mixing consoles are genuinely preferred by many professional engineers precisely because they handle audio in direct, straightforward ways. They don't require computer setup or software troubleshooting. They're reliable and immediate. Professional studios continue using analogue consoles because of these advantages.
Your First Mixing Console Session
When you first sit down at a mixing console, start by simply listening. Get comfortable with how the faders work. Plug in a microphone, speak into it whilst adjusting the trim, and understand how trim affects input level. Adjust the fader and understand how that controls volume in the output. This hands-on exploration teaches you more than any explanation.
Mix something simple first: maybe just three or four inputs like vocals, drums, bass, and guitar. Get them balanced at a sensible level, and create a mix you're happy with. Resist the temptation to tweak every knob and button. Simple mixing demonstrates the fundamentals far better than overcomplicating things.
For comprehensive information on analogue mixing consoles, different models, and their applications, the complete guide to analogue mixing consoles covers the full product landscape.
Building Confidence With Your Mixing Console
After a few mixing sessions, the controls that seemed overwhelming become second nature. Your hands develop muscle memory for fader adjustments. You stop thinking about the mechanics and start focusing on the creative aspects—what the mix should sound like and how to achieve that sound. This shift from technical operation to creative choice is when mixing becomes genuinely enjoyable.


Comments