


DAW for Podcasting article
Daw For Podcasting for Beginners: A Complete Guide
Starting a podcast is simpler than you think. Modern DAW for podcasting is designed for beginners. This guide shows you how to set up, record, and edit your first episode.
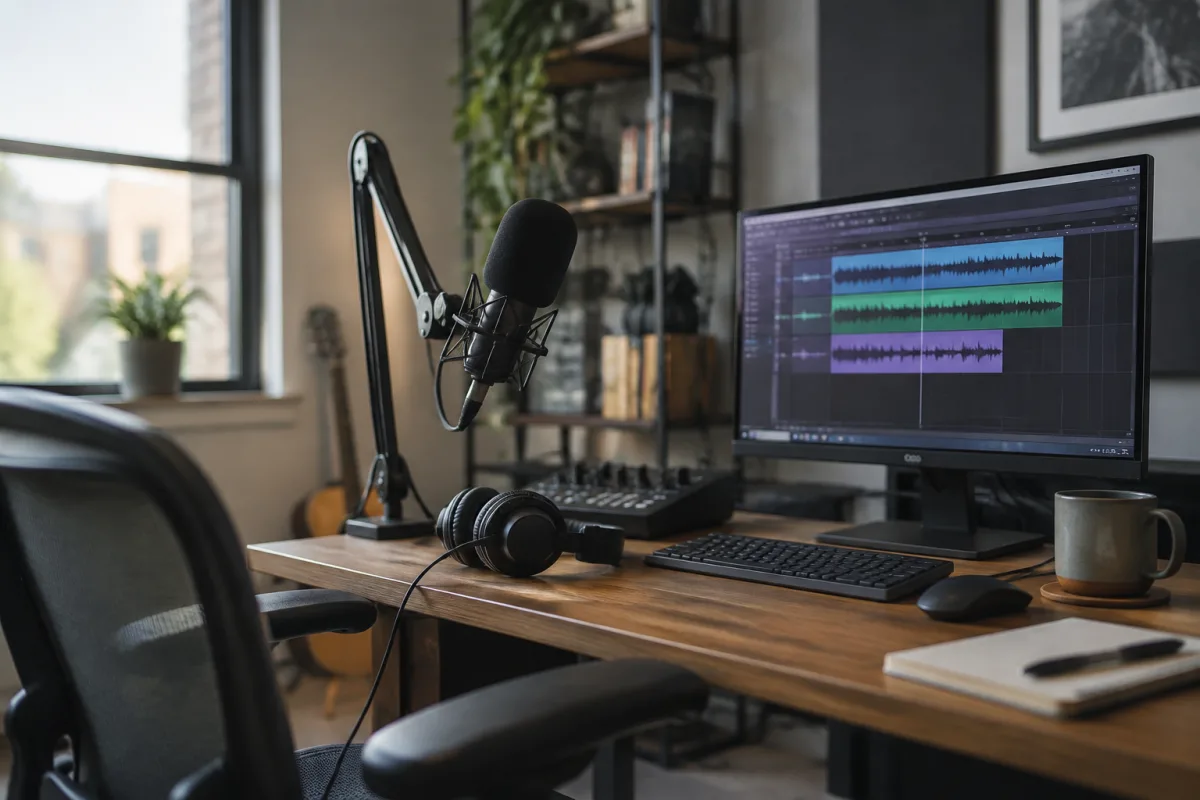
Starting a podcast is exciting until you realise you need recording software. Audio editing terminology—tracks, busses, sends, compression—can make DAW for podcasting seem impossibly complex. You might assume professional podcasters use complicated software requiring years of training. The truth? Modern DAW for podcasting is designed to be accessible. You can record, edit, and publish your first podcast episode using straightforward tools without technical background. This guide shows you how to choose the right DAW for podcasting, set it up in minutes, and start recording without confusion or expensive learning curves.
Why a DAW for Podcasting Beats Simpler Alternatives
You could record podcasts using voice memo apps or dedicated podcasting platforms. So why choose a DAW for podcasting? Control and flexibility. A DAW for podcasting lets you record multiple voices simultaneously, edit individual tracks independently, add music and sound effects, control audio quality, and fine-tune dynamics. Simpler tools lack this granularity. For anything beyond a solo voice reading a script, a DAW for podcasting gives you professional results.
For beginners, this matters because it means your podcasting setup won't become obsolete as your show grows. Start simple, but use a DAW for podcasting powerful enough to grow with you.
Choosing the Right DAW for Podcasting
Several DAW for podcasting options exist, each suited to different needs:
- Audacity: Free, open-source, and simple. Perfect for solo podcasters recording one voice at a time. Editing is straightforward; effects are basic. Best for: budget-conscious beginners with simple needs.
- Adobe Audition: Professional-grade with subscription cost (£9.99/month). Excellent speech editing, noise reduction, and healing tools. Best for: serious podcasters prioritising audio quality.
- GarageBand (Mac only): Free with Mac, intuitive interface, good podcast templates. Limitations: fewer advanced features than dedicated DAW for podcasting. Best for: Mac users wanting simplicity.
- Logic Pro (Mac only): Full-featured DAW for podcasting at £199 one-time. Professional audio quality, podcast workflows, and extensive sound library. Best for: Mac podcasters wanting professional results.
- Reaper: Affordable (one-time license ~£60) with unlimited trial. Powerful, customisable, and suited for both solo and multi-track podcast recording. Best for: serious creators wanting value.
- Audition/Premiere integration (Windows/Mac): Seamless if you're also video editing. Subscription cost is high, but integration is exceptional.
For most beginner podcasters, start with Audacity (free) or Logic Pro (Mac, intuitive). As your show grows and demands increase, upgrade to Reaper or Audition.
Setting Up a DAW for Podcasting: The Basics
Getting your DAW for podcasting ready takes surprisingly little time:
- Download your chosen DAW for podcasting and install it on your computer.
- Plug in your microphone (or connect via USB if it's a USB microphone). Most DAW for podcasting detects the microphone automatically.
- In settings, select your microphone as the input device and your speakers/headphones as the output device.
- Create a new project. Most DAW for podcasting offers podcast templates; select one if available.
- Create a stereo audio track for recording. This is where your voice will land when you press record.
- Do a test recording: press record, speak for 10 seconds, press stop. Playback to verify you captured clean audio.
If your test recording sounds good, you're ready to record your first episode. If it sounds quiet, hollow, or has unwanted background noise, adjust microphone level or position before proceeding. Most beginner issues stem from microphone placement or level setting, not software problems.
Recording Your First Podcast Episode
Your first recording doesn't need to be perfect. Here's a practical workflow:
- Press record and start speaking. Talk naturally; this is your podcast, not a live broadcast.
- If you make a mistake, pause and take a breath. Continue from where you left off; you'll edit later.
- Speak at a consistent distance from the microphone (typically 6–12 inches). Varying distance creates level fluctuations.
- Record the entire episode from start to finish, even if you make mistakes. Stopping and restarting creates awkward edits.
- When finished, save your project with a clear name (e.g., "Episode 1 - Raw Recording").
Once recorded, you have a raw audio file inside your DAW for podcasting. Now comes the fun part: editing.
Basic Editing in Your DAW for Podcasting
Editing makes podcasts sound professional. Your DAW for podcasting handles these common tasks:
- Removing mistakes: Select the unwanted section and delete it. Your DAW for podcasting closes the gap seamlessly.
- Noise reduction: Background hum, air conditioning, or mouth clicks annoy listeners. Most DAW for podcasting includes basic noise reduction; use it sparingly to avoid robotic-sounding speech.
- Normalisation: Ensures consistent volume throughout. Select all audio and run normalisation; it automatically adjusts levels to optimal ranges.
- Compression: Tames loud peaks and lifts quiet passages. Apply light compression (4:1 ratio, 10ms attack) for smoother, more professional sound.
- Adding music and transitions: Import background music or intro/outro tracks on separate tracks. Fade music out as speech begins, fade back in for transitions.
Your DAW for podcasting makes these edits simple. Spend time learning one or two techniques at a time rather than trying everything at once.
Exporting Your Podcast for Publishing
Once edited, export your podcast as an MP3 file using your DAW for podcasting:
- Select "Export Audio" or "Render" (terminology varies by DAW for podcasting).
- Choose MP3 format and 128 kbps bitrate (industry standard for podcasts; balances quality and file size).
- Name your file clearly (e.g., "Podcast Episode 1.mp3").
- Choose a location (folder) for your podcast files.
- Click export and wait. The DAW for podcasting creates an MP3 file ready to upload.
This MP3 file is what podcast platforms (Spotify, Apple Podcasts, Anchor) will distribute to listeners. Your DAW for podcasting just turned your raw recording into a publishable podcast.
Common Beginner Mistakes with DAW for Podcasting
- Recording too loud: Clipping (distortion from pushing levels too hard) is permanent and unusable. Record at moderate levels (peaks around –12dB to –6dB). You can always turn it up in editing.
- Ignoring microphone technique: Inconsistent distance from the microphone creates uneven volume. Maintain steady distance throughout recording.
- Over-processing with effects: Beginners apply compression, EQ, and effects excessively. Restraint sounds better. Gentle processing enhances; heavy processing makes audio sound artificial.
- Not testing before full recording: Always do a test recording with your DAW for podcasting before committing to a full episode. Mic issues discovered mid-episode waste your time.
- Using terrible microphones: No DAW for podcasting software can fix audio captured with cheap, low-quality microphones. Invest in a decent USB microphone (£30–50) before investing in software.
Moving Forward: Levelling Up Your Podcast
Your first episode won't sound professional. That's fine. Episode 10 will be noticeably better. Episode 50 will sound genuinely polished. A DAW for podcasting removes technical barriers; what remains is practice and listener feedback. Record consistently, edit carefully, and your podcasting improves faster than you'd expect.
As your show grows, you might consider investing in better microphones, upgrading to professional-grade DAW for podcasting, or learning advanced techniques. For comprehensive guidance on advanced podcast production and professional workflows, the ultimate guide to DAW for podcasting covers advanced topics and industry practices.
Your Podcast Starts Now
Stop overthinking and start recording. A DAW for podcasting is simpler than you think, and your first episode doesn't need to be perfect. Pick a platform (free Audacity or Logic Pro if you have a Mac), record a test episode, edit it into shape, and publish. Months from now, listening back to your first episode, you'll hear how much you've improved. That's the only measure of success that matters.


Comments